Difficulty level: Beginner
Time required: 5 minutes per pinecone
Age range: 8 and up, with adult supervision for hot glue gun
Things you’ll need:
Natural pinecones
Bulky, super-bulky, and/or jumbo-weight yarn in different colors
Hot glue gun and glue sticks
Scissors
Things to do:
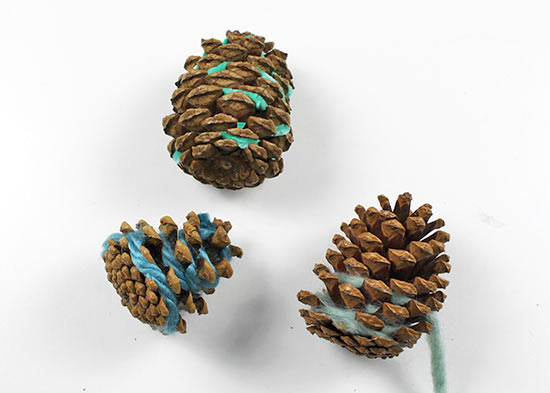
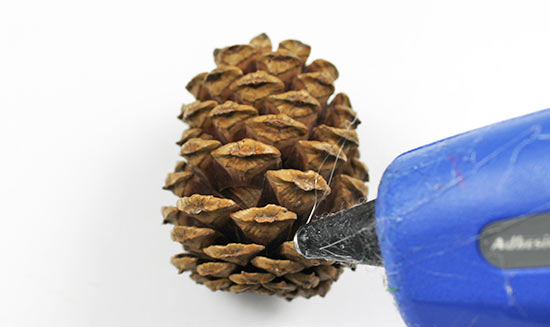
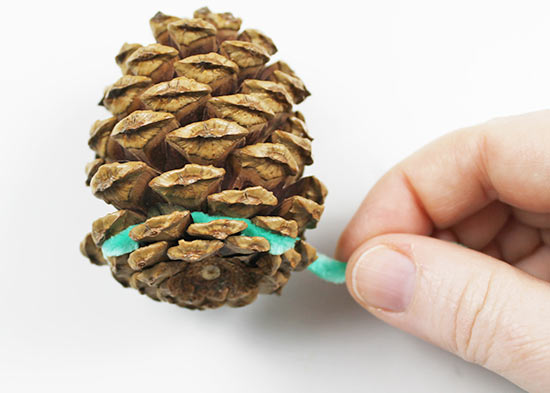
1. Grab a pinecone. (Pinecones that are opened up work best here.) Add a dot of hot glue near the bottom of the pinecone between the first two layers.
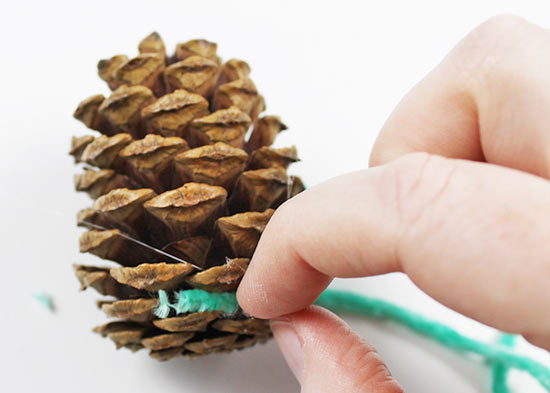
2. Immediately push the tail end of the yarn into the hot glue to hold it in place, ensuring the yarn adheres to the glue.
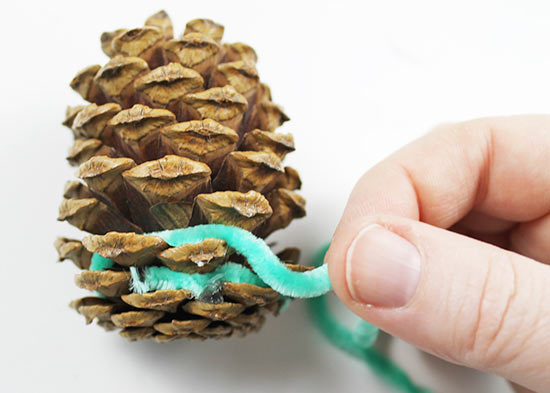
3. Begin wrapping the yarn around the pinecone, weaving it between the first two layers of pinecone.
4. When you reach the tail of the yarn where you originally started wrapping, move the yarn up between the next two layers of the pinecone.
5. Continue wrapping the yarn around the pinecone until you reach the top.
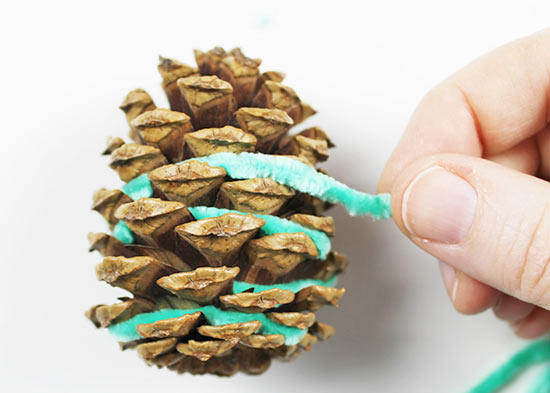
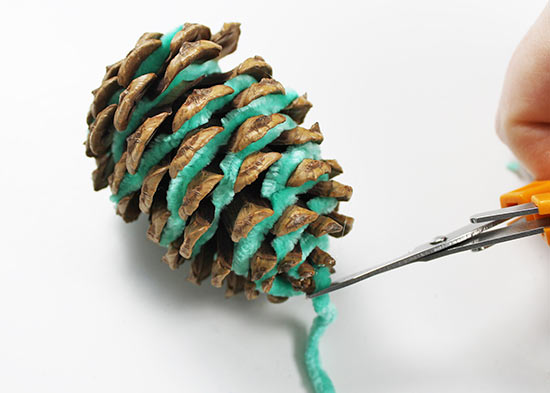
6. Add a dot of glue where you want the wrap to end.
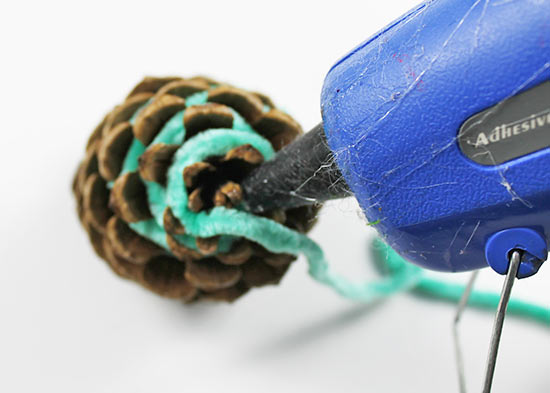
7. Push the yarn onto the glue, then trim the yarn end as close to the pinecone as possible. Tip: Use the scissor ends to push the yarn into the pinecone.
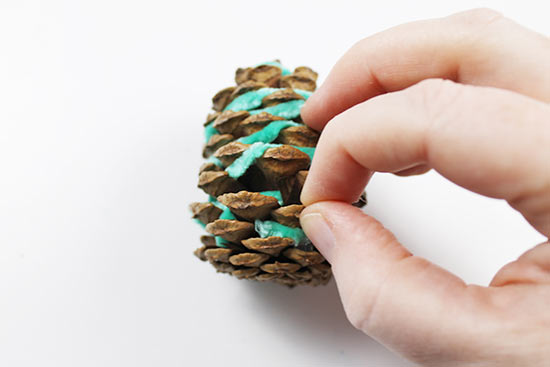
8. Remove any excess hot glue from the pinecone.
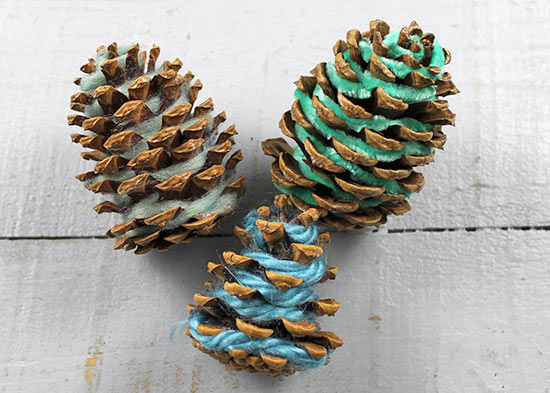
9. Wrap as many pinecones as you’d like in different colors of bulky, super-bulky, and/or jumbo-weight yarn. You can display them individually on shelves, or gather all of them together in a display such as a bowl or vase.