Search results
208 results found.
208 results found.
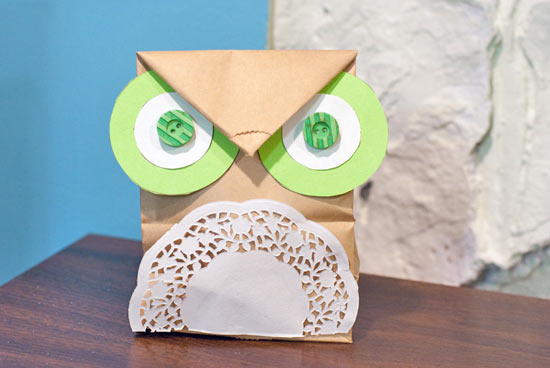

Adorable owl bags are the perfect way to package up small treats and trinkets during Autumn. You can use different bag sizes, eye colors, and button sizes. Personalize these owl bags to your liking!
Difficulty level: Easy
Time required: 20 minutes
Age range: 8+
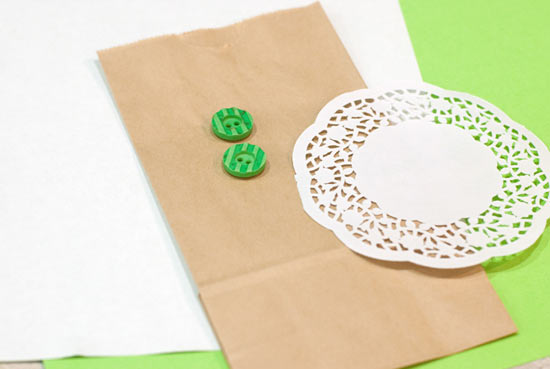
Things you’ll need:
Brown paper bags
Paper doilies
Two buttons
Colored construction paper
White construction paper
Glue
Scissors
Pencil
Clear tape
Things to do:
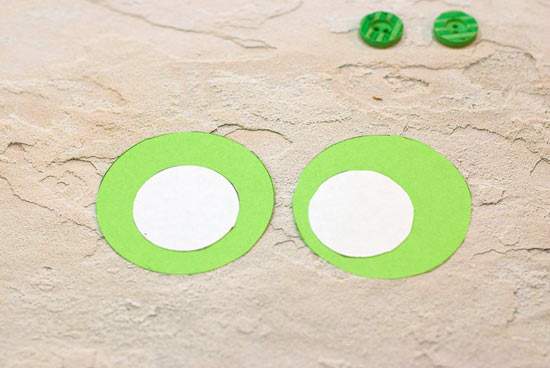
1. Use round objects to trace and cut two larger circles for the outside part of the eyes using your colored construction paper. Use smaller round objects to trace and cut two inner eyes.
2. Temporarily tack down your large round circles a few inches under the opening of the bag. Fold the opening into a triangle, and fold down, to decide on the exact placement of the round circles. You won’t want the triangle to go down too far over the owl’s eyes.
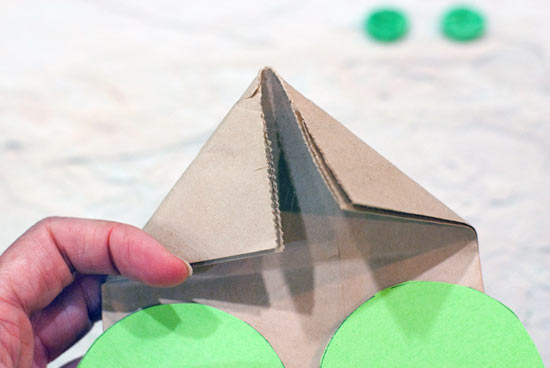
3. This shows the correct placement. Once you’ve decided where to put the round eyes, permanently glue them down onto the bag.
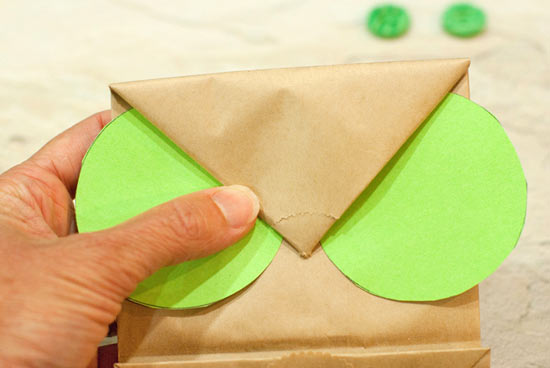
4. Add the white centers and the buttons. This is how it should look. Note that the top isn’t glued or taped shut here – you wouldn’t be able to fill your bag later if it was!

5. If you have a large bag, you can glue the doily under the eyes now. If your bag is shorter, mark a cut line on the doily.
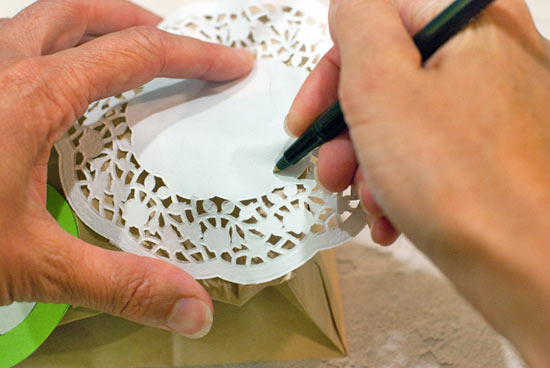
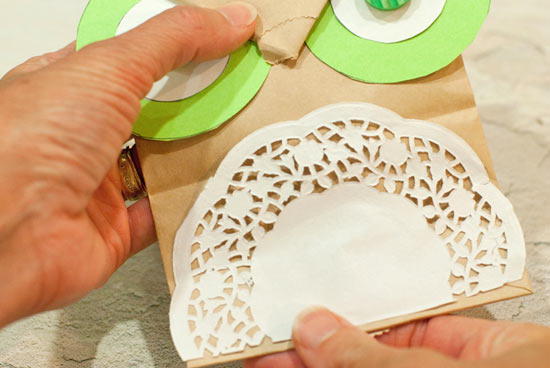
6. Cut the doily if needed and glue to the bottom half of the bag. Now fill with goodies, and tape closed with a circle of clear tape under the point.
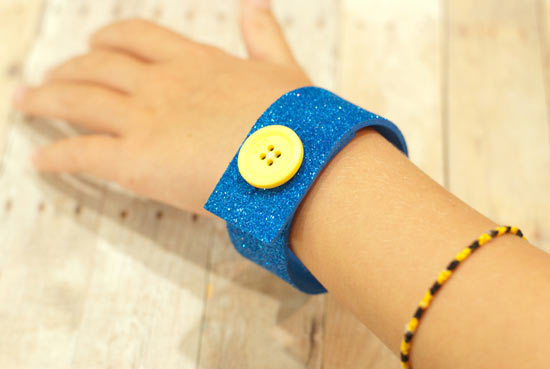

These are perfect projects to share with your budding fashionista! With so many different colors to choose from, you’ll have lots of options. Wear more than one at a time and consider cutting the foam button bracelets to different widths for variety.
Difficulty level: Easy
Time required: 20 minutes
Age range: 10+ (provide assistance with the craft knife)
Things you’ll need:
Craft foam
Buttons
Craft knife
Needle and thread
Ruler
Scissors
Toothpick
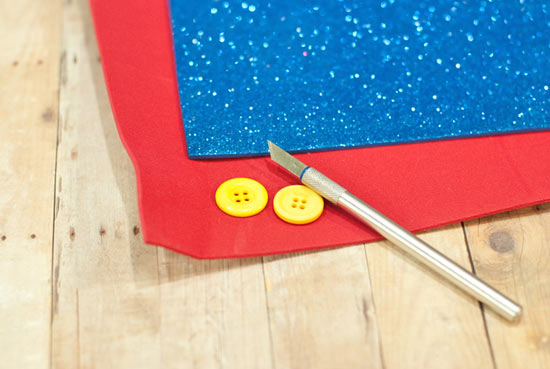
Things to do:
1. Cut a strip of the craft foam about 1″ wide.
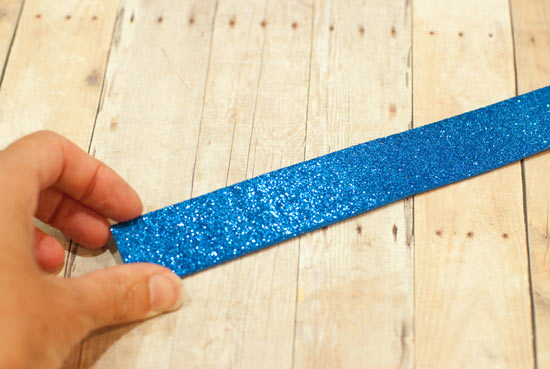
2. Track down your little fashionista and decide how much foam to cut off and overlap, so that the bracelet will fit well.
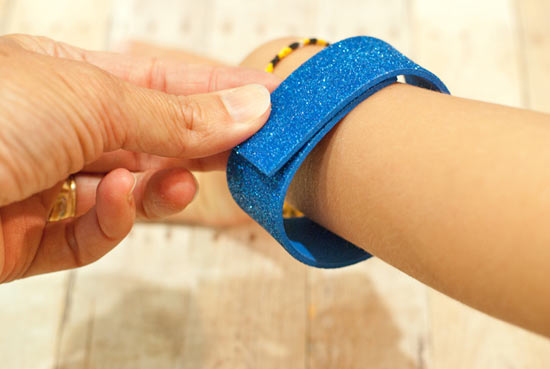
3. Mark the location for the button and for the button hole. The button hole will be on the top, and the button will be on the lower side.
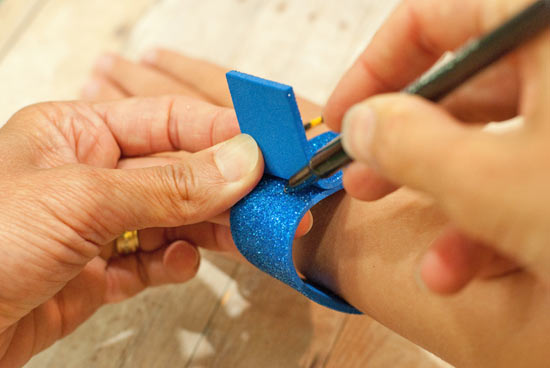
4. Choose a button and place it on the foam strip to get a feel” for how it will look.
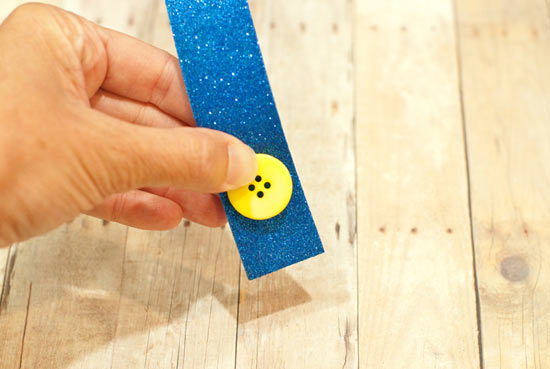
5. Cut the other side with your craft knife just long enough for the button to slide through.
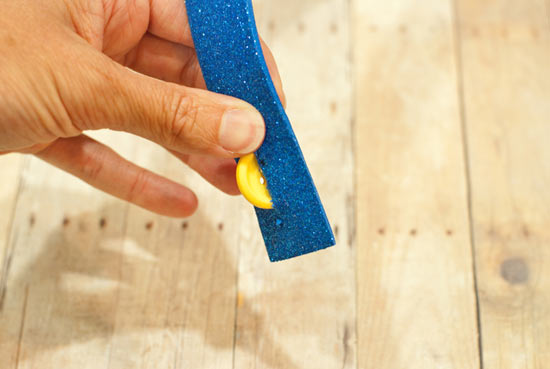
6. Thread your needle and knot one end. Go back to the other end of the foam and place your button face up, and place a toothpick on top of the button.
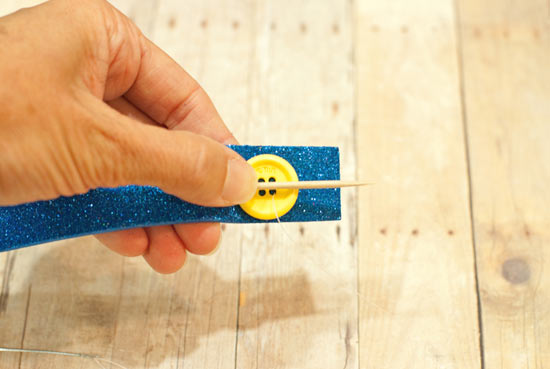
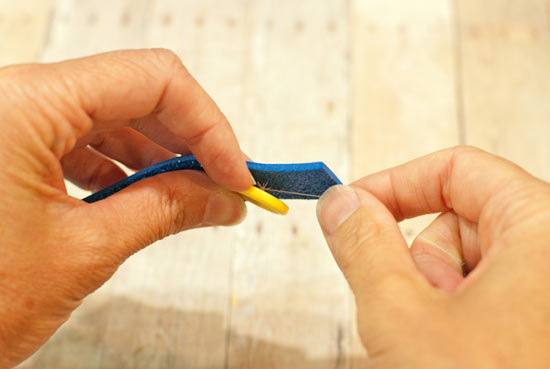
7. Sew the button onto the foam, making sure you also sew over the toothpick. The toothpick provides enough room for the button to lift slightly off the foam. Tie the thread off at the back but don’t clip it yet.
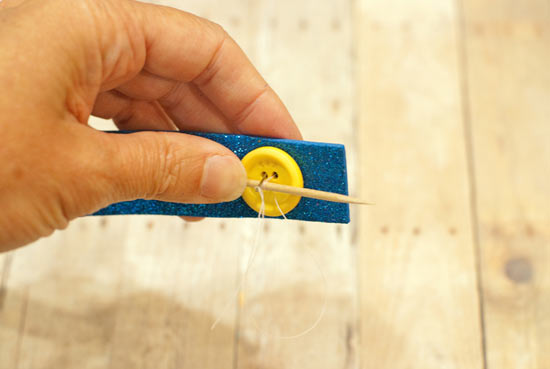
8. Remove the toothpick and pull the button up so there’s a space between it and the foam.
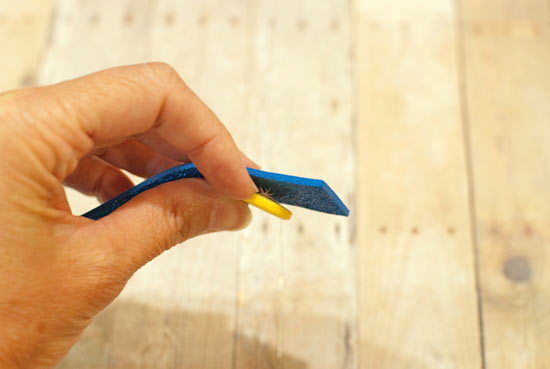
9. Bring the thread back through the foam but not through the button. Wrap the thread around the the stitches that are under the button several times – this makes what’s known as a thread shank” so the button is securely lifted off the foam. Tie the thread off and clip. Now present it to the recipient and let her ooh and ahh over it! These make great party favors!
