
Search results
208 results found.
208 results found.
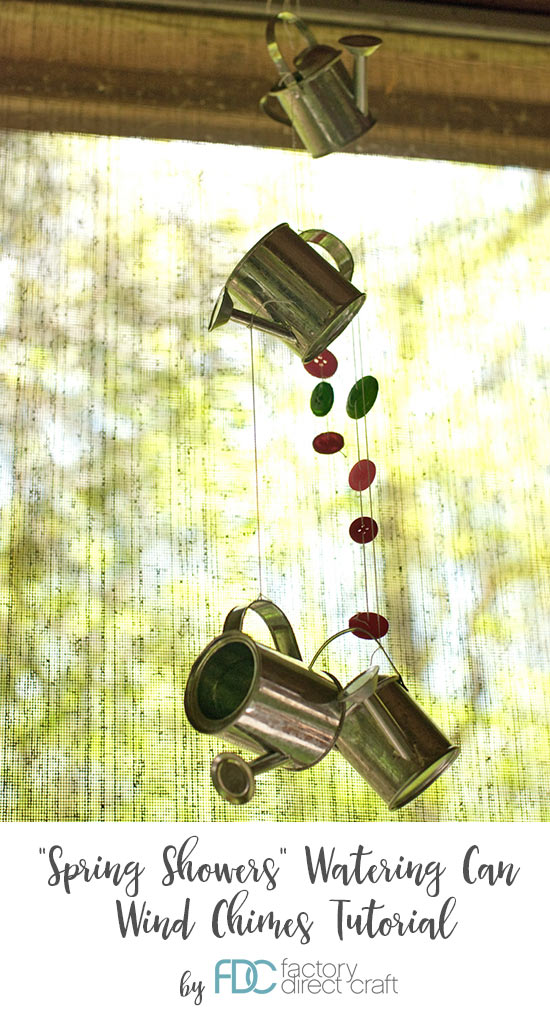
Show off your love for gardening by hanging a wind chime made of mini watering cans on your deck or from the eaves of your gardening shed. Add as many strands of buttons as you’d like, or even add more miniature cans for a bigger wind chime sound.
Difficulty level: Easy
Time to complete: 30 minutes
Age range: 10+
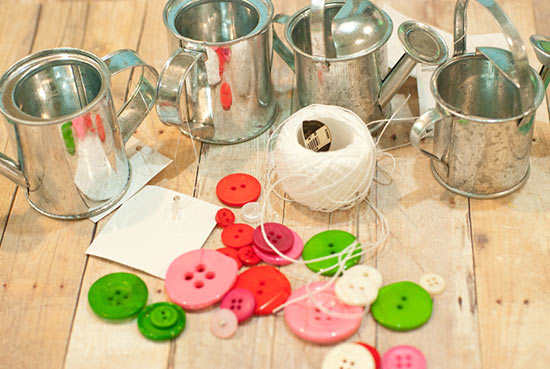
Things you’ll need:
3-5 miniature watering cans
Buttons
Scissors
Hot glue gun
Glue sticks
Heavy thread
Needle with a large eye
Things to do:
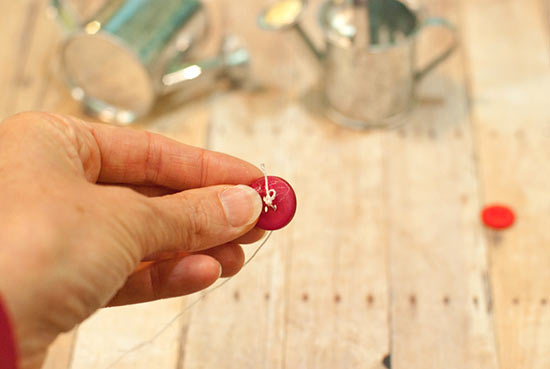
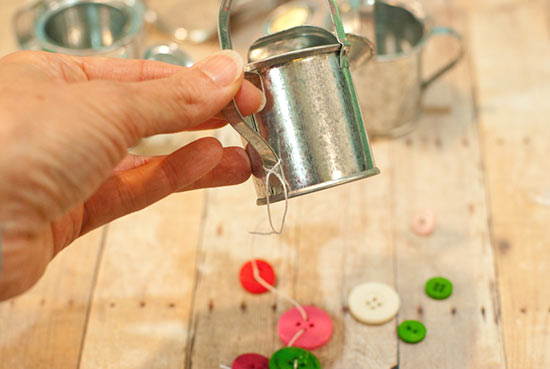
1. Thread a button onto one end of the thread and knot the thread, then glue in place.
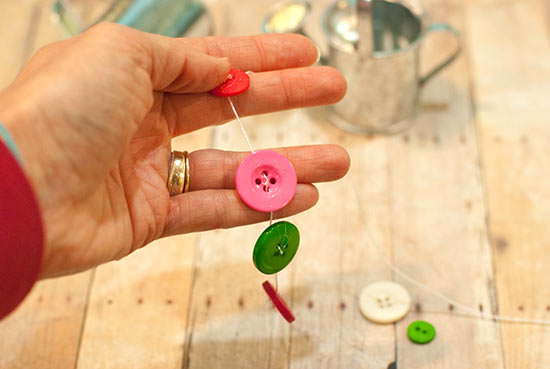
2. Add other buttons to the thread and tie off. If desired, keep them in place with hot glue along the length of the thread. Create at least two threads of buttons, but you can also have more. Leave enough thread at the top to tie onto the watering cans.
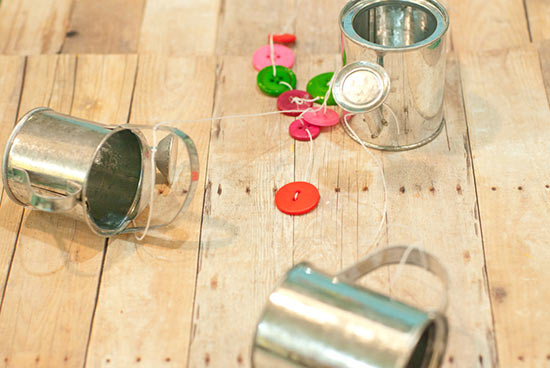
3. Add the strings of buttons to the can handles.
4. String the cans together at varying lengths so they’ll clank together with themselves and the button strings, to create the wind chime sounds.

Keep your iPad scratch-free with this charming sleeve! In a few simple steps, you can transfer a piece of cork into a functional case, protecting your devices in style.
Difficulty level: Beginner
Time to complete: 30 Minutes
Age range: 12 and Up
Things you’ll need:
Cork sheet
Scissors
Baker’s twine
Yarn needle
Button
Things to do:
1. Flatten your cork sheet and lay your iPad on top. Measure about 1-inch from the sides and cut around the perimeter.


2. Cut a second cork sheet with the same dimensions.

3. Lay the matching cork sheets on top of each other and start stitching around the edges with baker’s twine. Feel free to stitch a creative pattern to add a personal touch.

4. Stitch around three sides of the cork, leaving an opening at the top to slip the iPad in.

5. Once your sewing is complete, add a cut button detail to the front. Use baker’s twine to stitch it in place.

