
Search results
58 results found.
58 results found.
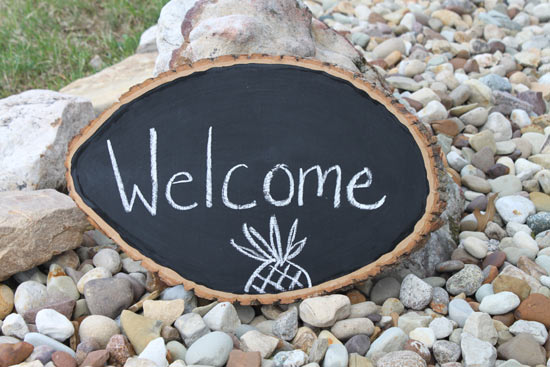
Add some rustic DIY touches to your home with by making this wood chalkboard sign. The large rustic natural wood tree trunk slice comes perfect ready to DIY- no prep work or Lumberjack required. Just paint with chalkboard paint and add your own special messages to your new earth-friendly sign!
Difficulty level: Beginner
Time required: 10 minutes (plus drying time)
Age range: Any age with supervision of paint
Things you’ll need:
Large Rustic Natural Wood Tree Trunk Slice Base
Chalkboard Paint
Foam Brush
Chalk
Things to do:
1. Give your chalkboard paint a good shake before opening. This will help mix up the paint. Apply the first coat evenly on the wood slice. Follow the natural tree ring line around the inner edge (about a 1/2 inch from the outer edge) of the slice to create a more natural looking design.


2. Allow first coat of paint to dry for 1 hour before reapplying.

3. Apply the second coat of chalkboard paint to the wood slice. Allow the second coat of paint to cure overnight.
4. After 24 hours, lightly rub chalk over the surface of the wood. This will help season your chalkboard for use.

5. Use chalk to personalize your sign. Use a damp cloth to erase your chalk writing as needed.
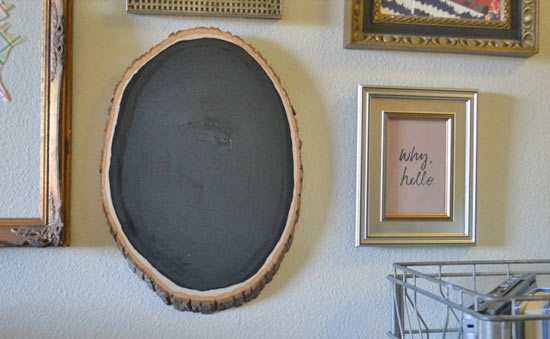
This log slice chalkboard combines the elegance of rustic glamor decor and the practicality of a chalkboard to create the perfect wall hanging for your home.
Difficulty level: Beginner
Time to complete: 3 Hours
Age range: 12 and Up
Things you’ll need:
Large log slice
Picture hanger
Chalk paint
Foam brush
Small Paintbrush
Chalk
Things to do:
1. The first step is attaching the picture hanger to the back of your log slice. Simply measure 1 inch from the top of the log slice and push the picture hanger in.

2. Next, we’re going to start painting the log slice. Start at the top corner and work your way downward and in. For the first coat, try to keep the paint about a 1/2 inch away from the outside boarder. Try to keep your strokes going in the same direction for a clean look.

3. Once the first coat of paint is dry, apply a second layer.
4. Use a small paintbrush to outline the outside edge of the chalkboard, creating a clean line.

5. Let the chalkboard paint dry completely. Once it is dry to the touch, cover the surface in chalk and whipe it clean. This cures the board, making it ready to use!