
Difficulty level: Beginner
Time required: 30 minutes
Age range: 12 and up; optional adult supervision with hot glue gun
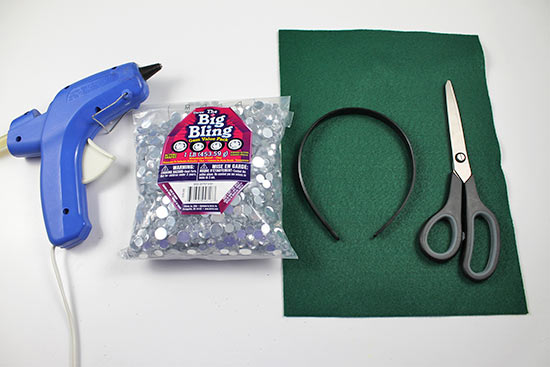
Things you’ll need:
Pen or marker
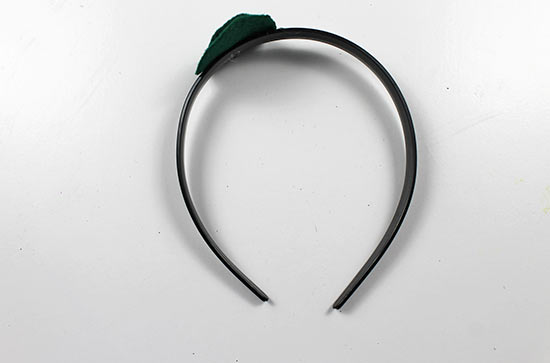
Black Plastic Headband
Scissors
Hot glue gun and glue sticks
Kelly Green Felt
Flat-Backed Rhinestones
Things to do:
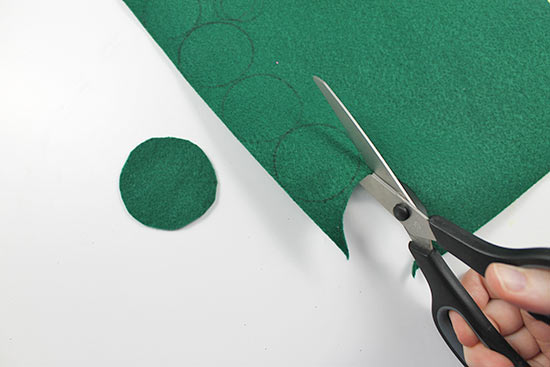
1. Using the tracing tool, trace felt circles of various diameters using objects from around the house such as jar lids, coasters, etc. We cut 1 large circle (2 1/4 “), 3 medium circles (1 3/4 “), 3 small circles (1 1/2 “), and 3 extra-small circles (1”).

2. Cut out the felt circles.
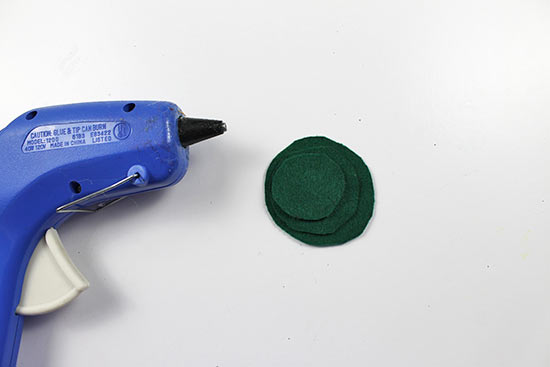
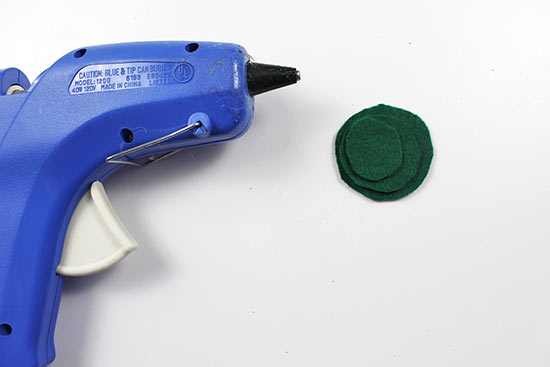
3. To make the large flower cluster, place the largest felt circle on the work surface. Using the hot glue gun, glue a medium circle on top of it. If you’d like, you can glue the circle a bit off center like we did here.
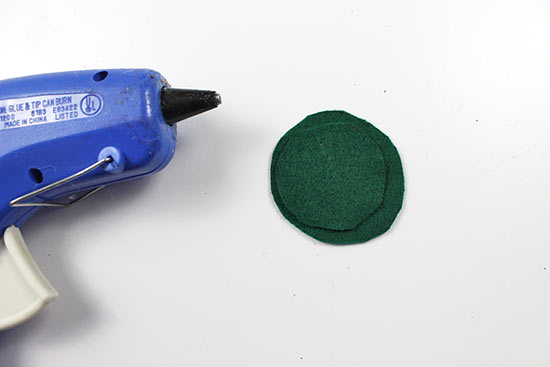
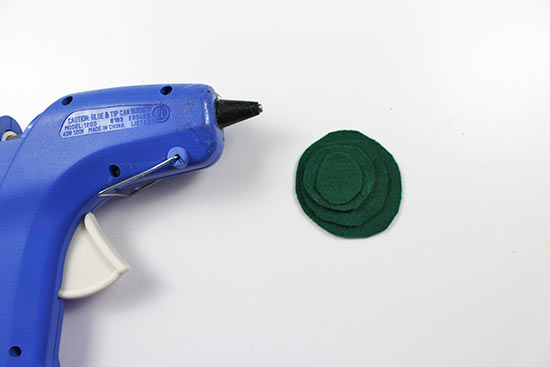
4. Glue a small circle on top of the medium one, again layering it off center if you’d like.
5. Glue an extra-small circle on top to complete the cluster.
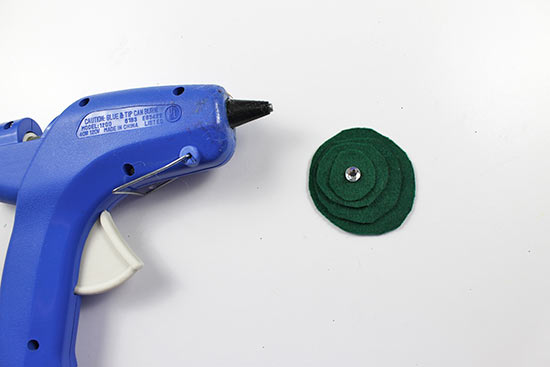
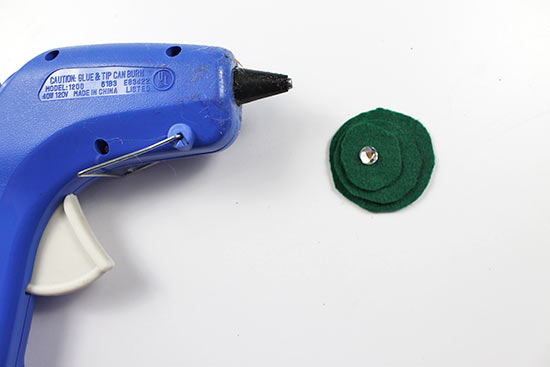
6. Glue a small flat-backed rhinestone to the center of the smallest circle.
7. To make the small flower cluster, place the medium felt circle on the work surface. Glue a small circle on top of it.
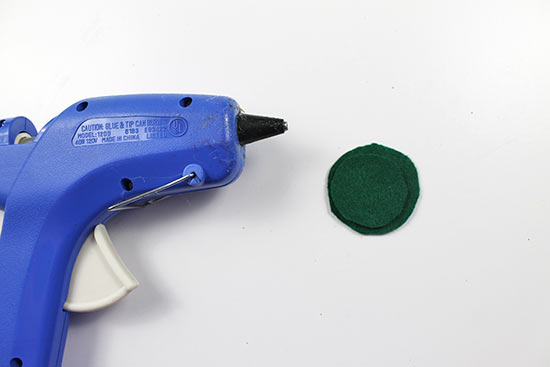
8. Glue an extra-small circle on top of the small circle.
9. Glue a small flat-backed rhinestone to the center of the smallest circle.
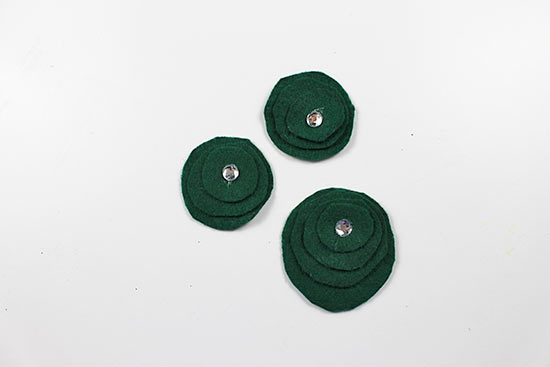
10. Repeat steps 7-9 to create another small flower cluster. You should have a total of three flower clusters.
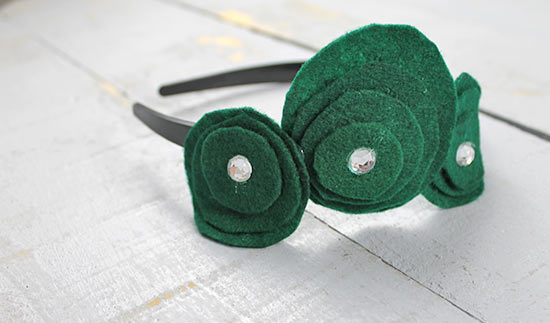
11. Glue one smaller flower cluster to the headband, placing it slightly to the side and just below the center top of the headband.
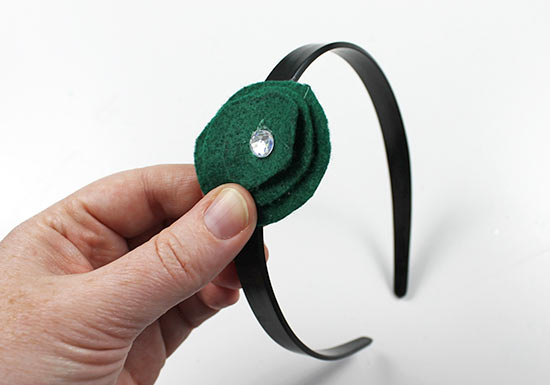
12. Place the largest flower cluster on the headband below the smaller cluster, overlapping the smaller cluster.
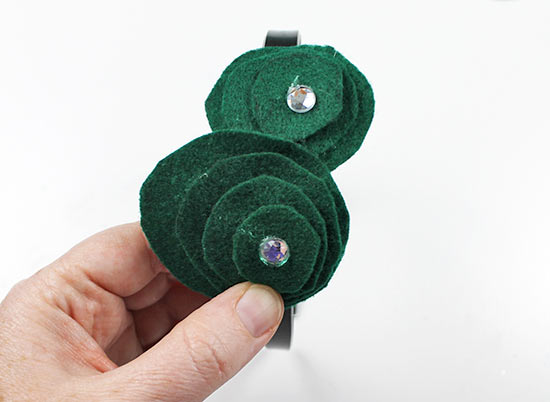
13. Place the second smaller flower cluster on the headband below the largest cluster, overlapping the large cluster.
