Difficulty level: Beginner
Time required: 20 minutes
Age range: 12 and up
Things you’ll need:
Hair combs
Yarn
35 mm pompom maker
Scissors
Things to do:
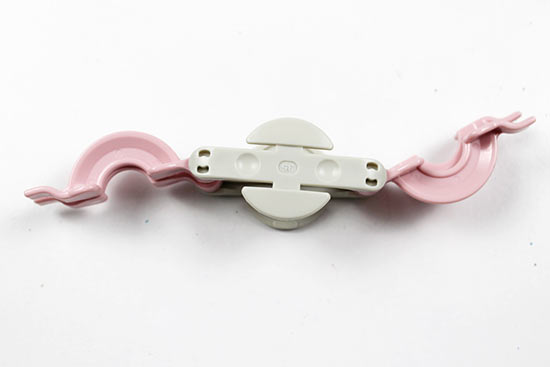
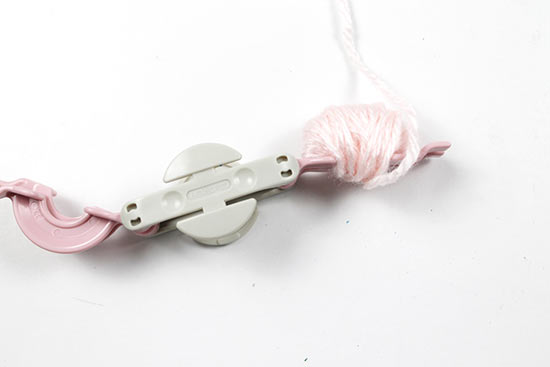
1. Place the two pieces of the pompom maker together, if they are not already connected.
2. Begin wrapping the yarn around one end of the pompom maker.
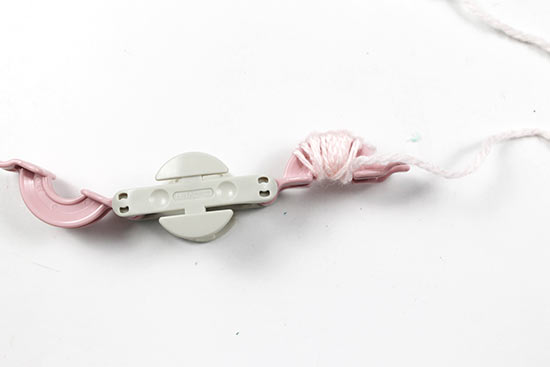
3. Wrap until the yarn is thick and covers the entire half circle. If you’re not sure if the yarn is thick enough, test it by folding the half circle into the center of the pompom maker. If it fits easily with some room between the pompom maker and the yarn, you may need to wrap more yarn.
4. When the half circle is full, fold it into the pompom maker. Begin wrapping the opposite half circle until it is full and even with the other half circle.
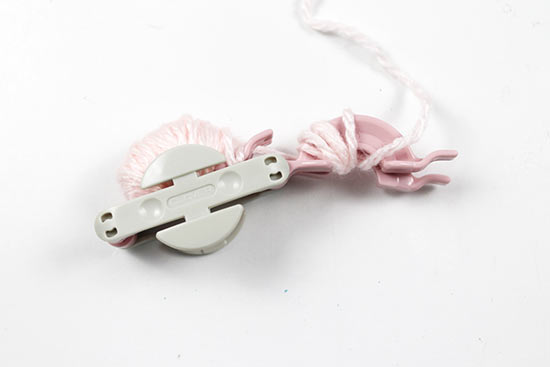
5. Fold the circle into the center of the pompom maker. Cut the yarn.
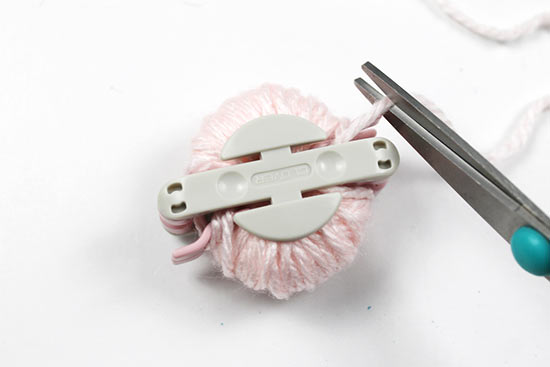
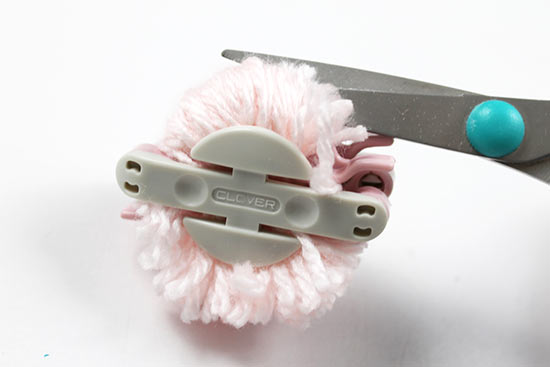
6. Cut the loops of the pompom on one side, holding the pompom maker in place if necessary.
7. Repeat on the other side, cutting the opposite side’s loops.
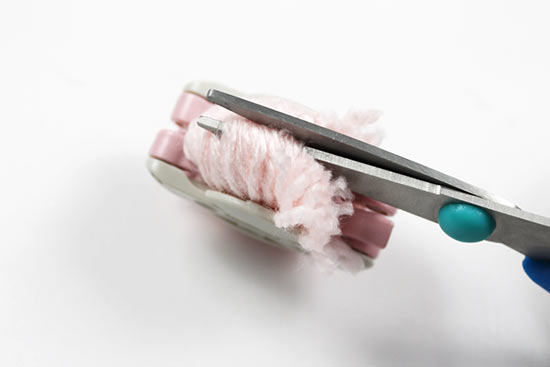
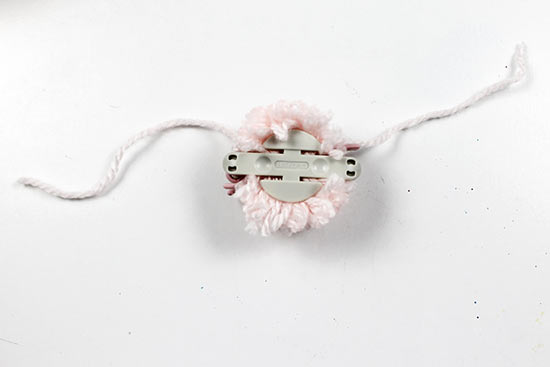
8. When all loops are cut, cut a 5-6″ strand of yarn. Tie the strand around the pompom maker and tightly tie a double knot to secure the pompom.
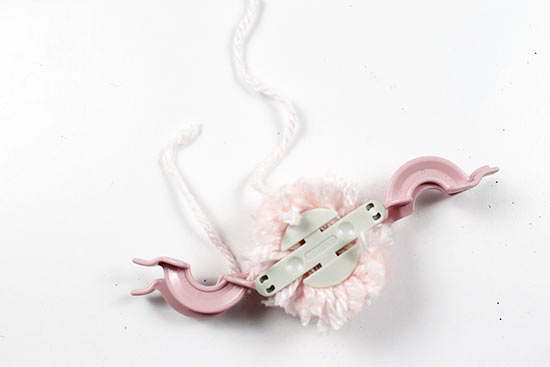
9. Open the half circles back up.
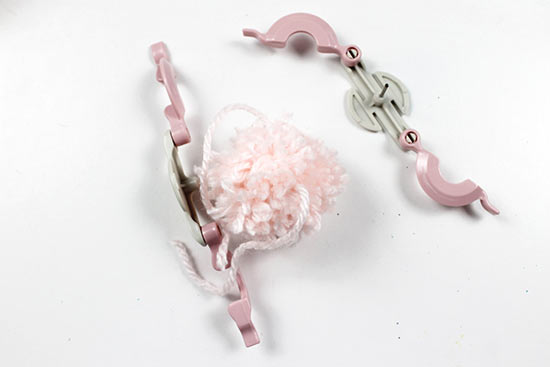
10. Pull the pompom maker apart to release the pompom.
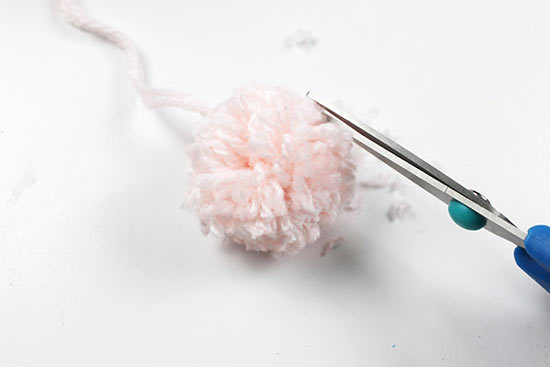
11. Give the pompom a haircut to evenly trim the edges.
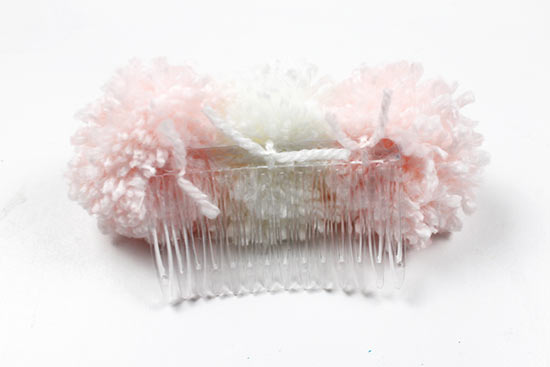
12. Using the long yarn tails from the tie, slide one of the ties between the second and third teeth of the comb.
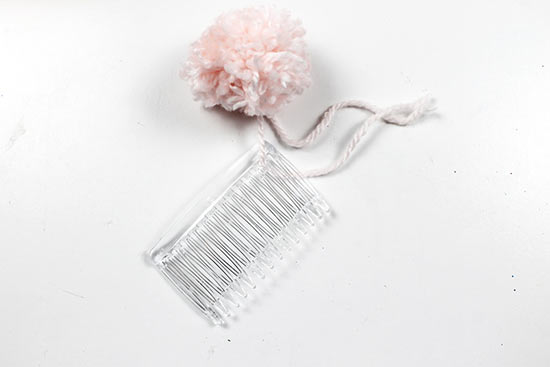
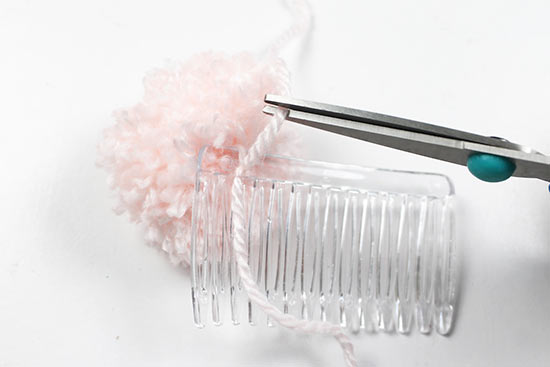
13. Tie the two long tails together, knotting them on the back of the comb. Trim the knots so that the tails are even with the pompom.
14. Repeat steps 1-11 to create two more pompoms.

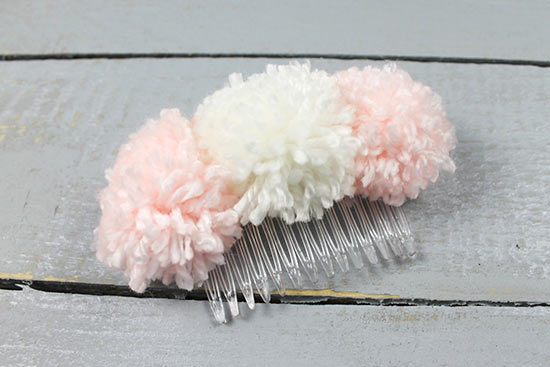
15. Tie the second pompom between the two center teeth of the hair comb.
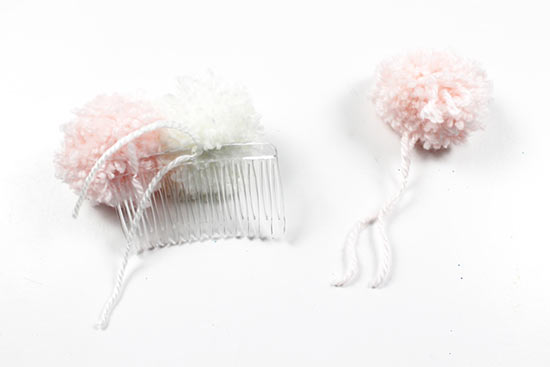
16. Tie the last pompom between the second and third teeth on the other end of the comb. Trim all the knotted ends.