Things you’ll need:
Tape
10″ embroidery hoop
Yarn in colors of your choice
Scissors
Scrap piece of cardboard cut to 4″ wide
Things to do:
1. Separate the two sections of the hoop. Tape one end of yarn to the inside section.
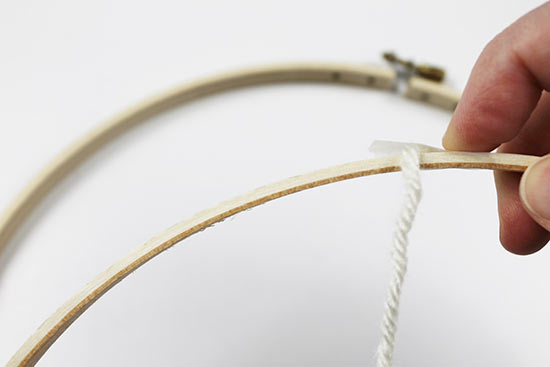
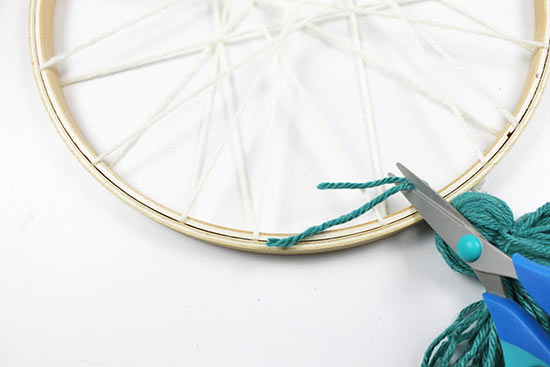
2. Begin wrapping the yarn tightly around the hoop, wrapping back and forth.
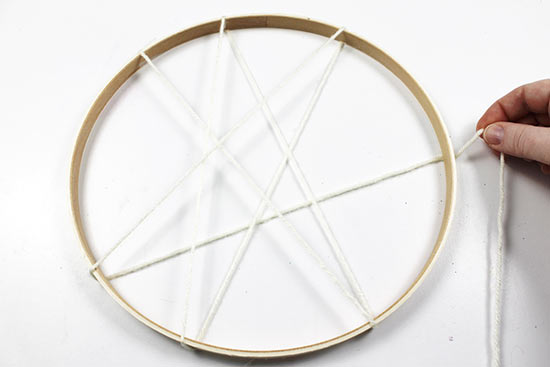
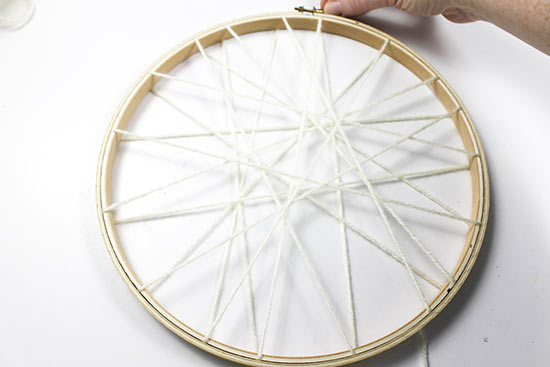
3. Wrap until you have several criss-crosses across the hoop.
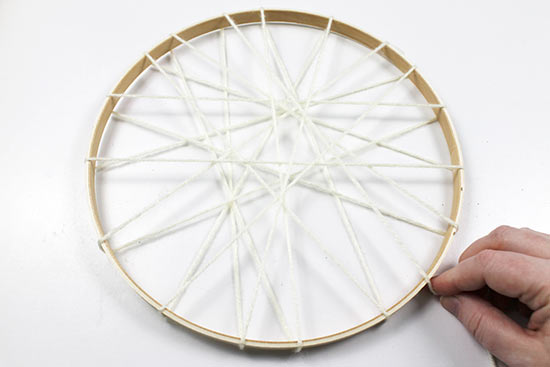
4. Holding the yarn tail in place with your hand, slide the other section of the hoop over the wrapped section. Tighten the screw at the top of the hoop.
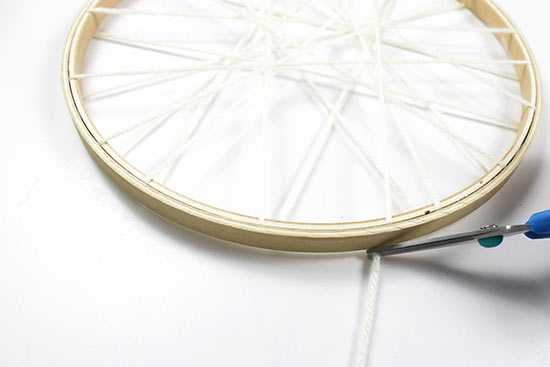
5. Trim the yarn tail close to the hoop.
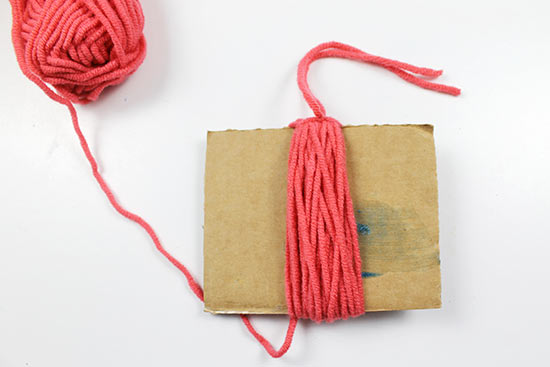
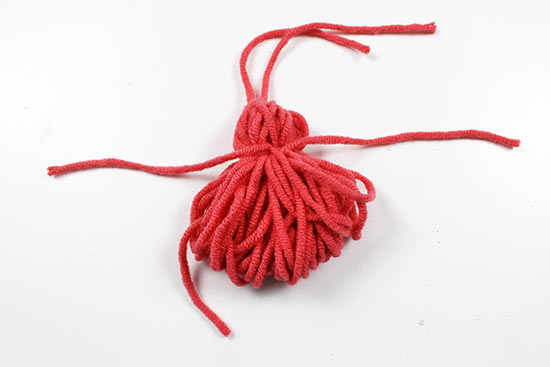
6. Cut two 6″-long pieces of yarn and set them aside. Begin making tassels by wrapping yarn around the 4″ piece of cardboard. Wrap the yarn until the tassel is quite thick. Using one of the 6″-long pieces of yarn, slide the yarn under the tassel strands and secure at the top.
7. Remove the tassel from the cardboard and trim the end. Wrap the second 6″-long strand around the tassel about 1″ from the top tie.
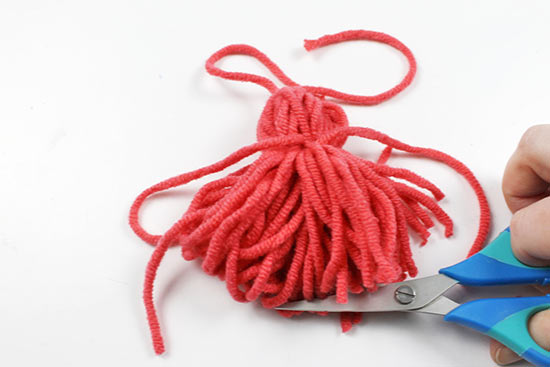
8. Using scissors, cut the loops at the bottom of the tie.
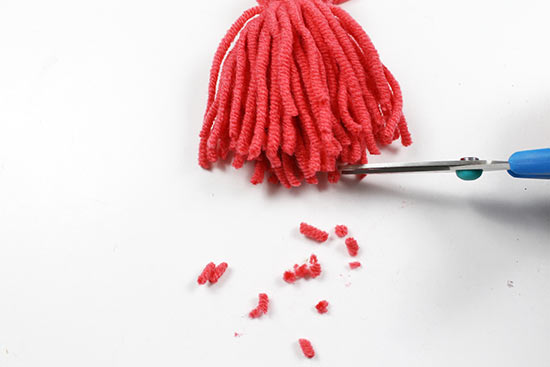
9. Trim the tie so that the ends are even, including the ends of the tie.
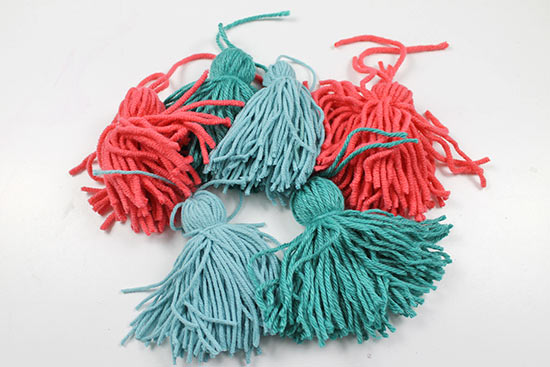
10. Repeat steps 6-9 to create a total of six tassels.
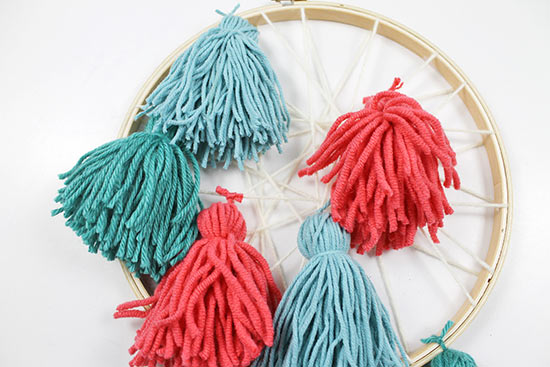
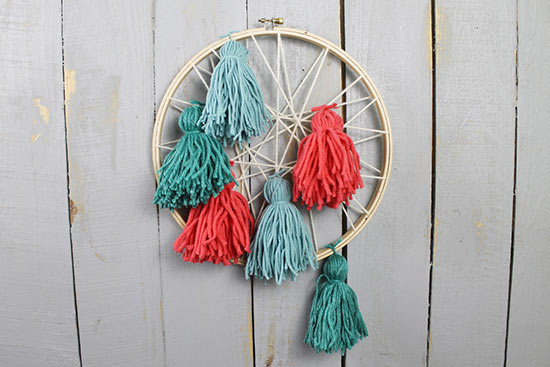
11. Using the top ties of the tassels, begin attaching the tassels to the dreamcatcher by tying a knot. If you’d like, you can attach tassels to the hoop edges. Once the tassels are attached securely, trim the knots.
12. Add tassels to the criss-crossed yarn strands. There’s no right or wrong way to arrange them.
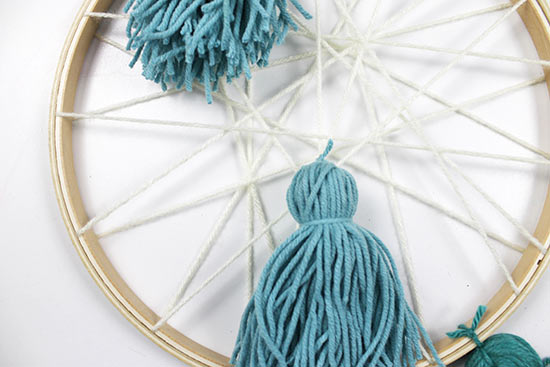
13. Continue until you have attached and trimmed all six tassels.