Skip to search Skip to navigation menu Skip to main content Selecting option will reload page

Category: Winter Crafts

Scrappy Washi Tape Tree


I’m not generally a fan of bulk bought holiday cards since I prefer to make them myself and I like to have a few options up my sleeve when it comes down to the actual card making so I can tailor them a bit to my recipients. This Washi Tree is a fast, fun and festive and would look just as fabulous adorning a gift as is does on a card. Cute, cute, all around!

Difficulty level: Easy
Time required: 5 minutes

Things you’ll need:
Washi tape in holiday colors including Star Washi Tape
Scissors
Cardstock or blank card

Things to do:
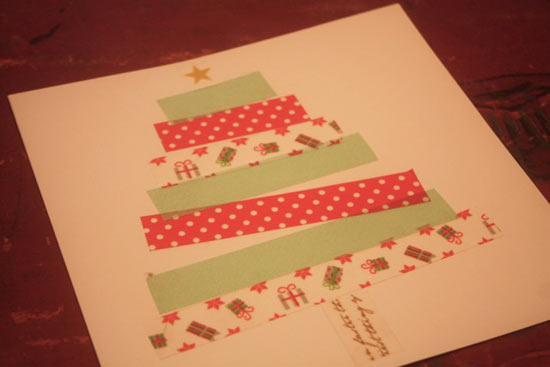
1. The key to making this scrappy washi tree work is to not overthink it. Don’t try to get super straight lines, don’t try to make them all angle evenly, just have fun! Starting near the bottom of the card smooth down a strip of washi that almost reaches the side of the card, making sure the cut ends are squared off.
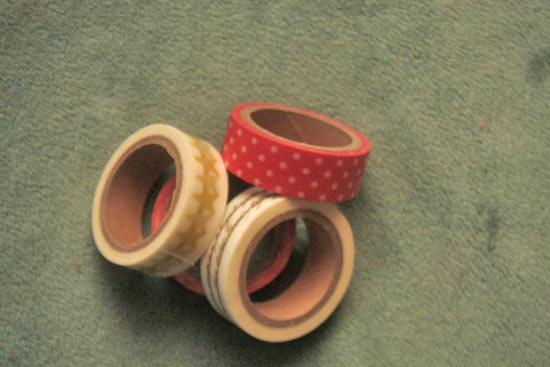
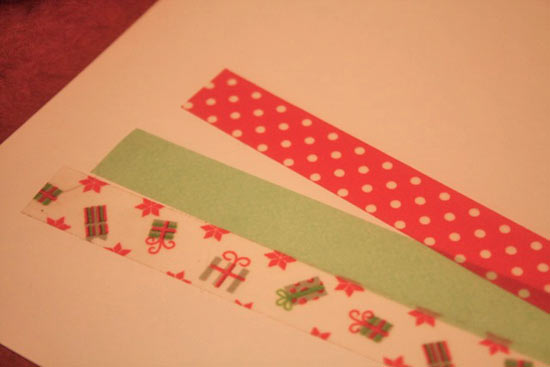
2. Smooth down more lengths of washi, each a little shorter than the last, at slight angles to the first, overlapping in places here and there.
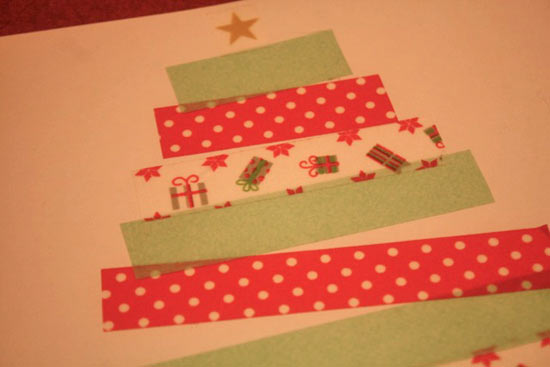
3. Continue to lay down shorter and shorter pieces of washi to for the tree until you are near the top of the card. Cut out a length of the Star Washi so you have a single star and top the tree with it. Use another piece of darker washi to make a trunk at the bottom. Make sure all edges are square and the tape is smoothly pressed down.
Continue Reading

Handmade Natural Seed Holiday Ornaments


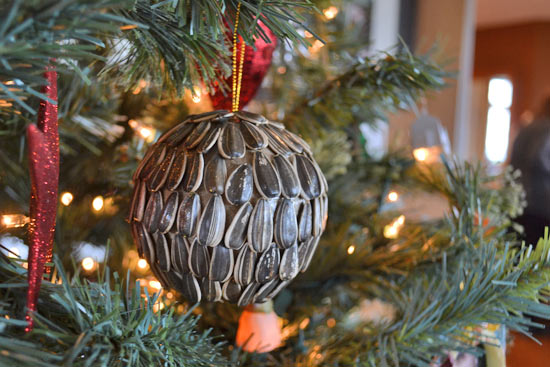
These rustic ornaments are country chic, making them the perfect addition to your Christmas tree. Experiment with different materials, including sunflower seeds, flax, and feather, to create a unique set of ornaments that will bring a creative element to your decor.

Difficulty level: Beginner
Time to complete: 10 Minutes
Age range: 10 and Up

Things you’ll need:
Paper mache ball ornaments
Sunflower seeds
Crafters Pick Glue
Paint brush
Gold glitter spray

Things to do:
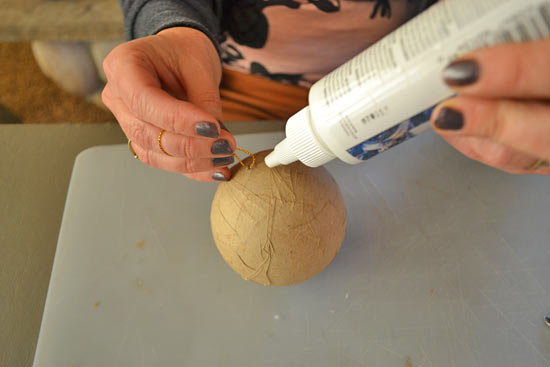
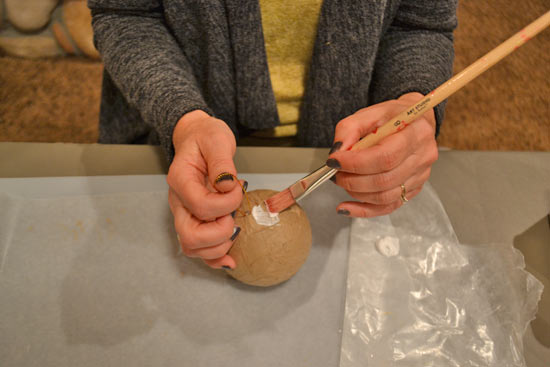
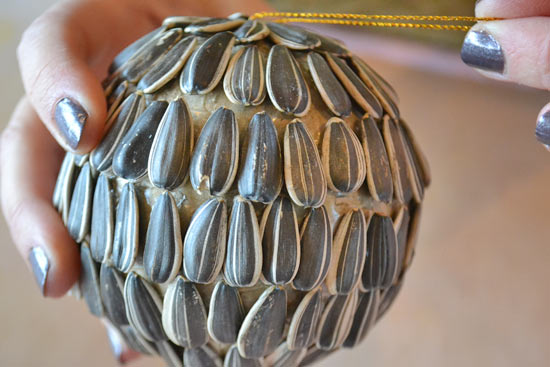
1. Paint the paper ornament with glue, covering the first inch of the ball in a circle shape.


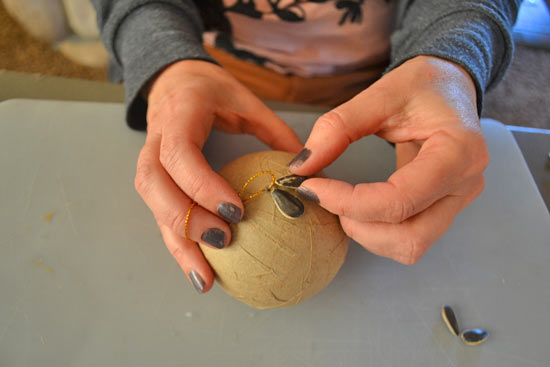
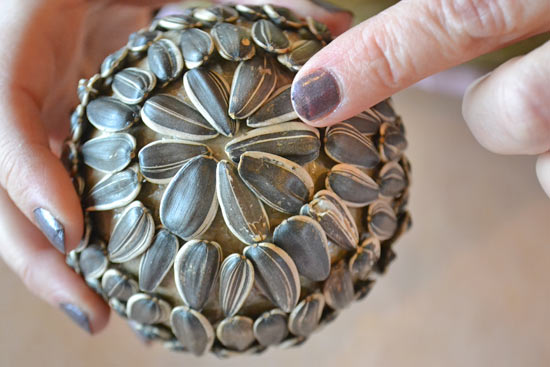
2. Cover the glued area with sunflower seeds, creating a pattern that points up and in with the narrow part of the shape facing the top of the ornament.


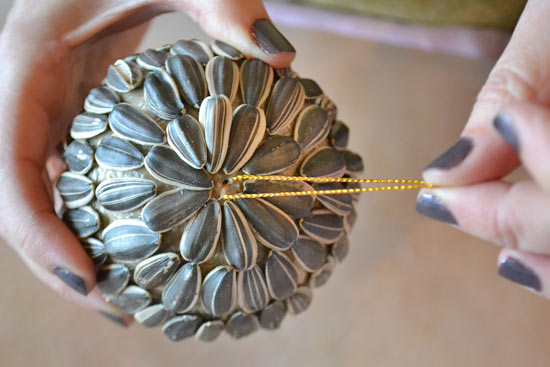
3. Repeat steps one and two until the first half of the surface of the ornament is covered with seeds.
4. Allow the first half of the ornament to dry.

5. When you reach the bottom half of the ornament, face the sunflower seeds in the opposite direction, allowing them to narrow into a perfect circle that will fit on the ornament.

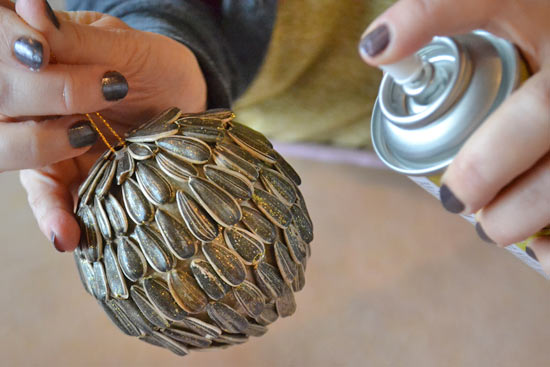
6. Allow ornament to dry and then spray the surface with gold glitter to taste.

Continue Reading
Change Your Country
Please select your country, this will change the site to your country's currency:

Cancel