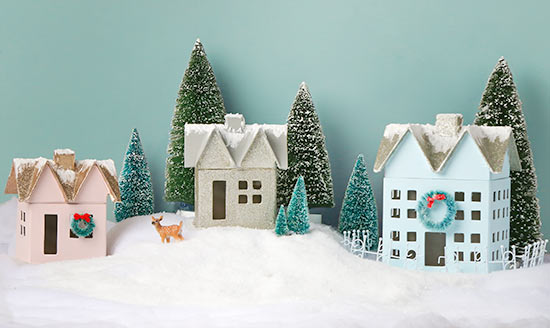
Nothing says Christmas as much as a small shimmery village display. Finished with a sprinkling of glitter “snow,” this little homemade house is ready to join its neighbors in a shimmering holiday village.
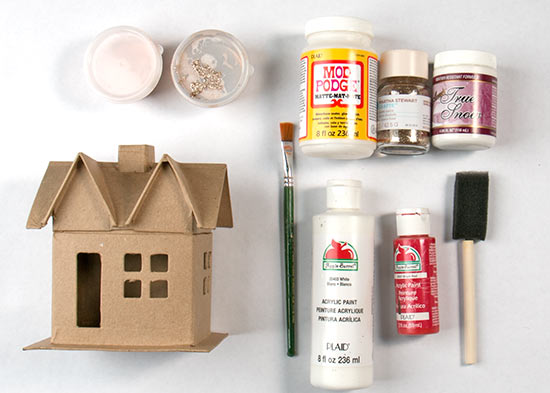
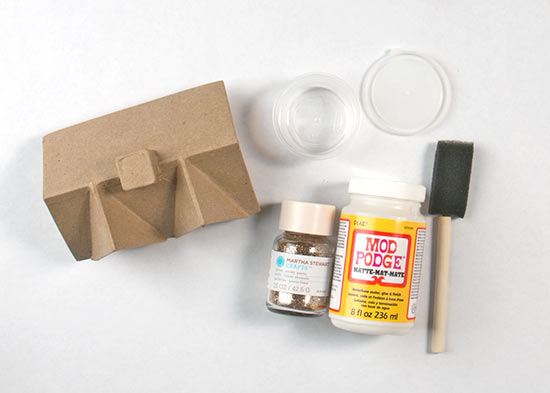
Things you need:
Paper mache house #1
Paper mache house #2
Martha Stewart Glitter
Mod Podge
Foam brush
Acrylic paint
Bottle brush trees
Aleene’s True Snow
Paint brush
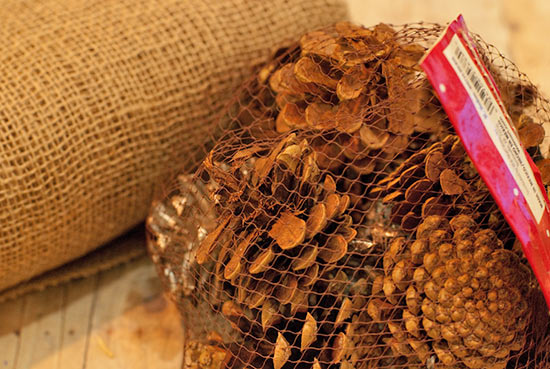
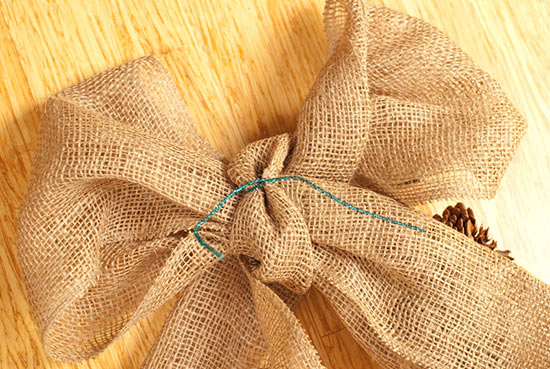
Other miniatures for embellishments
Things to do:
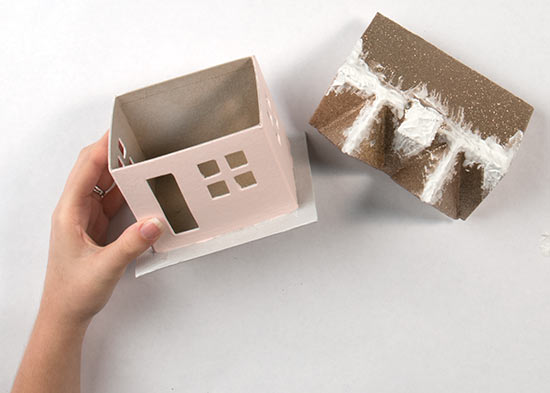
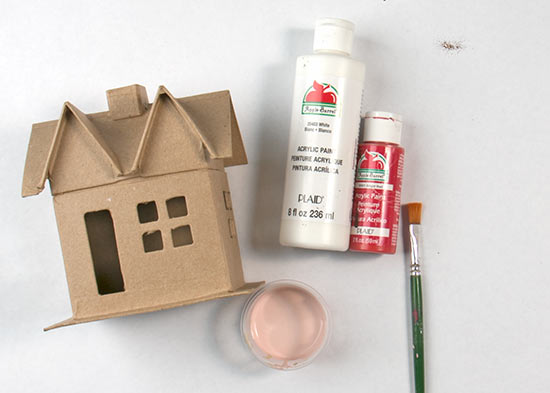
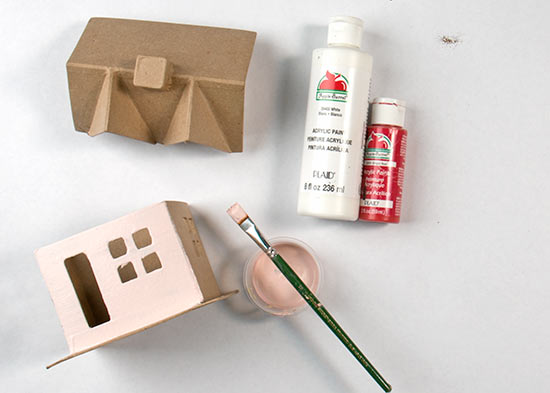
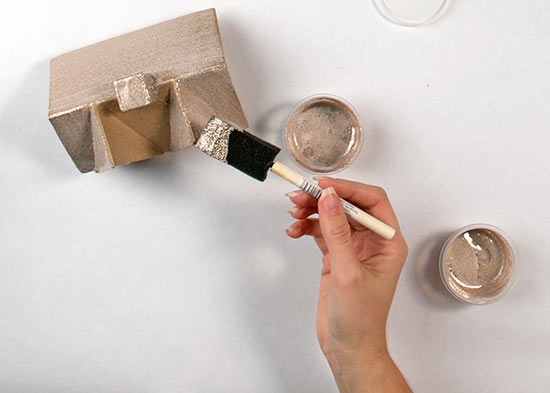
1. Pick your paint colors! I chose to go with a lighter, pastel-y color theme to replicate the classic Putz houses. Now is also the time to decide which part of the house you want to paint and what part of the house you want to glitterfy. I’m painting this house on the bottom half and glitter its roof. Paint the entire bottom half of the house. Set aside and let dry.
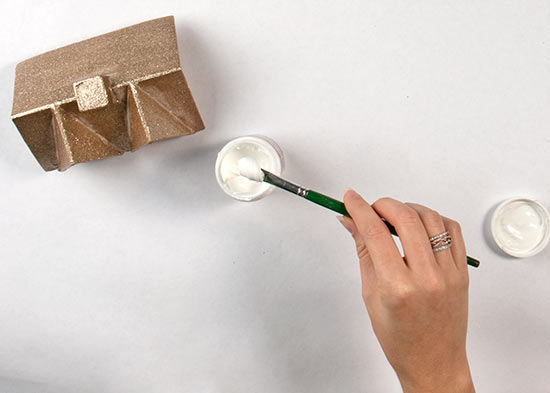
2. Next is the best part… glittering the roof! The secret to glittering anything and not having it rub off all the time is… MOD PODGE. Simply mix together your choice of Mod Podge and glitter. There isn’t exact measurements. You just want to make a thicker paste. Be sure to use only fine glitter because chunkier glitter tends seize up.

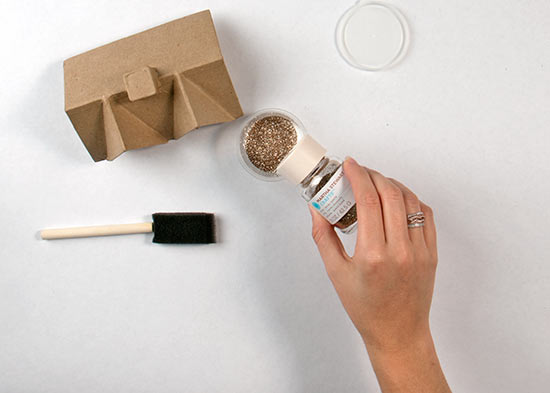

3. Using a foam brush, cover the entire roof with your Mod Podge glitter mixture. Set aside and let dry. **You may need to do a couple of layers, depending on the look you are wanting.
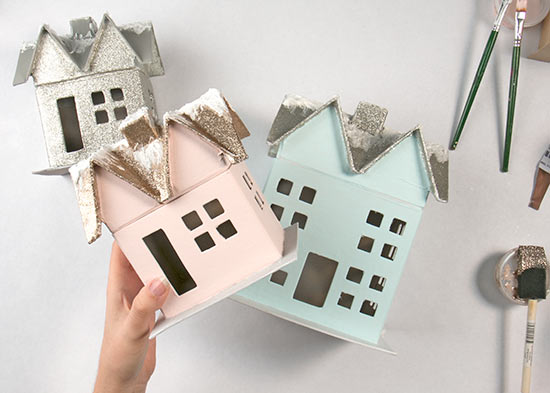
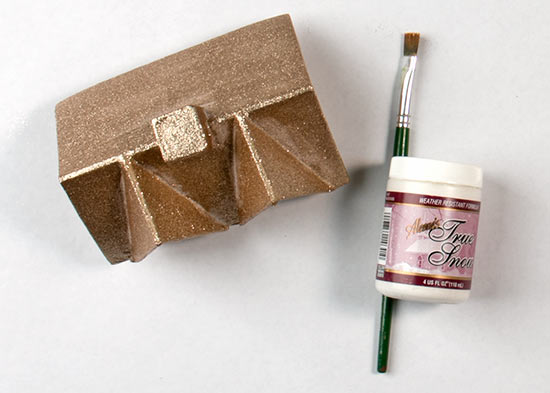
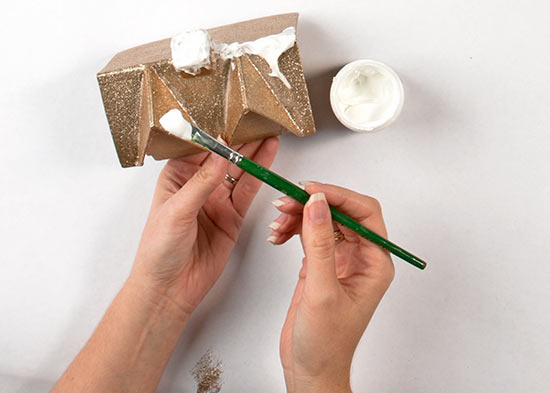
4. Time to add “freshly fallen” snow onto the roof! Using a small paint brush, apply little peaks of Aleene’s True Snow. Have a little fun with this! Apply as lightly or liberally as you want. Set aside and let dry.
5. Finally, add your embellishments to complete the finished look. Add wreaths onto doorways, bottle brush trees to front entries, and little white fences around the yard. Make several houses in different colors to create your own little Christmas village.