Skip to search Skip to navigation menu Skip to main content Selecting option will reload page

Category: Summer Crafts

Make Your Own Fairy Garden Rose Arbor


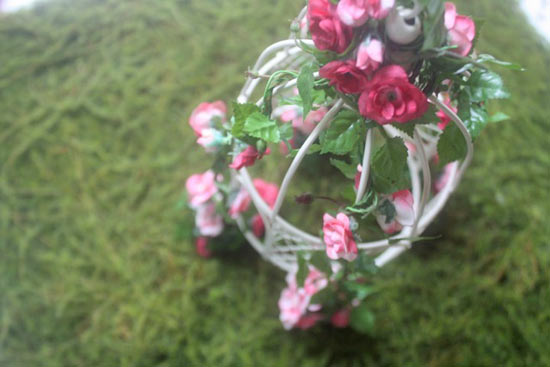
Fairies love garden, especially flower gardens. And no flower garden is quite complete without a pretty little rose arbor. This rose covered arbor will be the crowning glory of your fairy garden, sure to lure the tiny folk to your enchanted world.

Difficulty level: Moderate
Time required: 20 minutes

Things you’ll need:
Mini rose garland
Tiny Arbor
Wire cutters
Pencil

Things to do:
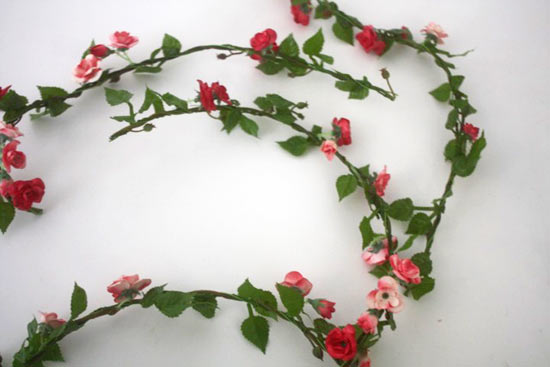
1. Cut the garland into four 12-inch sections, set the remaining piece of garland aside.
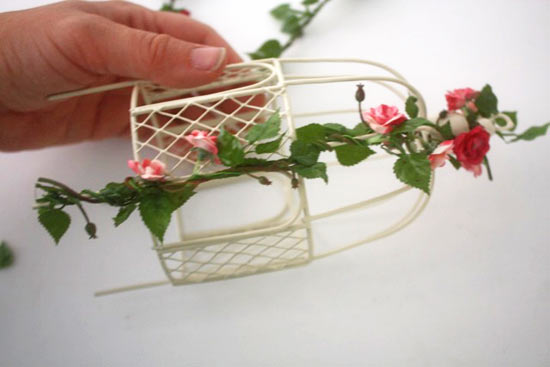
2. Wrap one of the sections around one of the feet of the arbor, wrapping tightly at the base, and then more loosely as you work up, working up to the top and then wrap tightly around the crown. Repeat with the remaining sides.
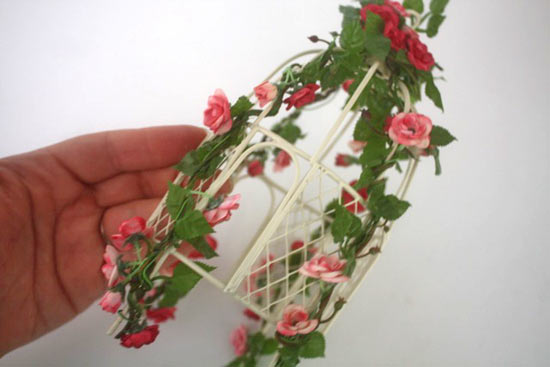
3. Cut the remaining section of garland into four equal sections.
4. Wrap each of the four pieces tightly around a pencil to create small rose bushes.
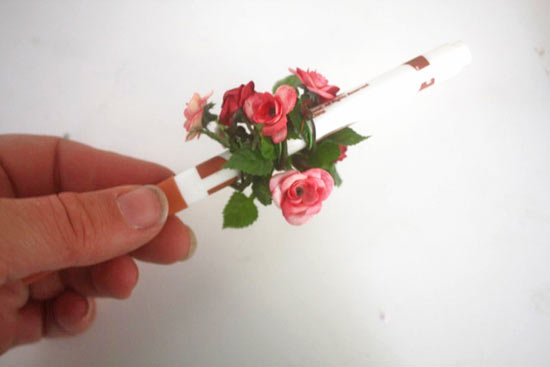
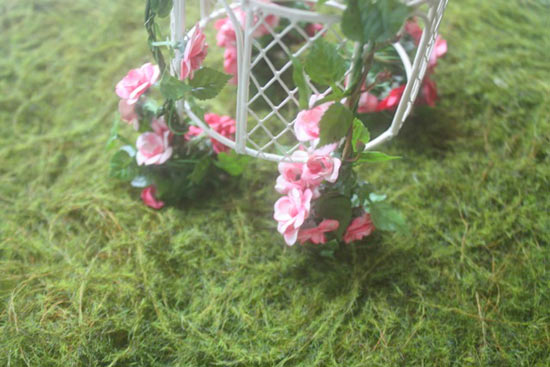
5. Push each of the “bushes” onto the base of the arbor legs and then place in your garden.

Continue Reading

DIY Permanent Waving Flags


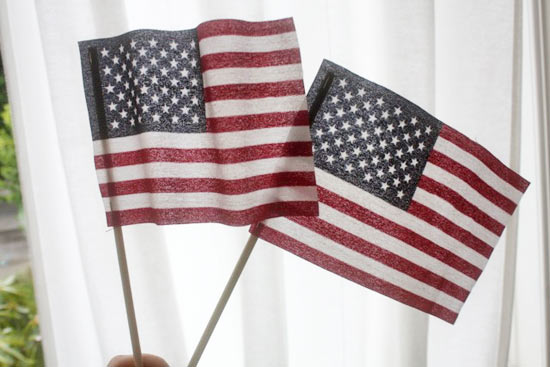
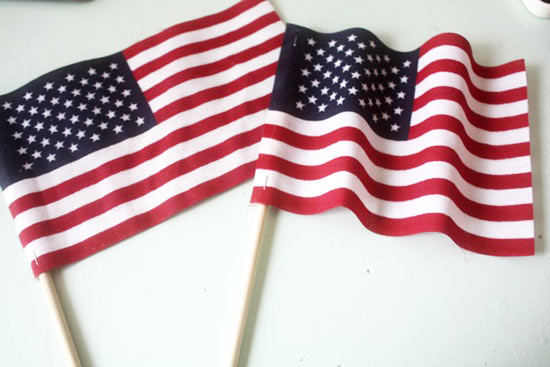
Summer is here at last and that means all sorts of parades, barbeques and picnics. And since Fourth of July falls right in the middle of all that summer fun, you know you’ll be needing some flags! The problem is that flags, whether they are new or pulled out of that summer fun storage bin, tend to be a little droopy on a breezeless day. Give your flags some oomph and keep them waving all day long with this little trick.

Difficultly level: Easy
Time required: 10 minutes plus dry time

Things you’ll need:
Fabric Flags
Flat surface and various curved things like pencils or rolling pins
Fabric Stiffener

Things to do:
1. Soak the fabric of your flag well with Fabric Stiffener. You don’t want it dripping but you want it nice and damp.

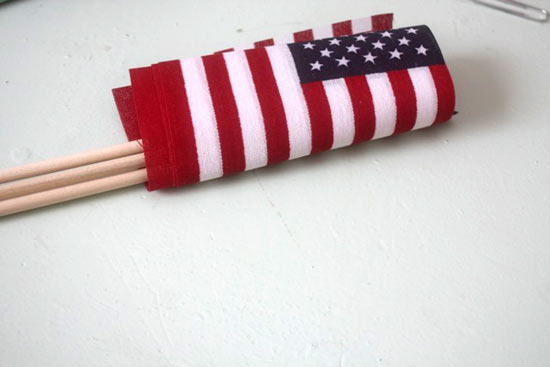
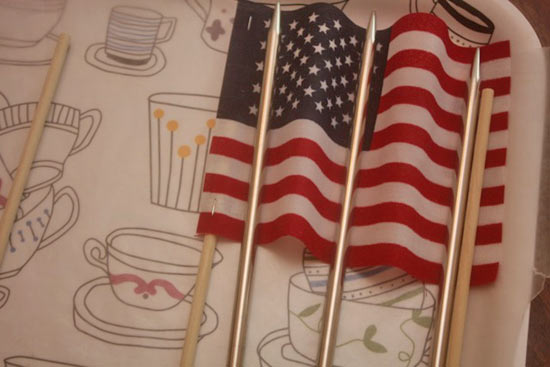
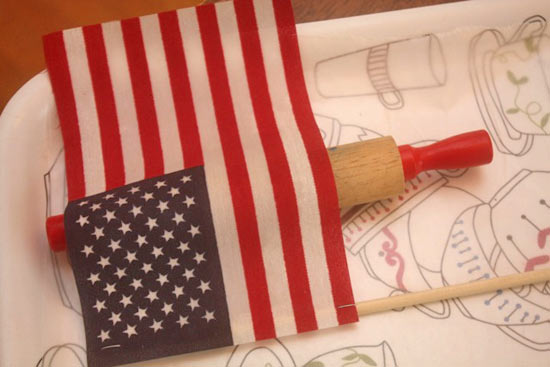
2. Lay your flag out on the flat surface to dry. Here’s where you can get creative with the shape that your flag will wave in! For a straight out flag, simply lay the flag fabric flat. For a lightly waving flag, slip a rolling pin under the center to create a gentle swell. For some wild flapping use pencils or knitting needles to form multiple U shapes in the flag.


3. Allow the flags to dry then remove your shaping tools and wave away!

Continue Reading
Change Your Country
Please select your country, this will change the site to your country's currency:

Cancel