Skip to search Skip to navigation menu Skip to main content Selecting option will reload page

Category: Summer Crafts

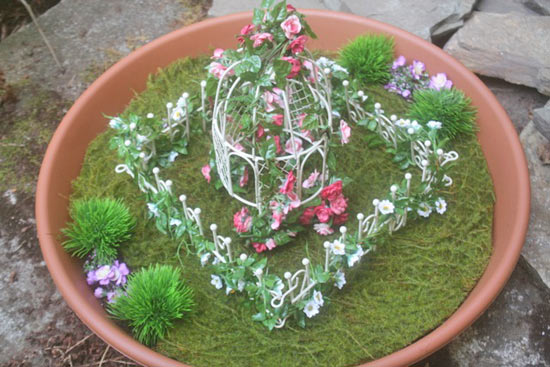
Potted Faux Rose Fairy Garden


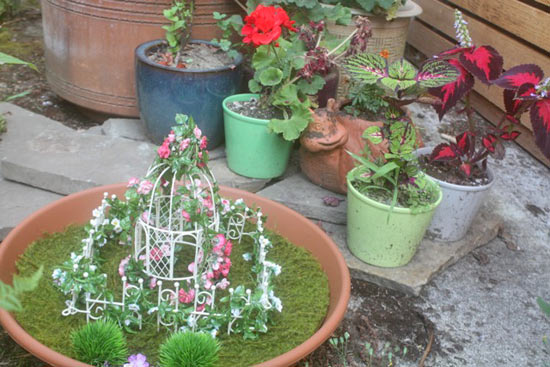
We love fairy gardens around here, and we’re always adding to them to please our little magical friends, making their spaces extra special and oh so fun! This rose garden is our newest addition to the fairy world. Built in a pot saucer, it’s easily movable and lightweight, meaning it can be brought inside or out as the fairies (or the dollies who sometimes use our fairy gardens for playing) take a fancy to a new location. So lovely. And so fun!

Difficulty level: Easy
Time required: 30 minutes

Things you’ll need:
Terra Cotta Saucer
Moss sheet
Potting soil
Scissors
Rose Arbor
Flower Fence
Plant picks
Flower garland
Craft knife
Pebbles

Things to do:
1. Begin by cutting your moss sheet to fit snugly into your saucer. You can flip your saucer over onto the moss to use it as a guide.
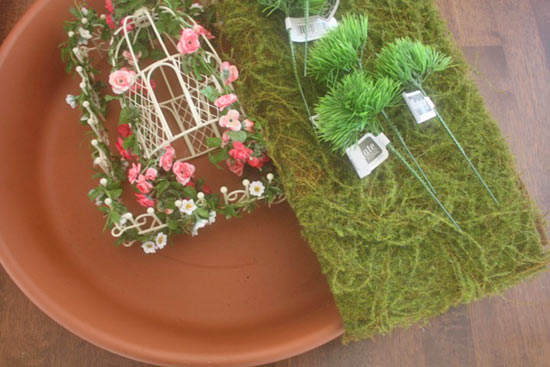
2. Fill the saucer with about 1 inch of soil and press it down to flatten.
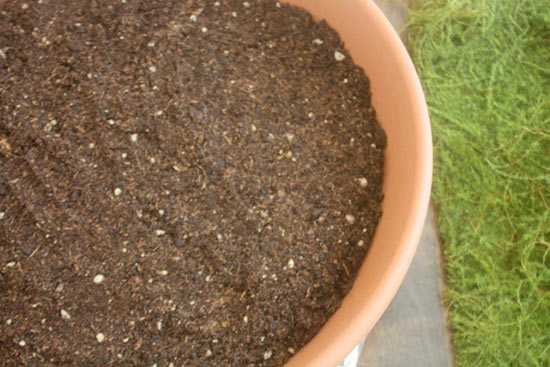
3. Cover the soil with the moss, tucking the edges in.
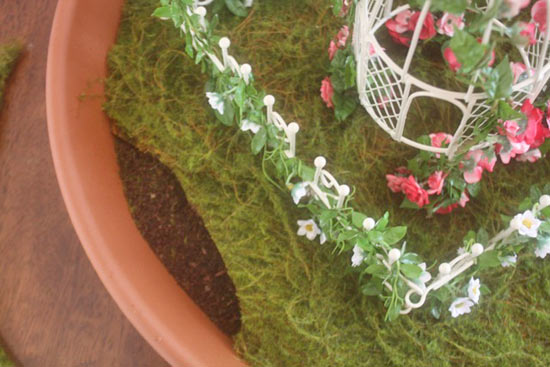
4. Center your Flower covered fence in the saucer and place your rose arbor in the center of the fenced area.
5. Using your craft knife, cut the moss away in strips or arcs where you want more “garden”.
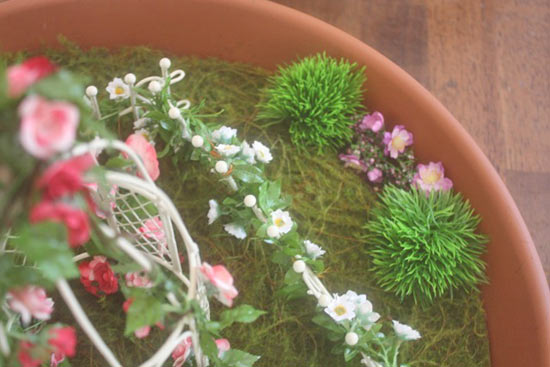
6. Insert plant picks to add foliage.
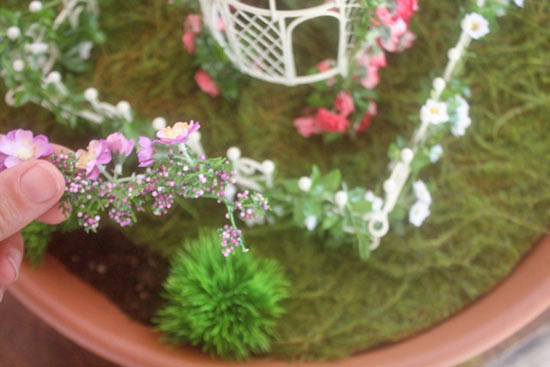
7. Cut lengths of the garland to fit into the small garden sections and gently bend the ends down, pushing them into the soil to secure them.
Continue Reading

DIY Bikini Baby Onesie


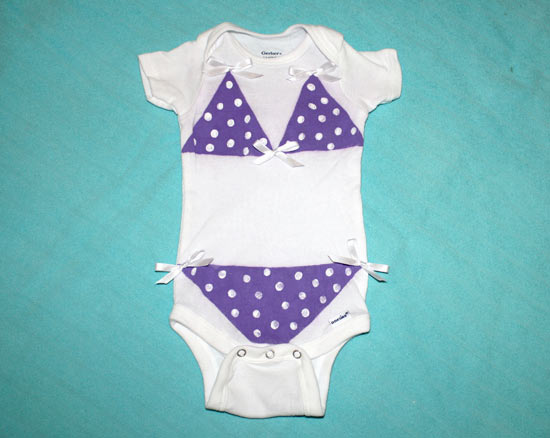
A cute and practical alternative to the baby bikinis that don’t stay put! Your little one will be the envy of the pool in this polka-dot bikini.

Difficulty level: Intermediate
Time required: 45 minutes + drying time

Things you’ll need:
Onesie-one piece baby tee
Scrap paper (to cut the pattern)
Purple acrylic paint orother colors of your choice
Folk Art Textile Medium
Masking tape
Paint brush
Pencil with new eraser or dowel rod (for making polka dots)
1/4″ satin ribbon
Scissors
Needle
Thread (to match ribbon)
Cardboard or heavy paper- I recommend covering with foil or wax paper

Things to do:
1. Wash and dry the garment before painting-don’t use fabric softener!
2. Cover cardboard or heavy paper with foil or wax paper. Place inside the onesie so that the paint doesn’t transfer to the back.
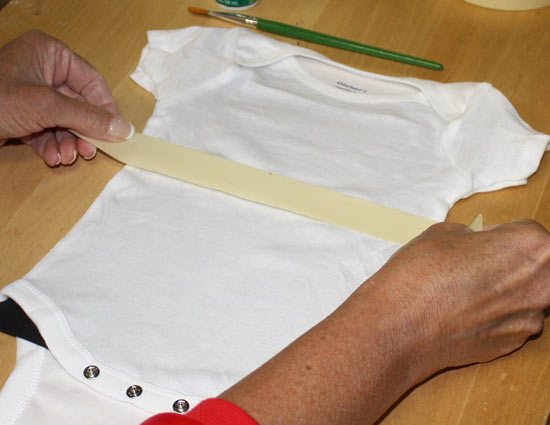
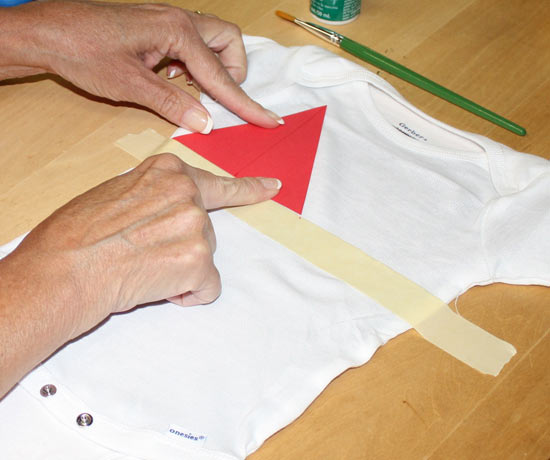
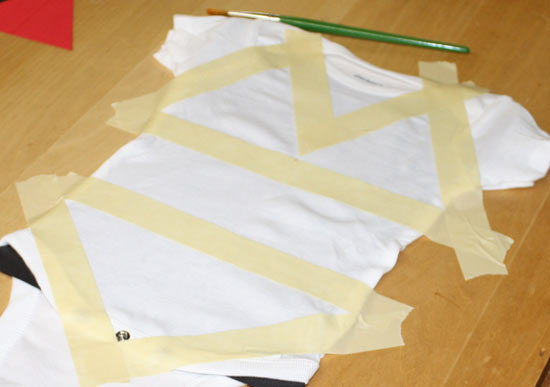
3. Using scrap paper, make the pattern for the bikini top. I eyeballed where I wanted the bottom edge of the bikini top and placed a piece of tape across the garment. Measure the distance across at this point (The 3-6 months size was 8″.) I cut a triangle pattern where each side was 4″ to form the top.


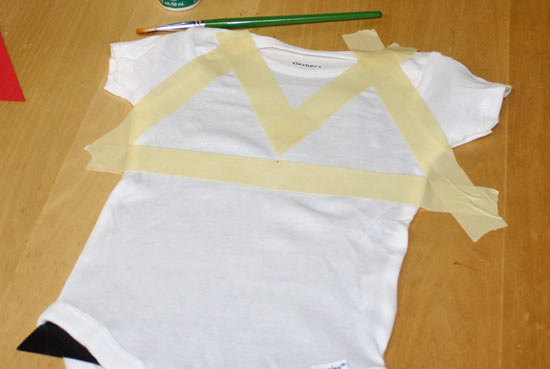
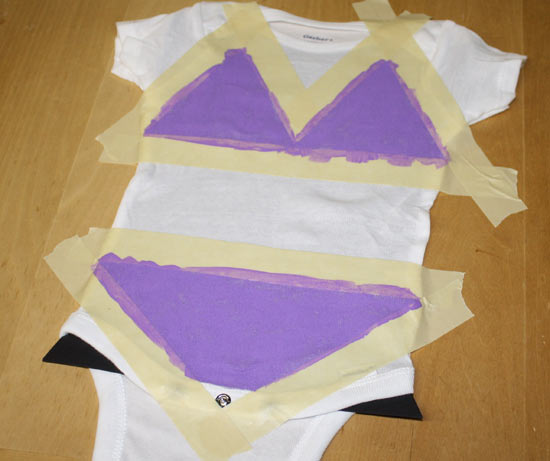
4. Use masking tape to mark off each side of the pattern; trim the tape for center V”.

5. Decide how high or low you want the bikini bottoms and tape straight across.
6. Using the center snap as the guide, mask of the sides of the leg holes.
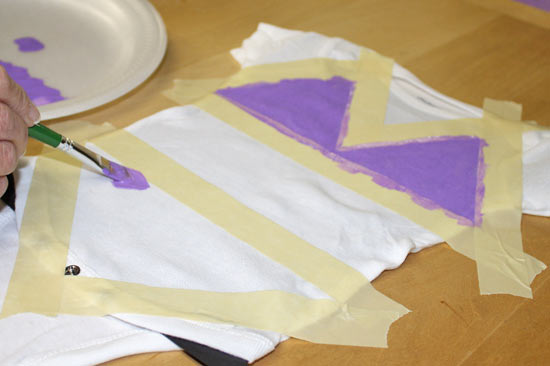
7. Mix textile medium with paint, using a 2:1 ratio. Paint inside the masked area to form bikini. Let dry 1-2 hours. You may or may not need a second coat!


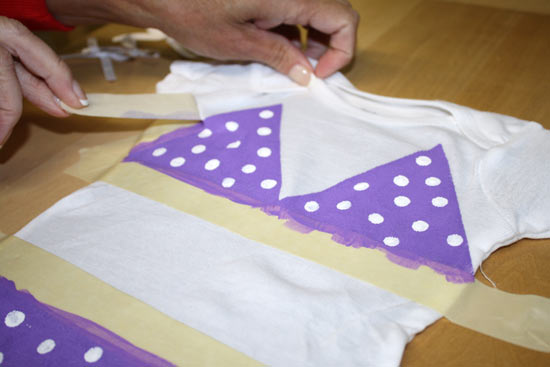
8. Use the same ratio to mix the polka dot color with the textile medium. Only when the base color is completely dry, dip the pencil eraser or dowel rod in the paint, and place gently on the fabric. Continue until you are happy with the dot pattern.

9. Let dry completely, about 1-2 hours, then peel off the masking tape and remove the cardboard.

10. Cut five 8″ pieces of ribbon, and tie into bows. Trim the ends so they are even.
11. Using a needle and thread, tack 3 bows onto the bikini top, and 2 bows onto the sides of bikini bottom.
12. The garment may seem stiff from the paint, but will soften after laundered. I let mine set for a couple days before washing and drying to be sure the paint was permanent.

Continue Reading
Change Your Country
Please select your country, this will change the site to your country's currency:

Cancel