Skip to search Skip to navigation menu Skip to main content Selecting option will reload page

Category: Spring Crafts

Peeps!… with felt squares

felt_peeps
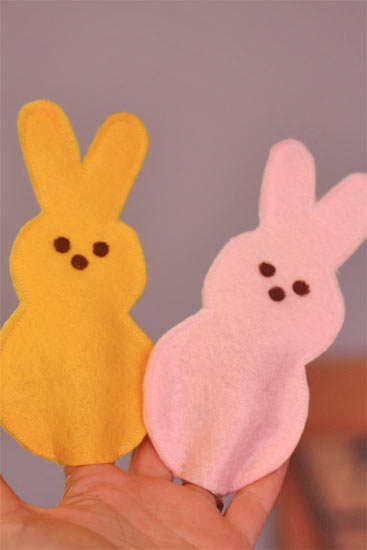
My children have an almost diabolical love for Peeps. We have to hide them well and doll them out one at a time when we bring them into the house, and while I could just skip them, they’re Peeps, how can you not have Peeps in the spring. They’re like daffodils and Easter Baskets., just part of the warmer weather and the donning of pastel colors. But still, they can’t eat Peeps all day, every day, so to tide them over I whipped up a few Peep shaped finger puppets, and they’re getting a lot of hilarious use. I bet they will at your house too, it’s not everyday that you have a finger puppet that looks like food after all!

Things you’ll need:
Pink and yellow felt sheets
Scissors
White thread
Sewing machine or hand sewing needle
Brown acrylic paint
Pencil
Template

Things to do:
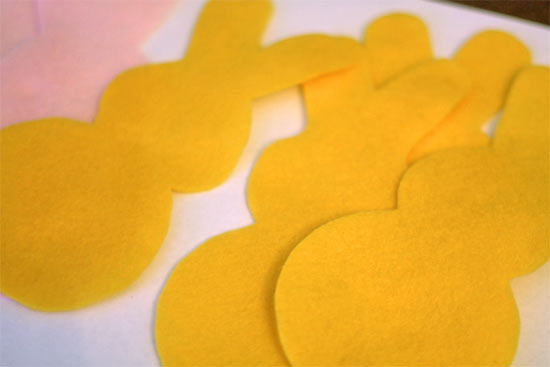
1. Using the template, cut two shapes for each puppet you want from felt.
felt_peeps2
2. Lay the bunnies out in pairs and stitch about 1/16 of an inch in from the edge all the way around except for about 1 inch along the bottom edge. Trim all threads.
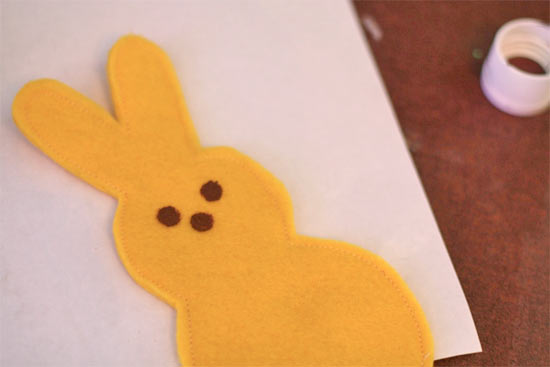
3. Dip the eraser end of the pencil into the paint and dot onto the face for a nose and eyes. Allow the paint to dry before use!
felt_peeps3
felt_peeps4

Continue Reading

Felted Easter Eggs

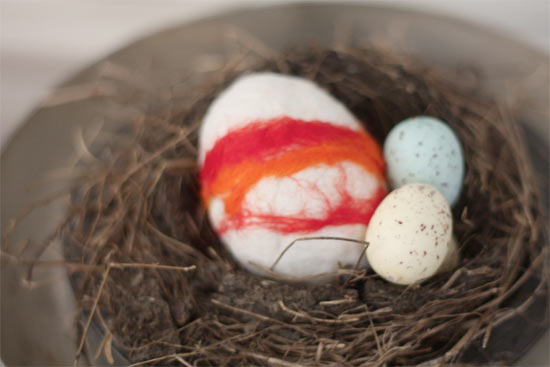
Felted_Easter_Eggs
During the spring months I like to decorate corners of our house with different kinds of eggs. And there are many different crafty eggs to choose from, stitched eggs, dyed eggs, painted eggs, blown eggs, and then there are felted eggs. These are a fun addition to any Easter basket and add a little softness to the smooth, shiny and colorful look of most Easter Eggs. Using this method you can even crack” them open with a pair of scissors and add a fluffy wool chick.

Things you’ll need:
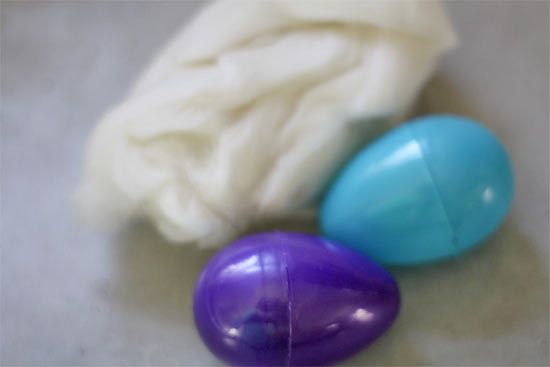
Wool Roving
Plastic eggs
Dish or liquid hand soap
Access to warm and cold water

Things to do:
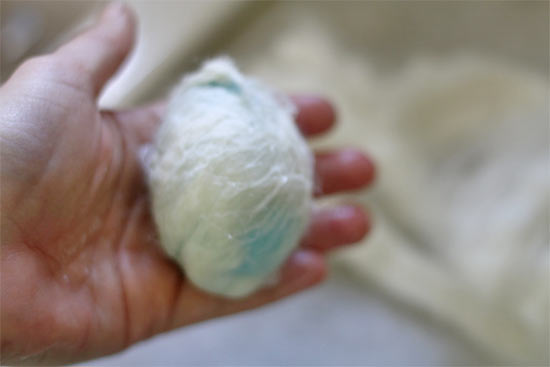
1. Take a generous handful of roving and start wrapping it around the egg, pressing it into itself so that it sticks. Spread the wool out as evenly as you can all over the egg.
Felted_Easter_Eggs2
2. Dampen the wool and add a dot of soap then start rolling gently, GENTLY. Around and around in your hands until the wool starts to bond with itself.
Felted_Easter_Eggs3
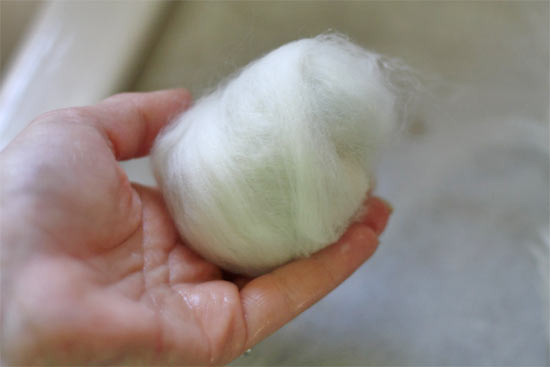
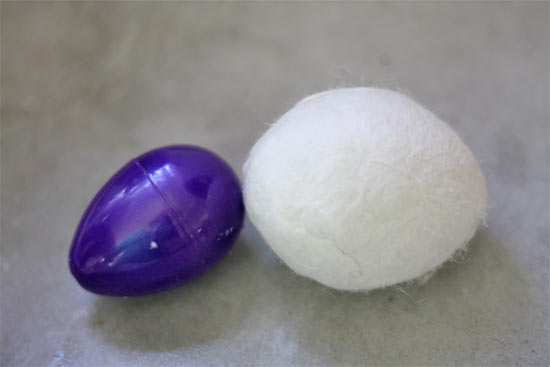
3. Add another layer of wool, just as in step 1 and dampen and roll again, being careful not to squeeze the egg, it might not look egg shaped yet, but it will.
Felted_Easter_Eggs4
4. Repeat this one more time and then just keep rolling, rinsing and adding a little more soap as needed until the wool stops absorbing as much water and the fibers have bonded together and it’s a nice egg shape.
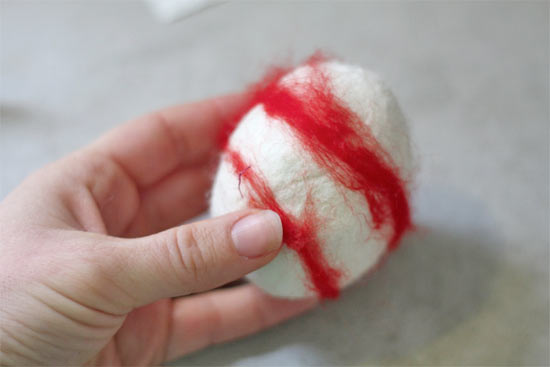
5. At this point you can leave the egg as is or you can add wisps of roving in a contrasting color and repeat the felting process to add a little spunk.
Felted_Easter_Eggs6
6. Allow the wool to dry completely before displaying.
7. If desired, you can carefully cut at the center point of the egg to create a cracked” egg.
Felted_Easter_Eggs5

Continue Reading
Change Your Country
Please select your country, this will change the site to your country's currency:

Cancel