Skip to search Skip to navigation menu Skip to main content Selecting option will reload page

Category: Party and Special Occasion

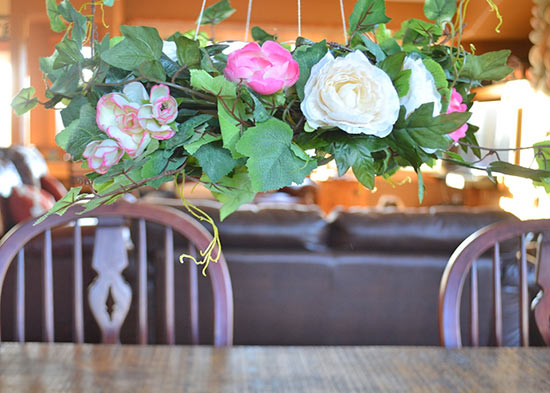
DIY Romantic Hanging Floral Chandelier


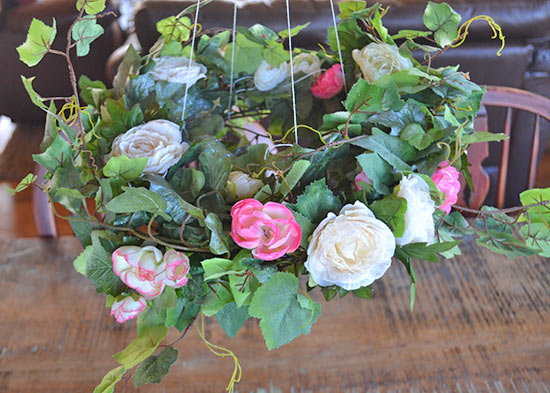
Spruce up your dining room or add a fun accent piece to your party decor. This hanging floral chandelier is a beautiful way to incorporate a bit of nature in an elegant, modern way. Have fun arranging different kinds of greenery and artificial flowers to create a custom combination to complement your event.

Difficulty level: Intermediate
Time to complete: 45 minutes
Age range: 12 and up

Things you’ll need:
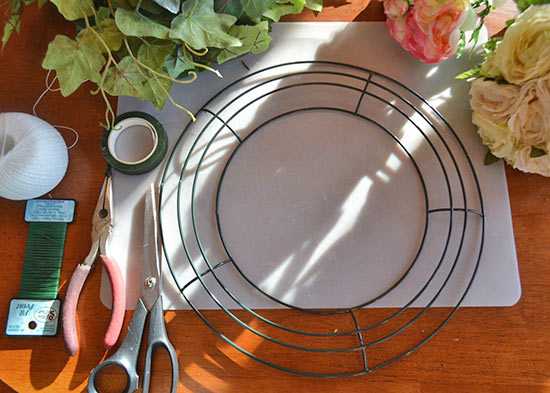
Wire wreath form
Ivy garland
Artificial flowers
Floral wire
Floral tape
Wire cutters
Scissors
Fishing line

Things to do:
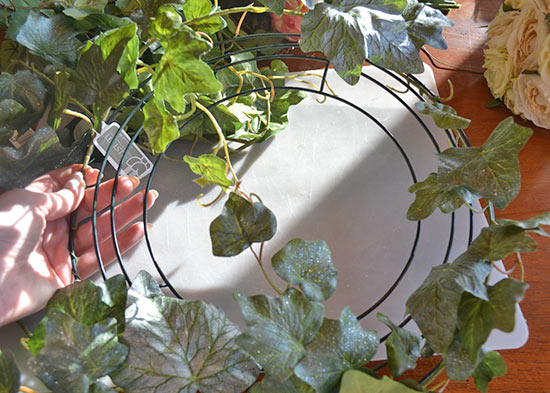
1. The first step is creating a base layer of greenery on your wire wreath form. Use floral wire to attach several ivy vines to the wreath form. Wire it every 5-6 inches to ensure it stays in place.
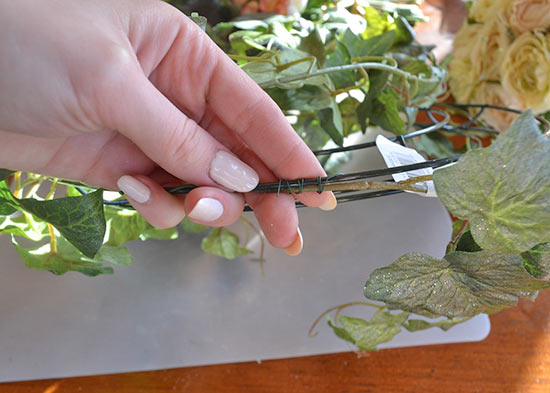
2. Once your wreath is covered in greenery, it’s time to start adding flowers! Trim 2 inches from the blooms and simply stick them down into the greenery. Place flowers on the top and bottom of the wreath, so it looks beautiful from every angle.
3. When you’re happy with the way the flowers and greenery look, it’s time to add a hanger. Trim four even pieces of fishing line and tie them onto four corners of the wreath form.
4. Pull the strands of fishing line up and knot them evenly.
5. Display and enjoy!
Continue Reading

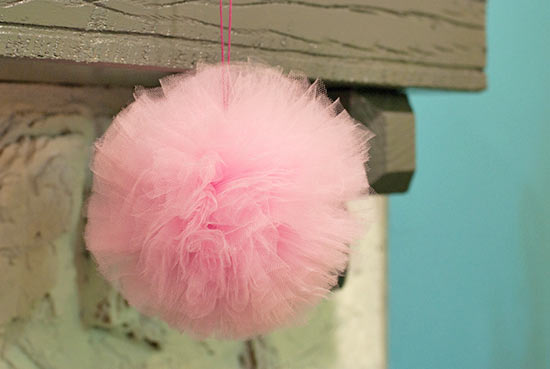
How to Make a Tulle Pom Pom


Decorate for a party, or add these to a little girl’s bedroom or nursery! These tulle pom poms take a little while to wrap, but they’re easy to do while watching a TV program or waiting for appointments.

Difficulty level: Intermediate
Time required: 1 hour
Age range: 10+

Things you’ll need:
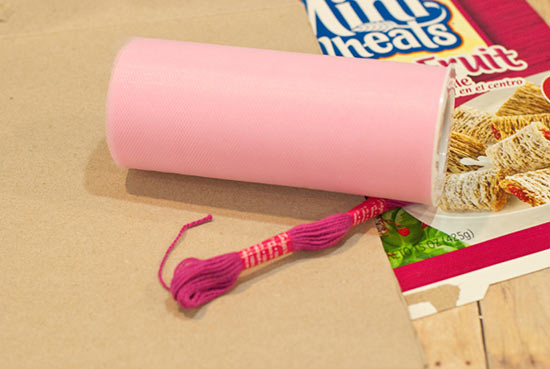
Pink tulle netting
Embroidery floss or fishing line
Thin cardboard box (I used a cereal box)
Scissors
Circular objects to trace, one large and one small
Pencil
Straight edge

Things to do:
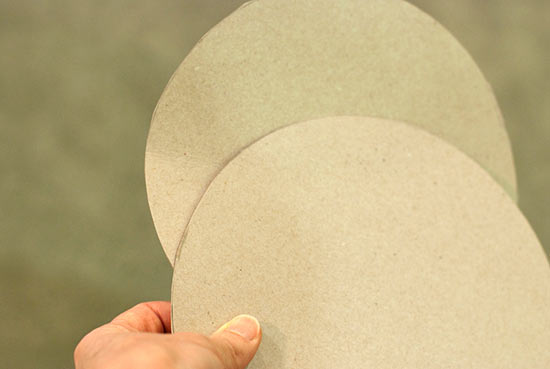
1. Cut two circles out of your box.

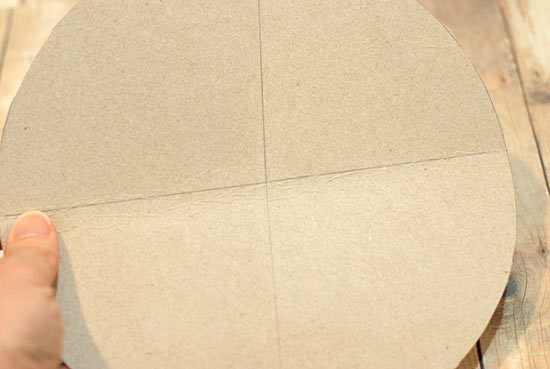
2. Find the center of the circles by folding, then folding again, and marking on the folds.

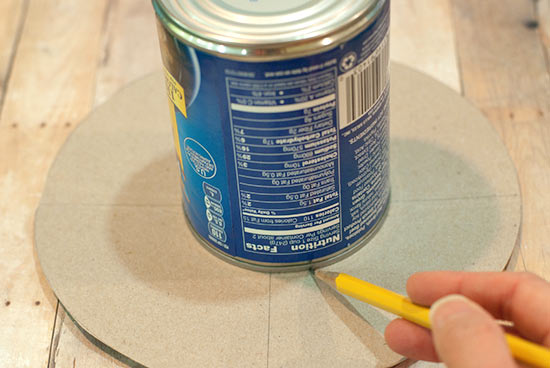
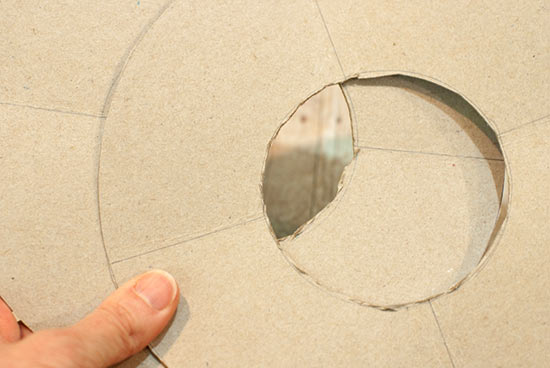
3. Trace a circle in the middle of the disks you’ve just cut.

4. Cut out the center circle.

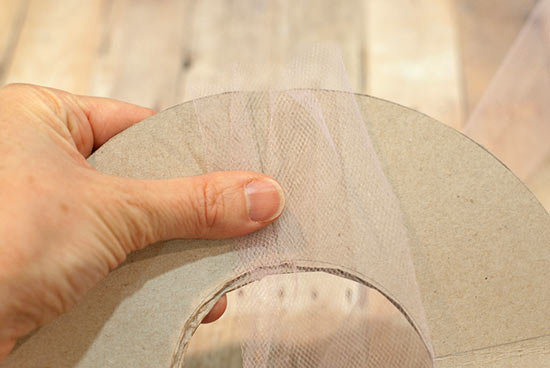
5. Start wrapping your tulle, making sure the end starts along the outside of the cardboard circle.

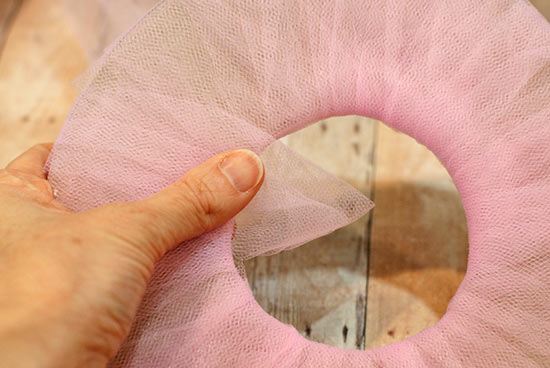
6. Continue wrapping around the circle.

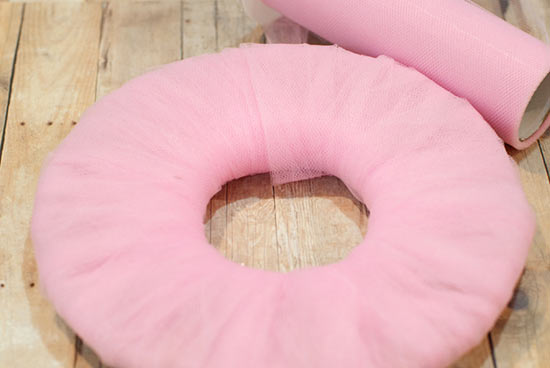
7. Finish the wrapping after 3 layers, cutting at the end with the end along the outside edge again.

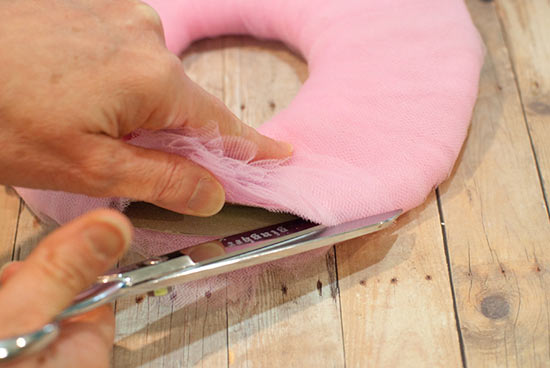
8. Carefully cut the tulle between the two cardboard layers.

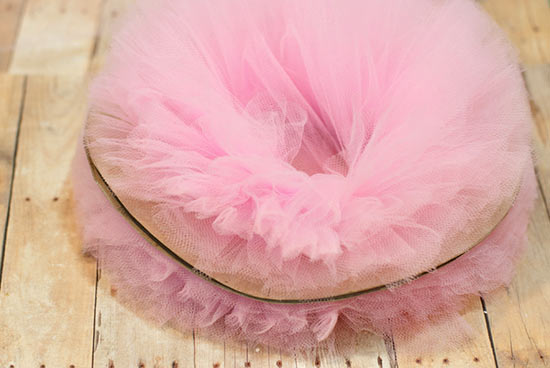
9. This is what the tulle and cardboard looks like after cutting between the cardboard layers.

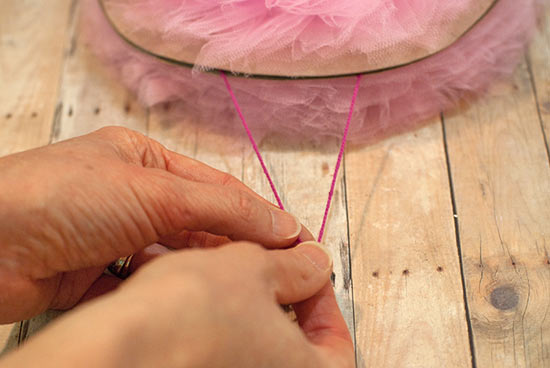
10. Tie your embroidery floss, cinching the tulle between the cardboard layers. You can also use fishing line – either way, make sure it’s tight enough. Gently pull off the cardboard layers and you’ll see your pom pom puff” before your eyes!

Continue Reading
Change Your Country
Please select your country, this will change the site to your country's currency:

Cancel