Skip to search Skip to navigation menu Skip to main content Selecting option will reload page

Category: "How to" Videos

Pretty DIY Felt Book Marker


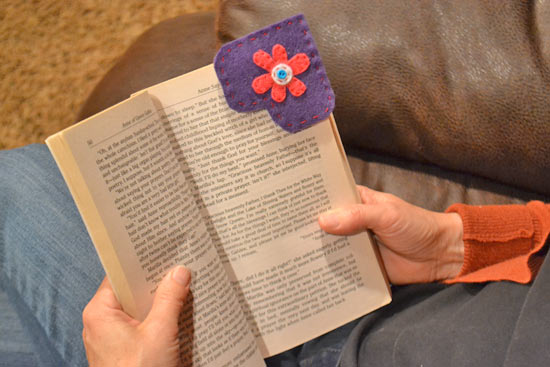
This unique bookmark is the perfect way to pamper yourself, or a friend who loves to read. It marks your pages, offering a cute alternative to creased corners. Follow these simple steps to create a place holder that you are sure to enjoy!

Difficulty level: Intermediate
Time to complete: 30 Minutes
Age range: 13 and up

Things you’ll need:
Scissors
Rulers
Graph Paper
Felt in Three Complimentary Colors
Embroidery Floss
1/4 inch Button

Things to do:
1. Create a pattern, using the information provided in the photograph.
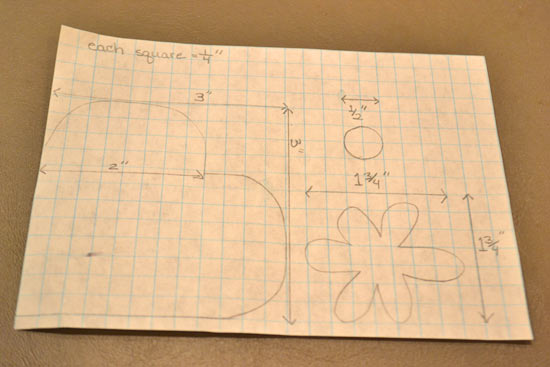
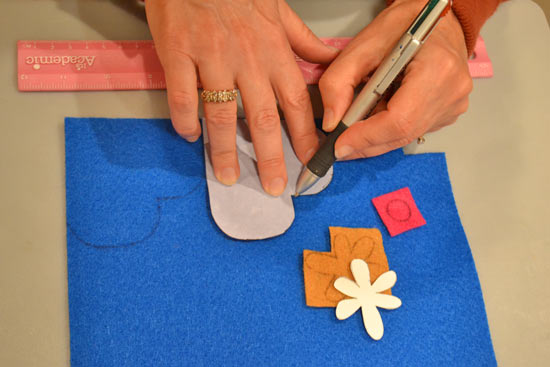
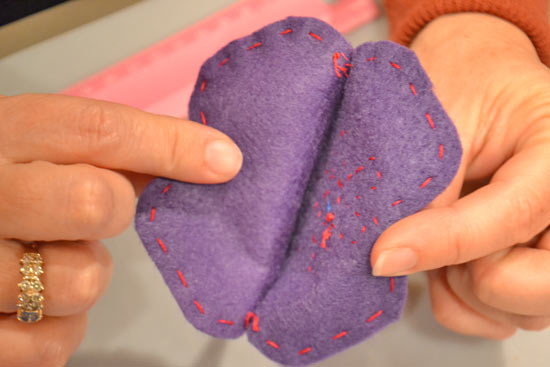
2. Cut out your patterns and trace them onto your pieces of felt. Cut out the felt shapes, which should include one circle, one flower and two hearts.
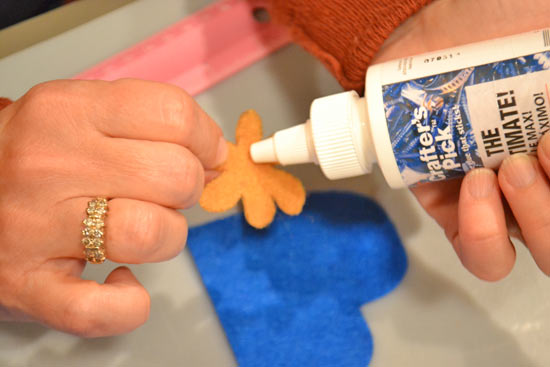
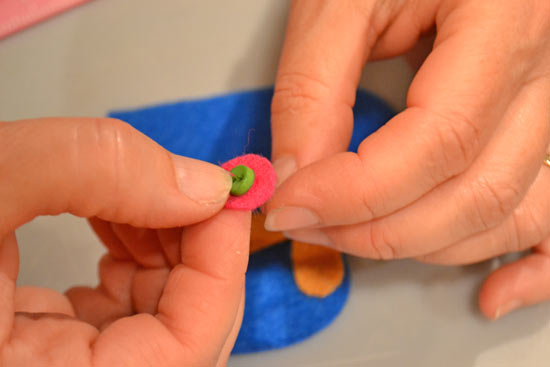
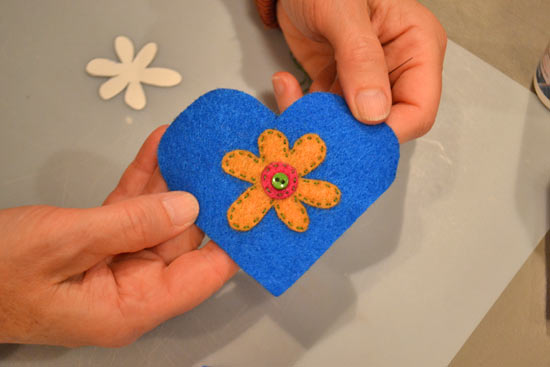
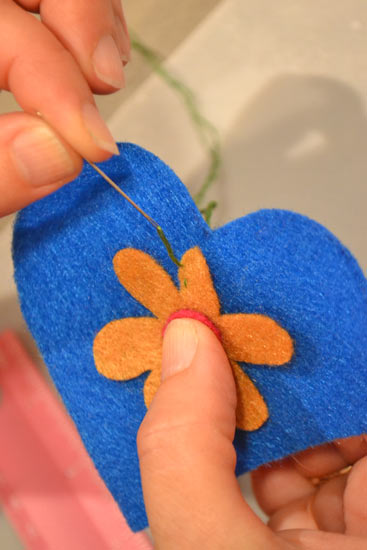
3. Glue the flower shape onto the center of the heart shape. Glue the circle onto the center of the flower and glue the button onto the center of the circle shape. Stitch around the circle and the gold flower with embroidery floss to secure them in place.
Continue Reading

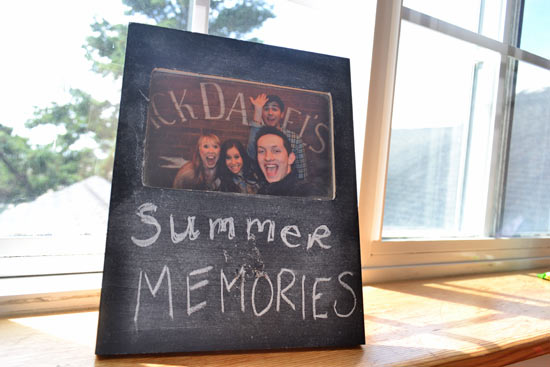
DIY Chalkboard Photo Frame


Record your memories with this sentimental chalkboard photo frame. Use the space to write about the photo inside, and remind your loved ones just how much you care about them. This project is great to do with kids, and also makes a wonderful gift.

Difficulty level: Beginner
Time to complete: 30 minutes plus time for the paint to dry.
Age range: 10 and up.

Things you’ll need:
Wooden Photo Frame
Chalkboard Paint
Foam brush
Container of Water
Chalk
Tape

Things to do:
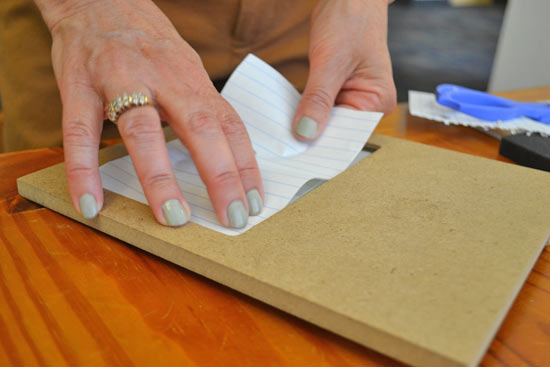
1. Prep your photo frame by covering the glass with tape or a piece of paper to protect it from any stray paint.

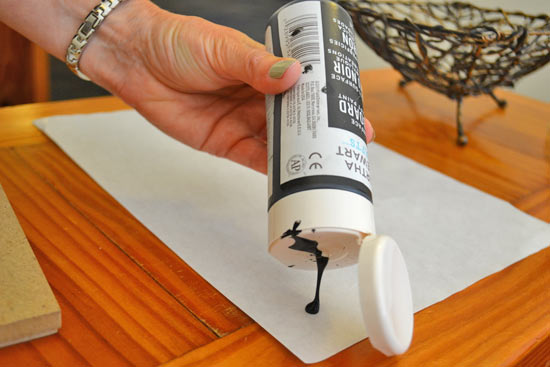
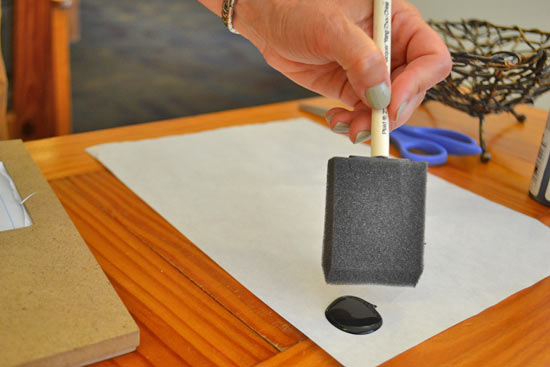
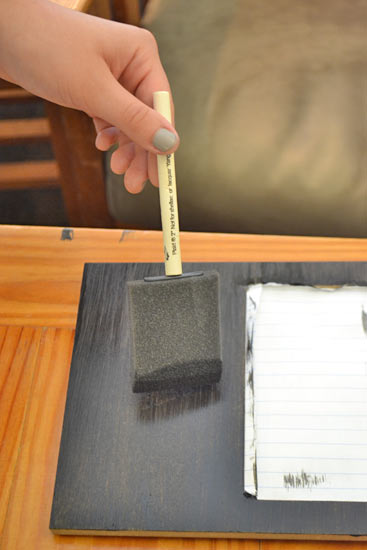
2. Use your paintbrush and the chalkboard paint to cover the surface of the frame. Make sure the strokes are even, so it will be easy to write on later.


3. Let the first coat of paint dry for a minimum of two hours. Be sure the paint is completely dry before applying a second coat. Like the first layer, apply the paint evenly to prevent any bubbling that may occur.

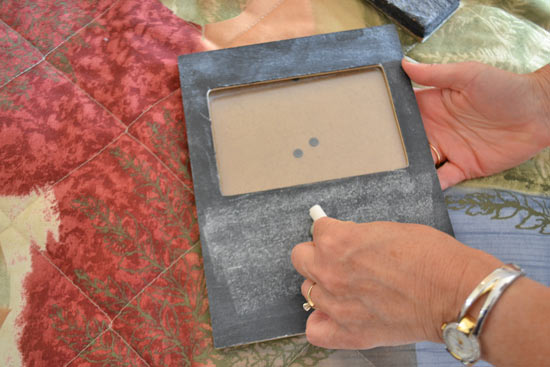
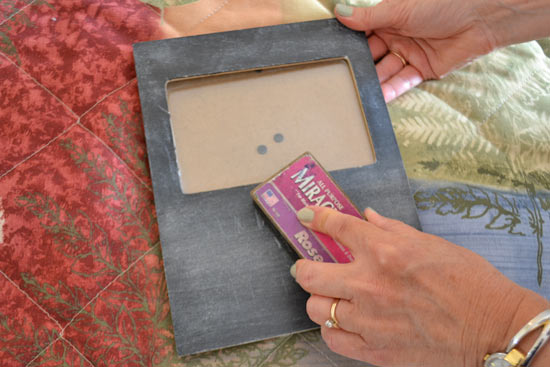
4. Allow the second coat to dry completely. I suggest letting the paint sit overnight to make sure it is ready. Once you’ve given the paint adequate time to dry, you’re going to cure your chalkboard. Take a piece of chalk, and rub it evenly across the entire surface until it is white in color. Once it has been covered, use an eraser to remove the chalk.


5. Once you’ve cured the chalkboard, it is ready for use! Enjoy using this photo frame to record memories or write encouraging notes to the ones you love.

Continue Reading
Change Your Country
Please select your country, this will change the site to your country's currency:

Cancel