Skip to search Skip to navigation menu Skip to main content Selecting option will reload page

Category: "How to" Videos

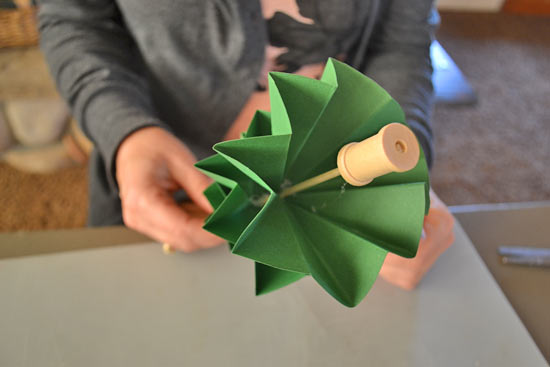
DIY Paper Tree Centerpieces


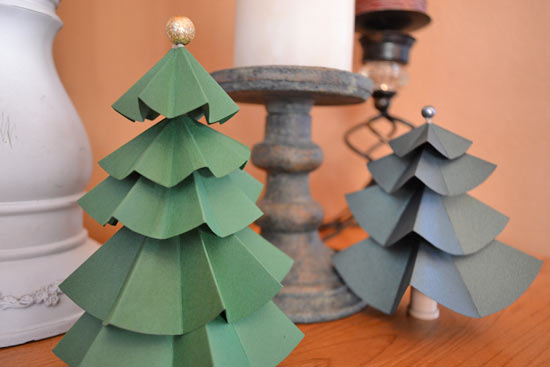
Celebrate the season with a forest of paper tree decorations. These trees look great when displayed with candles, or around a ceramic Christmas village. Get creative with sizes and shapes to create the perfect paper Christmas tree.

Difficulty level: Beginner
Time to complete: 15 Minutes
Age range: 12 and Up

Things you’ll need:
Green Paper
Bone folder tool
Scissors
Compass
Dowel rods
Wooden Spool
Gold Bead

Things to do:
1. Trace five circles out of green paper with diameters of two, three, four, five, and six inches. Cut out the circles.
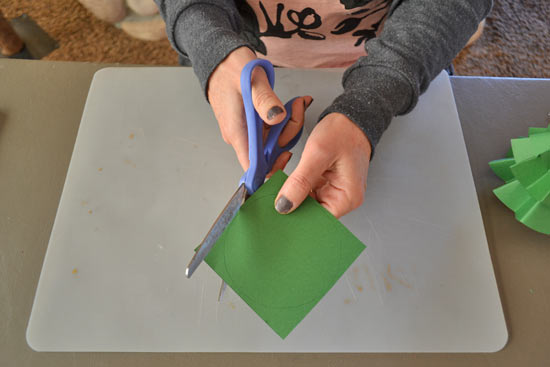
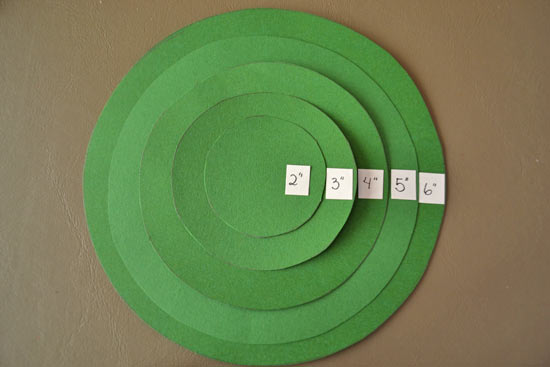
2. Fold the circle in half four times, being careful to fold tightly and make crisp lines. Repeat folding pattern on every circle.
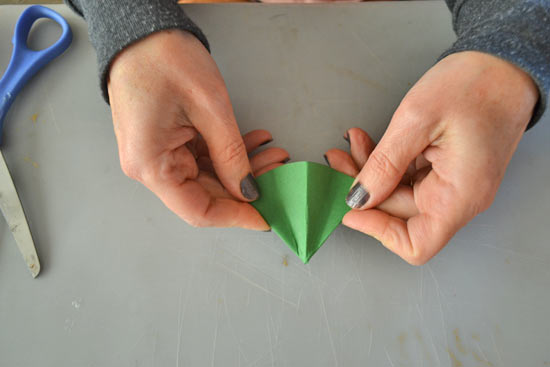
3. Cut a small circle out of the center of each circle, providing a space for the trunk of the tree.
4. Secure gold bead to the end of the skewer with hot glue.
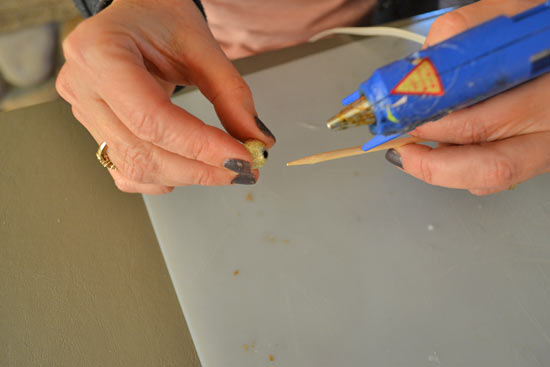
5. Inset the skewer into the middle of the folded circles and secure them with hot glue.
6. Secure wooden spool to the end of the skewer to create the base of the tree. Let pieces dry completely before use.
Continue Reading

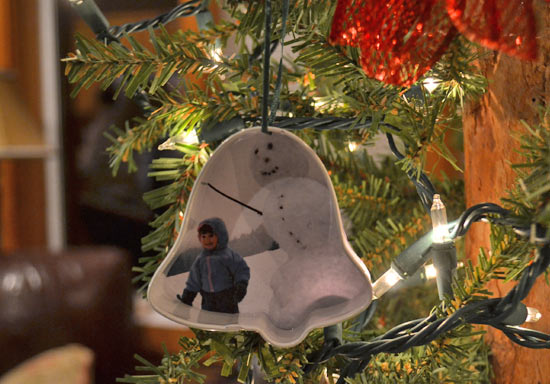
Cookie Cutter Photo Frame Ornament


This photo frame ornament adds a homemade touch to your tree, incorporating family memories into your Christmas decor. If you’re looking for the perfect way to add a homey touch this season, you’ll love these cookie cutter ornaments. These ornaments also make a great gift. Help your kids mix and match photos and cookie cutters to create a customized gift for their grandparents that are sure to please.

Difficulty level: Beginner
Time to complete: 10 Minutes
Age range: 10 and Up

Things you’ll need:
Cookie cutters
Photograph
Thin ribbon
Scissors
Ultimate Crafters Glue
Pen

Thing to do:
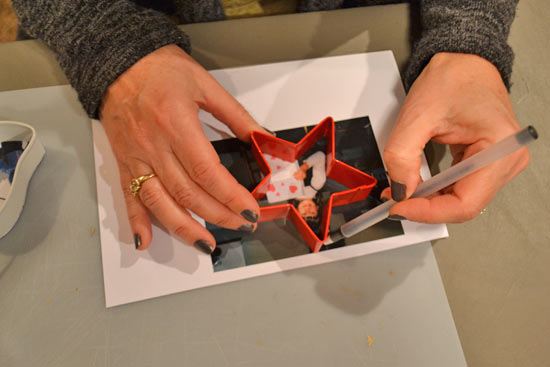
1. Trace the shape of the cookie cutter onto the photograph and cut out the shape.

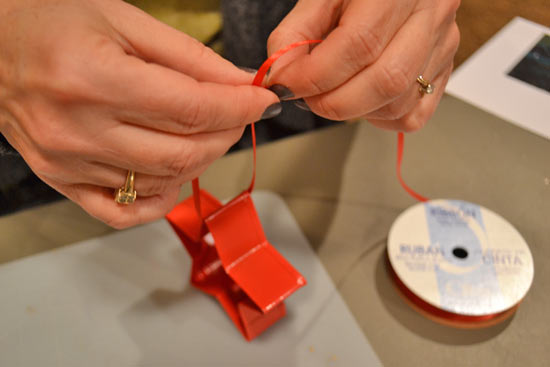
2. Cut a 12 inch piece of thin ribbon and loop it through the top of the cookie cutter, creating a hanger. Tie a bow to secure.

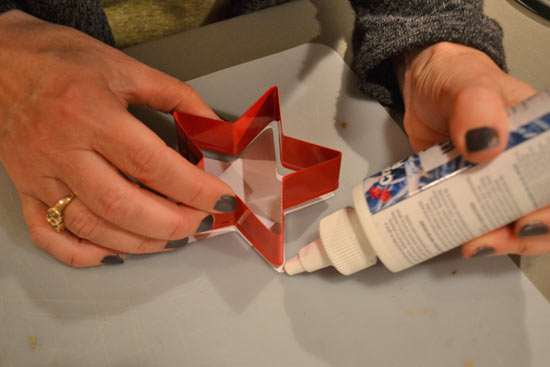
3. Apply a thin layer of glue to the edge of the cookie cutter and place it on the photograph, using the glue to attach the photo.

Continue Reading
Change Your Country
Please select your country, this will change the site to your country's currency:

Cancel