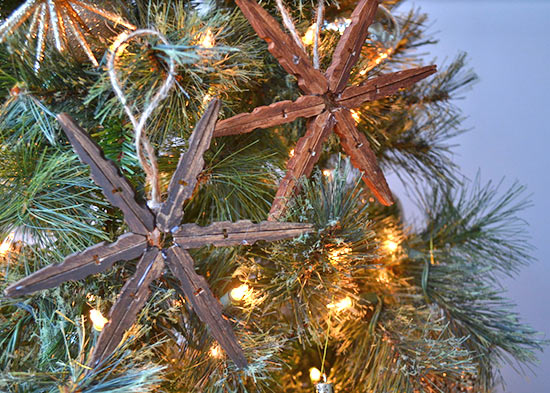
Transform your tree into a shabby-chic masterpiece with these rustic star ornaments. All you need is a few materials to create unique decor that will set your holiday style apart.
Difficulty level: Beginner
Time to complete: 15 Minutes
Age range: 12 and Up
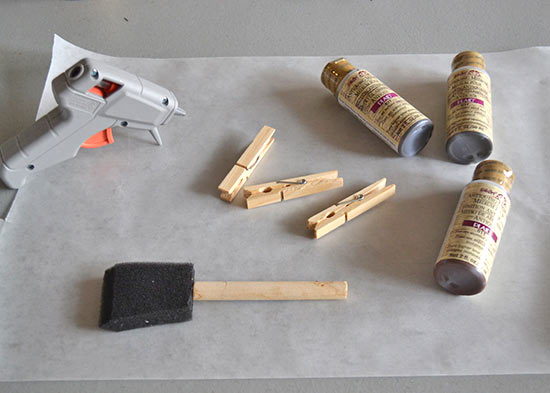
Things you’ll need:
Clothespins
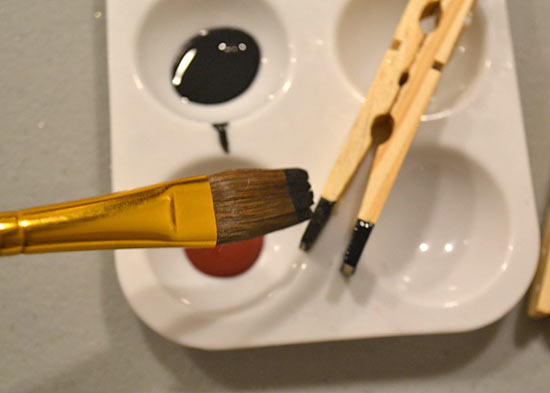
Stain
Foam brush
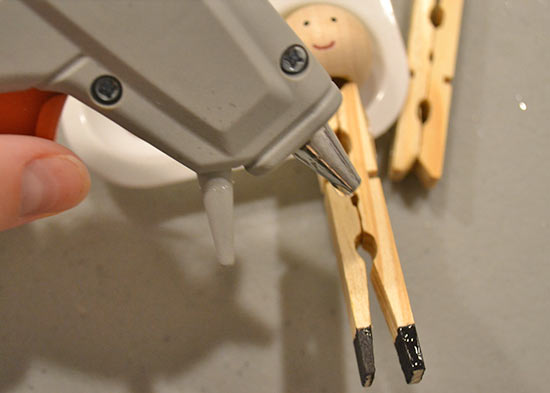
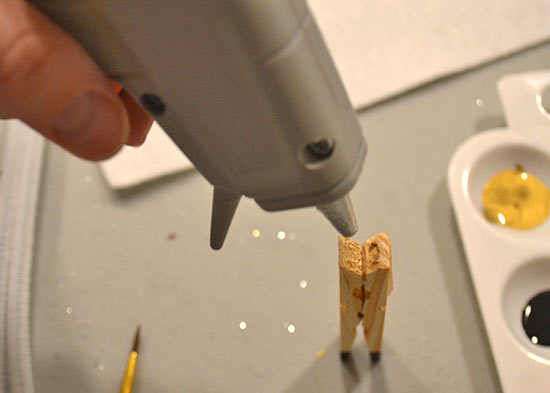
Hot glue gun
Hot glue sticks
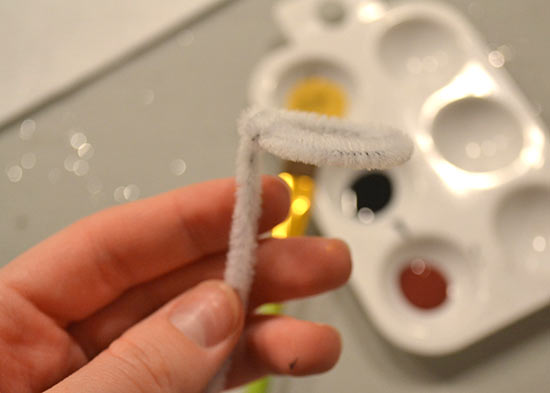
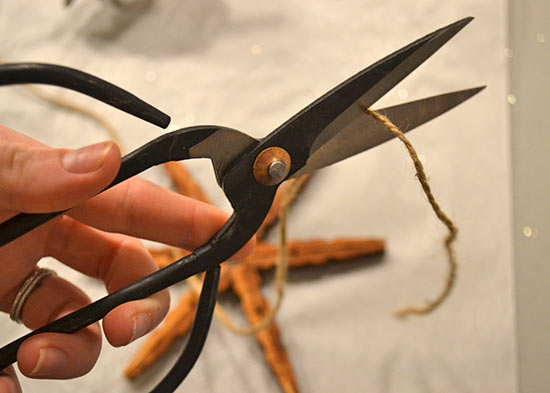
Scissors
Jute
Things to do:
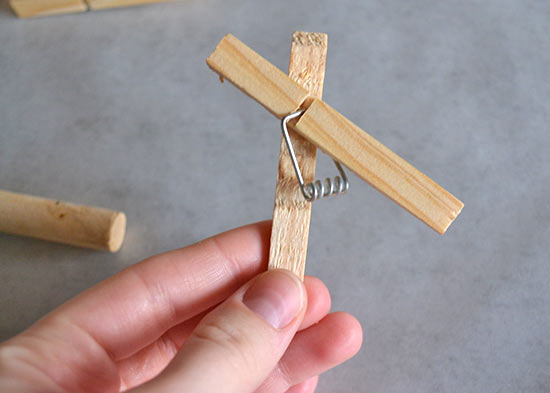
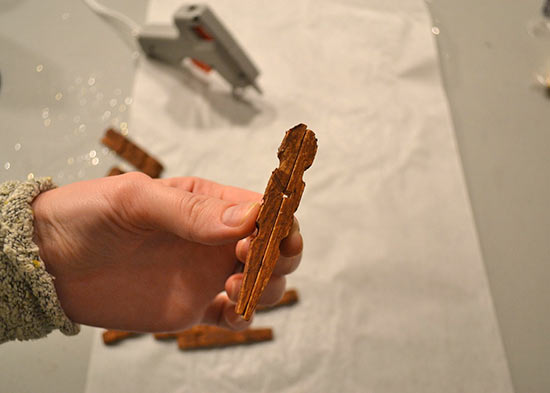
1. The first step is disassembling the clothespins. Twist both sides in opposite directions and remove the metal clips.
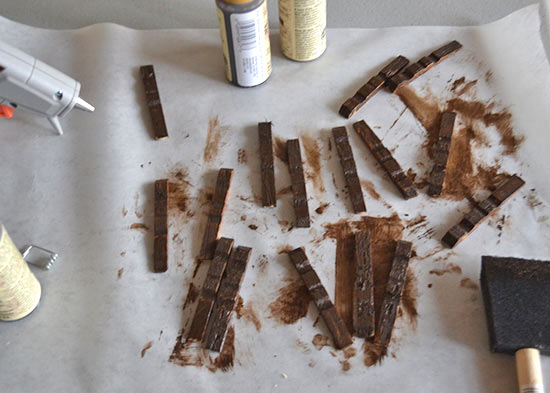
2. Next, use a foam brush to stain your clothespins. If you’re making multiple ornaments, try using different shades of stain to add depth.
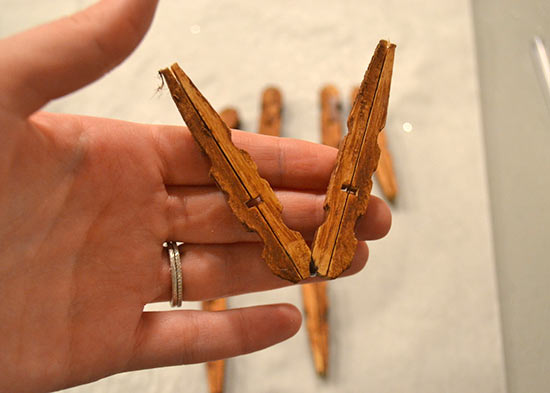
3. When your stain is dry, run a line of hot glue down the flat side and attach it to another clothespin. Do this until you have six pairs of clothespins.


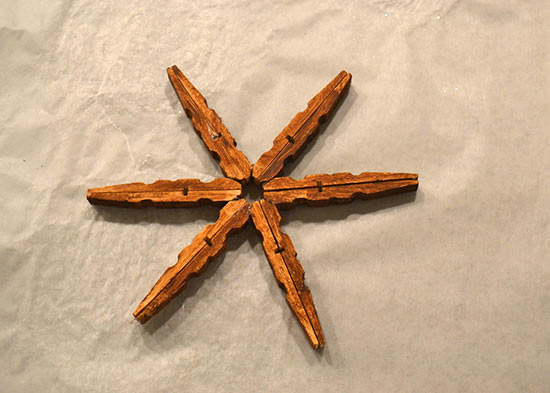
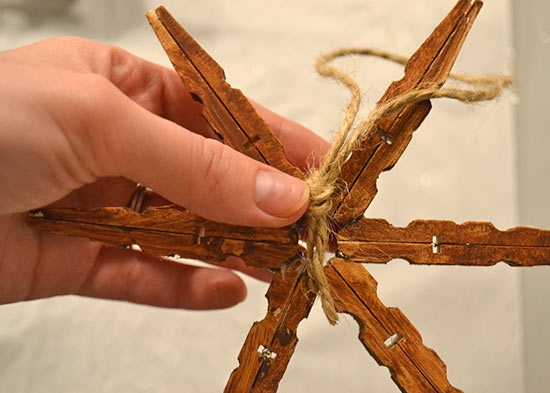
4. Use hot glue to attach 6 clothespins by their ends in a circle. When all six are in place, your snowflake shape will appear!
5. Cut a 10-inch piece of jute and knot the end, creating a loop.
6. Use hot glue to attach the knot to the back of the star.
7. Hang your ornament and enjoy!