
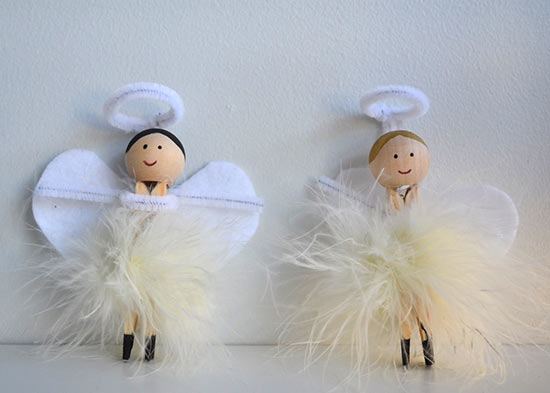
Looking for a fun, rainy day project for older kids? These clothespin angels combine painting, cutting, and gluing to create a cute little doll your kids will enjoy.
Difficulty level: Beginner
Time to complete: 20 Minutes
Age range: 8 and Up *Younger kids may need help with the glue gun
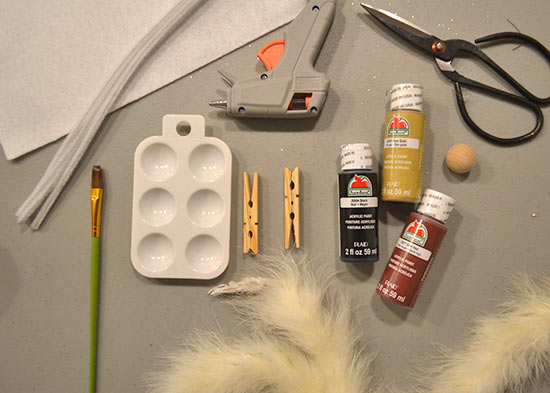
Things you’ll need:
Clothespins
Paint in black, red, and gold
Paint brush
Hot glue gun
Feather boa
Pipe cleaners
Felt
Scissors
Wood head bead
Things to do:
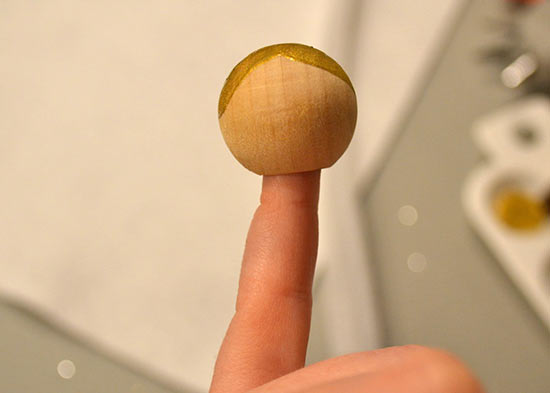
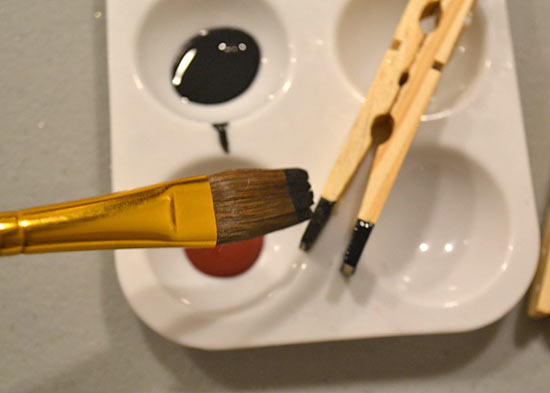
1. The first step is painting the face of your angel. Use a small paintbrush to add hair, eyes, and a smile. Let the paint dry completely before moving on to the next step.
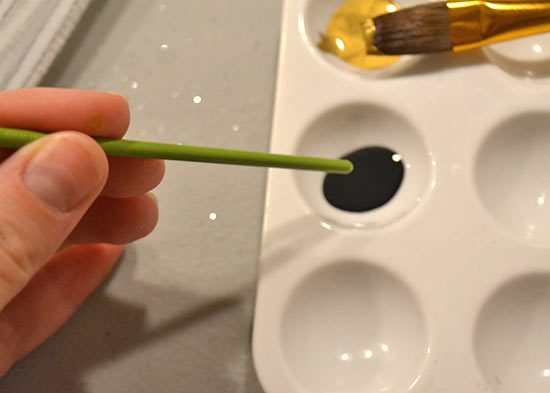

2. Next, paint two black slippers on the bottom of your clothespin. The straighter your lines are, the better they will look.
3. Cut a piece of boa and use hot glue to secure it to the middle of your clothespin.

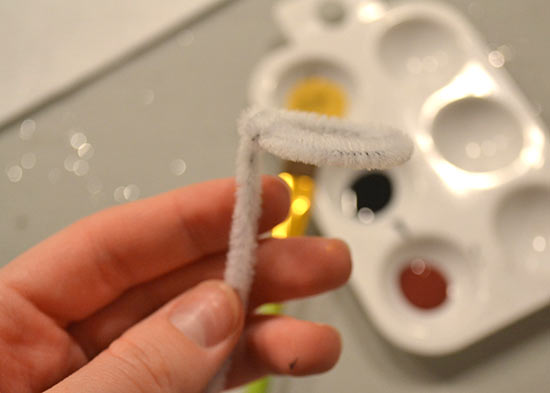
4. To make the halo, wrap a pipe cleaner around the lid of your acrylic paint and wrap the end of the wire to keep the circle shape. Cut the straight wire about 1-inch from the halo and use hot glue to attach it to the back of your angel’s head.
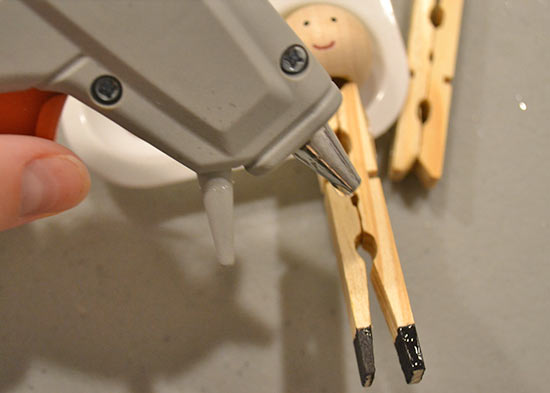
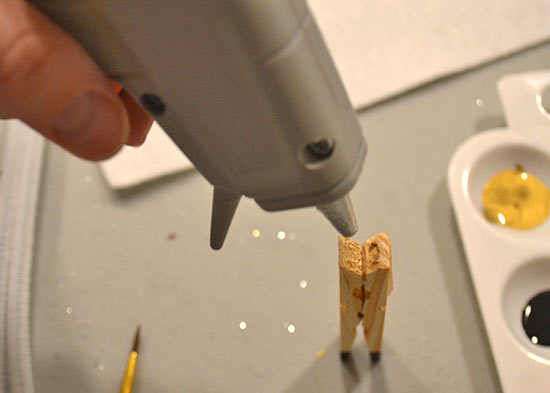
5. Attach the angel’s head to the clothespin body with hot glue.
6. Fold your piece of felt in half and cut out a half heart shape. Unfold the felt to reveal a perfectly symmetrical heart. Run a line of hot glue down the middle and attach the wings to the back of your angel.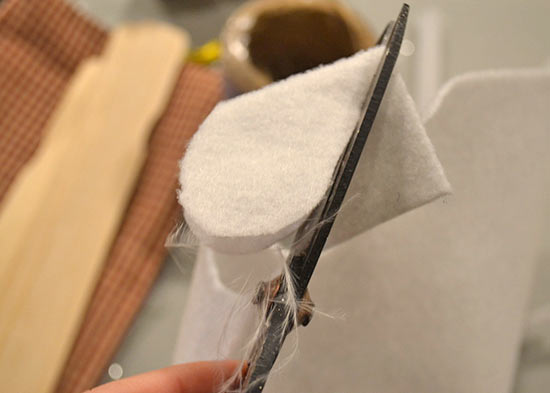
7. Complete your angel with pipe cleaner arms. Cut a 5-inch piece of pipe cleaner and wrap it tightly around the angel body, twisting it in the back to hold them in place.