Skip to search Skip to navigation menu Skip to main content Selecting option will reload page

Category: General Crafts

Frilly Rubber Gloves

Frilly_Rubber_Gloves
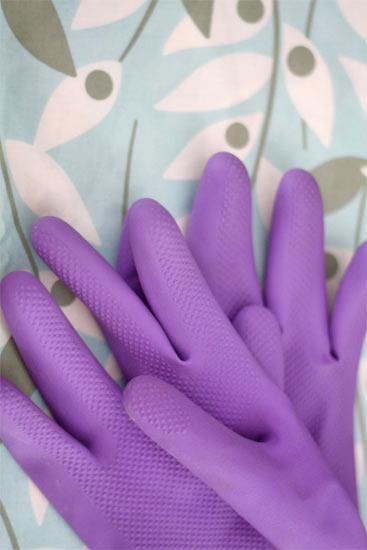
Rubber gloves are just so blah, aren’t they? It’s almost more depressing to put them on than it is do actually do the cleaning that you need the gloves for! Well no more! Spice up your gloves (and help keep you sleeves drier) with a little oilcloth, and ribbon to never feel dull at the sink again!

Things you’ll need:
Rubber gloves (look for interesting colors!)
Oilcloth – about 1/4 yard
Ribbon
Hot glue gun and glue sticks
Sewing machine and notions

Things to do:
1. Cut the oilcloth into 5 inch wide strips (you’ll need two)
Frilly_Rubber_Gloves2
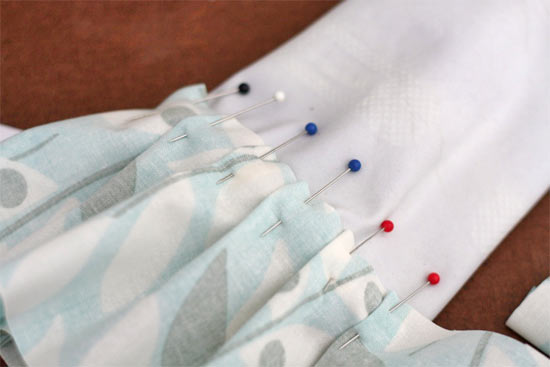
2. Turn your gloves inside out. Starting on the palm side, fold one end of the strip over one inch and begin pinning the fabric, right side down, around the cuff of the fabric, creating 1/4 – 1/2 inch tucks every inch as you go. Over lap the fabric by 2 inches when you get back to the beginning.
Frilly_Rubber_Gloves3
3. Stitch about 1/4 inch in form the edge of the oilcloth, being careful not to fold the edge of the glove down underneath as you go.
4. Turn the gloves right side out. Cut two pieces of ribbon twice as long as the circumference of the cuff.
5. Starting 6 inched down on the ribbon, start gluing the ribbon over the stitch ling at the center of the back of the glove. When you have ribbon all the way around, tie the tails into a knot and a bow and trim (you’ll want the bow to be small and the tails to be short so that they don’t catch on anything)
6. Dab a little glue behind each side of the bow just to keep it in place while you work. Scrub away!
Continue Reading

Pin Cushion Jar

Pin_Cushion_Jar
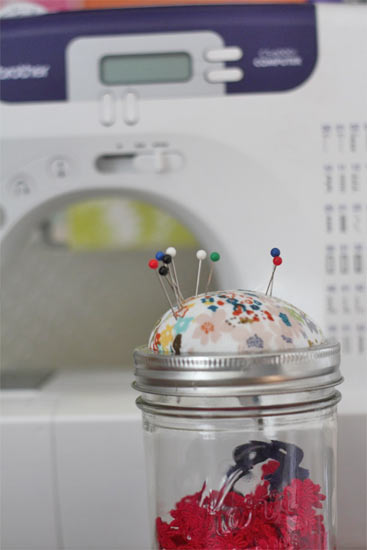
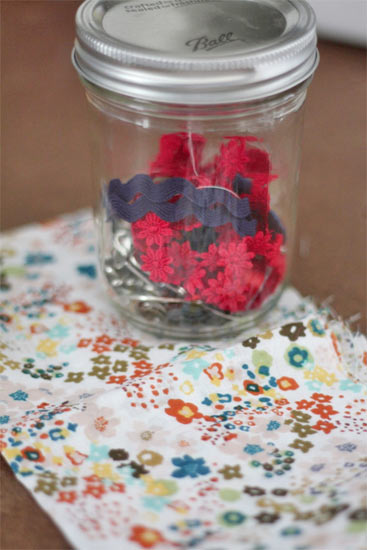
I use jars a lot in my craft space. They are an excellent, inexpensive and easy to use storage solution for all the little bits that we like to create with. They are especially useful in sewing, the perfect way to contain buttons, snaps, spools of thread and lengths of trim. So adding a pincushion to the top of one (or more) of my jars just made good sense.

Things you’ll need:
Wide mouth canning jar with ring and lid
Cotton fabric, about a 12 x 12-inch piece
Glue gun and glue sticks
Scissors
Batting

Things to do:
1. Cut a piece of fabric about 2-inch larger all around than the flat lid from your jar.
Pin_Cushion_Jar2
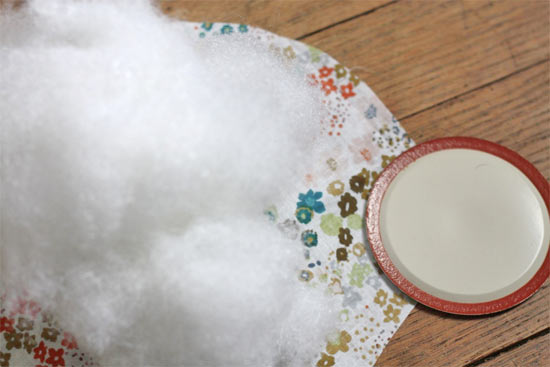
2. Pull a large wad of batting out of your stash, about twice the size of the lid. Place this in the center of the fabric.
Pin_Cushion_Jar3
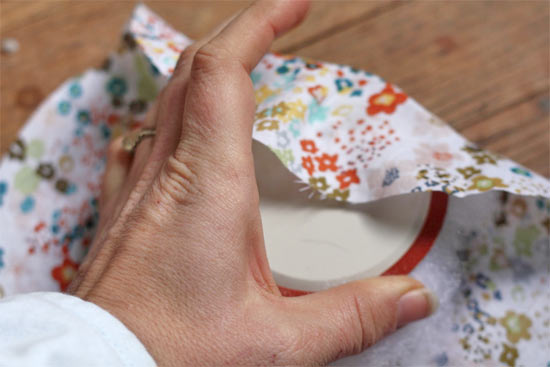
3. With the lid squarely in the center of the batting, start pulling the sides of the fabric in, tightly but not overly so, and attaching to the underside of the lid with a dot of glue. You don’t want too much excess fabric or glue so try to attach it close to the edge and trim off any excess fabric as needed.
Pin_Cushion_Jar4
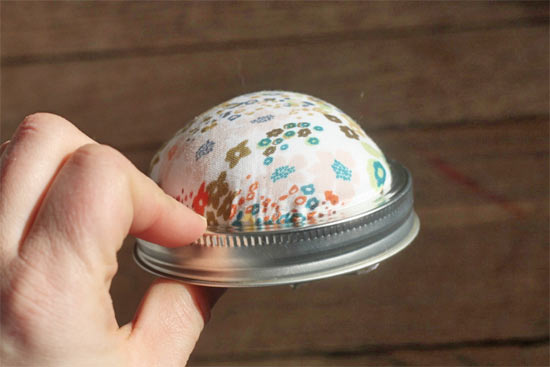
4. Work around the edge of the lid, checking that the top has an even bulge as you go, until the fabric is secure.
Pin_Cushion_Jar5
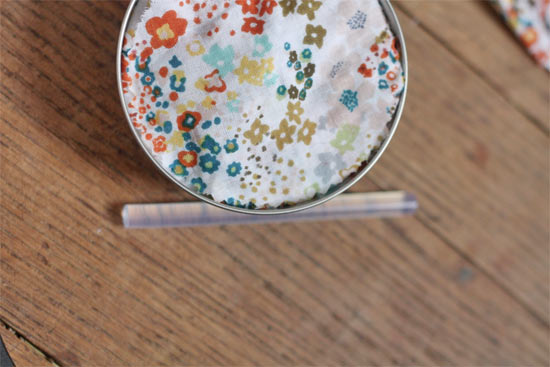
5. Cut a circle just smaller than the lid and glue it in to cover the trimmed edges of fabric.
Pin_Cushion_Jar6
6. Insert the lid into the ring and screw into place.

Continue Reading
Change Your Country
Please select your country, this will change the site to your country's currency:

Cancel