
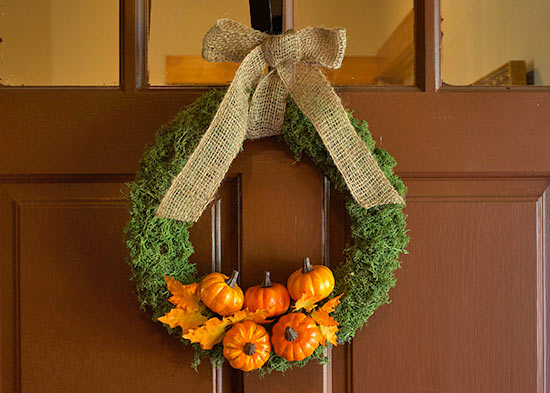
Welcome fall with this seasonal wreath! This project only takes a few minutes and looks lovely displayed on your front door. Play with different ribbon textures and greenery to create a look that’s all your own!
Difficulty level: Beginner
Time to complete: 20 minutes
Age range: 12 and up
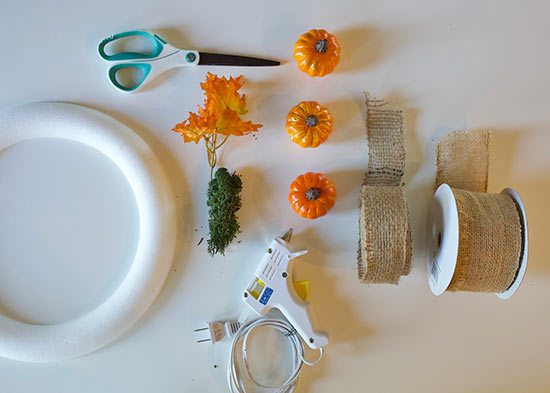
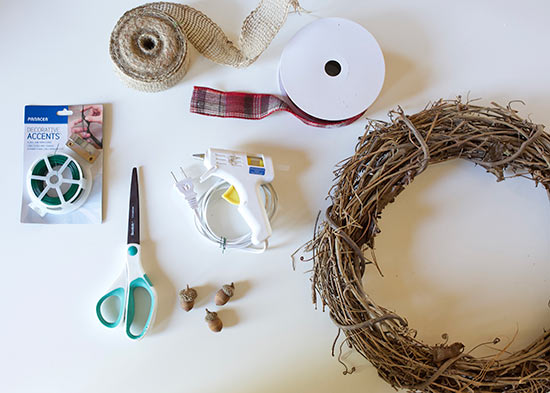
Things you’ll need:
12-inch flat back foam wreath
2-1/2-inch burlap ribbon
Reindeer moss
Hot glue gun and glue sticks
Mini pumpkins
Fall leaves
Scissors
1-1/2-inch wired burlap ribbon
Wire cutters
Things to do:
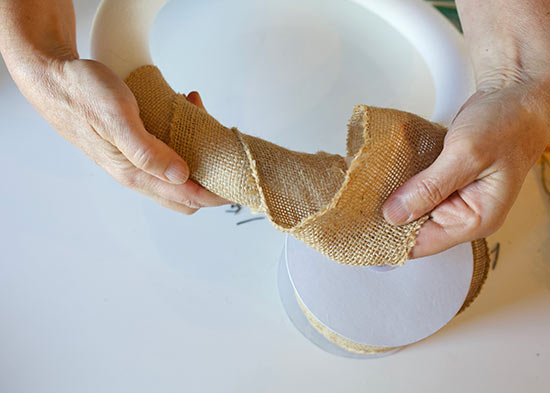
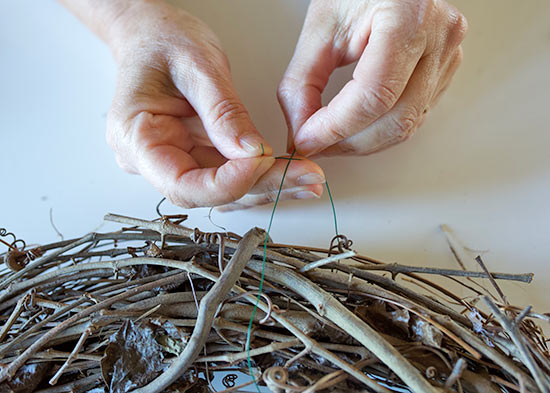
- Wrap the wreath form with burlap ribbon. Use hot glue to secure the ends in place and wrap the ribbon tightly, until the entire surface is covered.
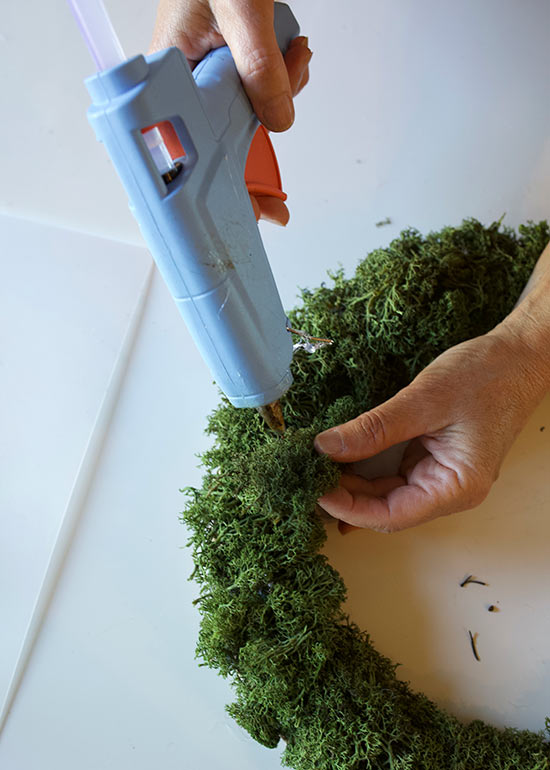
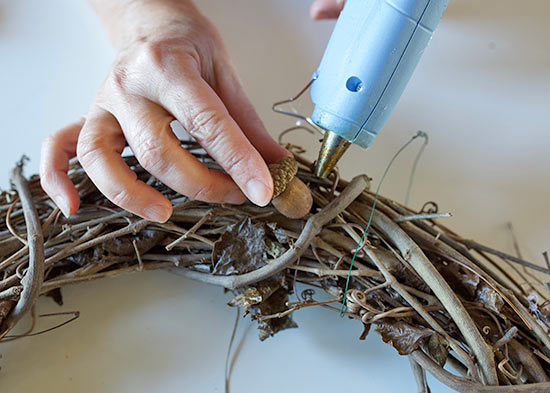
- Use hot glue to attach moss to the wreath form.
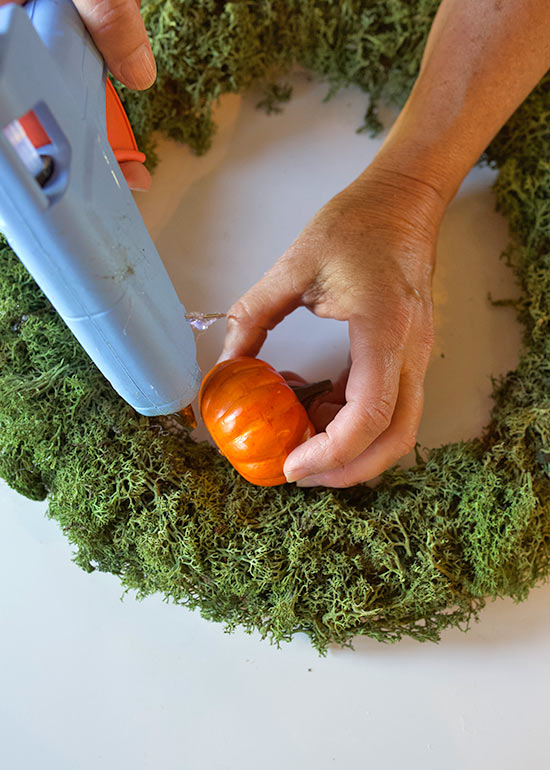
- Position your pumpkins on the moss and use hot glue to secure them in place.
- Apply a line of hot glue to the stems of the leaves and tuck them in around the pumpkin.
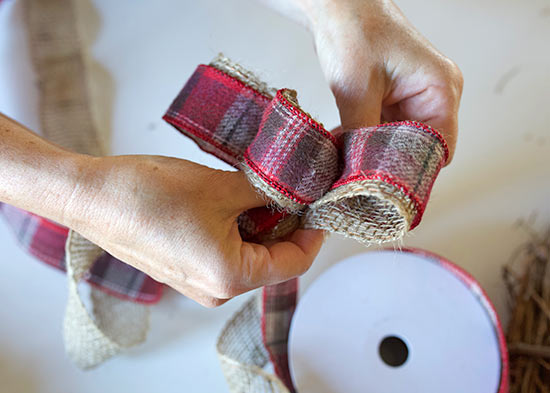
- Tie the 2″ burlap ribbon into a large bow around the wreath form and use it for hanging.

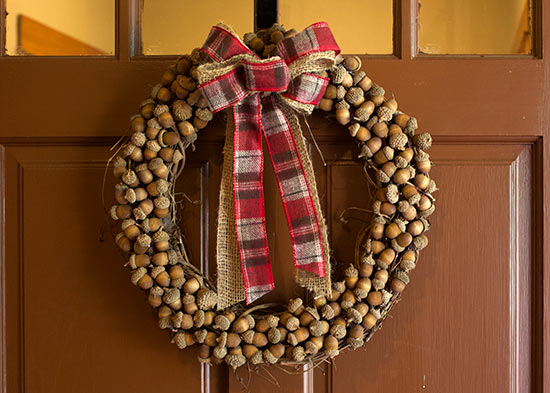
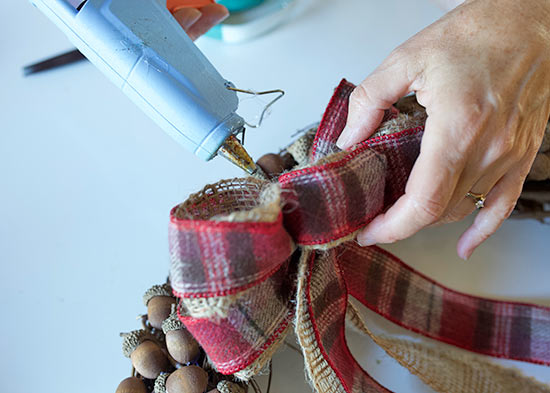 5. Finally, hang wreath in the desired location. Once up, determine if the ribbon tails need to be trimmed. Cut them at an angle for a detailed finish.