Skip to search Skip to navigation menu Skip to main content Selecting option will reload page

DIY Big Flower Headband

DIY_Big_Flower_Headband
We love big giant flowers in our house. On our hats, on our lapels, in vases, on wreathes, and with the current craze for fascinators, now, right on our heads. Or, more accurately, on our headbands.

Things you need:
Large silk flower
Thin fabric covered headband
Elastic thread
Large shank button
Small flat button

Things to do:
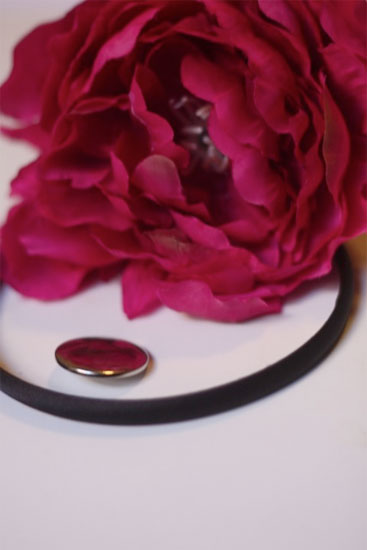
1. Pull the stem off of the flower and disassemble the layers. If there are plastic support pieces between layers, keep them with their layers. Discard the stem and the plastic core that holds the flower together.
DIY_Big_Flower_Headband2
DIY_Big_Flower_Headband3
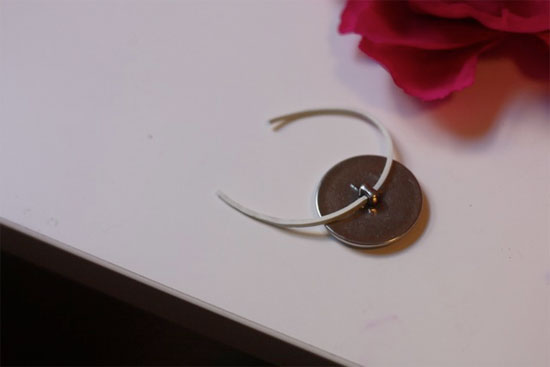
2. Thread the elastic through the hole of the shank.
DIY_Big_Flower_Headband4
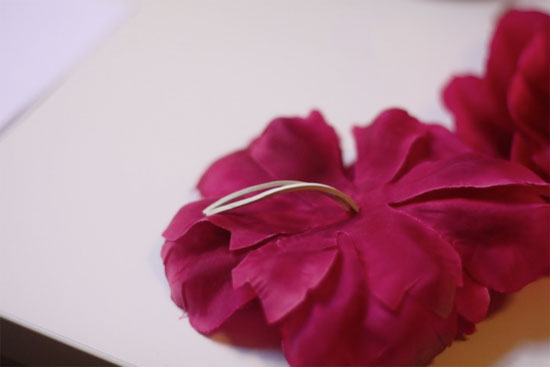
3. With both ends of the elastic, thread through the layers of the flower, starting with the smallest petals.
DIY_Big_Flower_Headband5
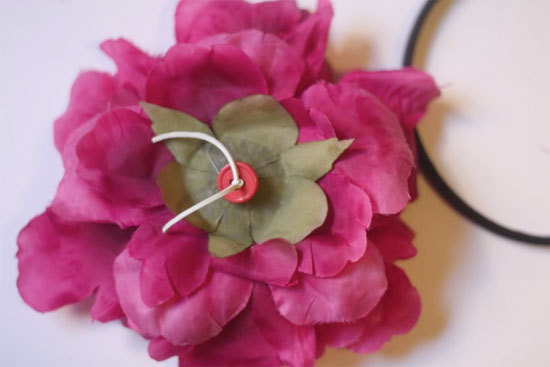
4. Once the elastic is threaded all the way through the flower, thread the ends through separate holes of the flat button and tie tightly.
DIY_Big_Flower_Headband6
5. Slip the headband between the flower and the flat button and slide into place.
Continue Reading

Folded Ribbon Headband

Folded_Ribbon_Headband
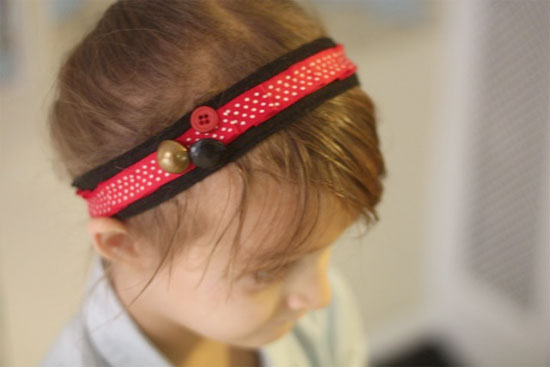
While my little girl is, by no means, out of the hair bow phase, we are definitely already heading into the headband phase, which means we need headbands. Lotttttssss of headbands. This folded ribbon band makes use of ready-made cloth and elastic bands but dresses them up in a fun way.

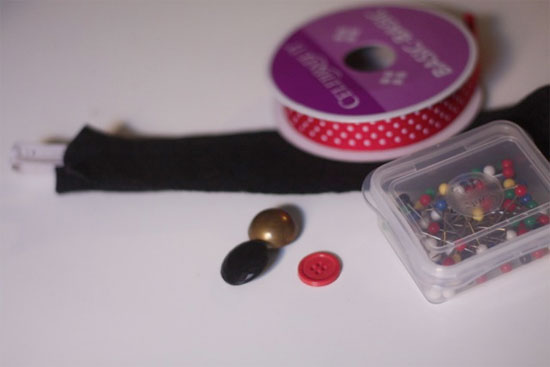
Things you’ll need:
Fabric and elastic headband
1/2- 3/4 inch ribbon
Assorted buttons
Sewing pins
Sewing machine and notions

Things to do:
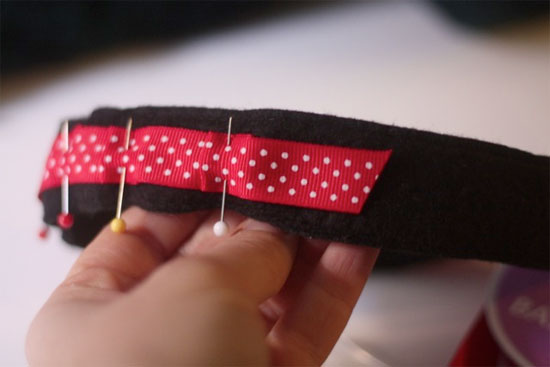
1. Fold the end of the ribbon over and line it up, right side up, with one edge of the fabric of the headband. Pin in place.
Folded_Ribbon_Headband2
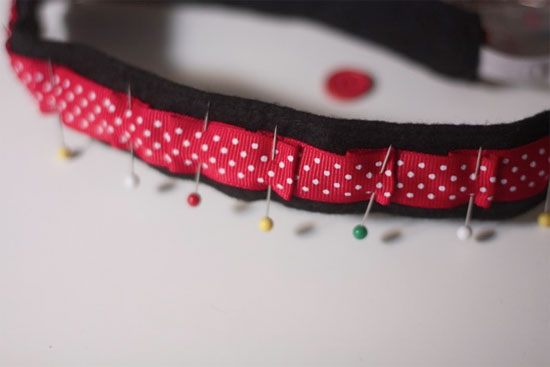
2. Moving across the headband, fold the ribbon back on itself and then over and pin to create tucks every inch until you have reached 2/3 of the way around the headband. Trim, leaving a 1 inch tail and pin to secure.
Folded_Ribbon_Headband3
3. Repeat the process from the other edge of the fabric until the two sets of ribbon folds meet. Create a final tuck to hide the raw ends by folding one end under. Pin to secure.
Folded_Ribbon_Headband4
4. Using coordinating thread and a straight stitch, sew up the center of the ribbon, backstitching at each end to secure the thread. Remove the pins.
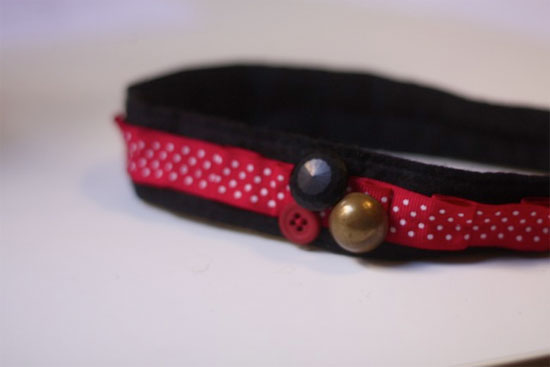
5. Stitch the buttons over the join in the ribbons and trim all threads.
Folded_Ribbon_Headband5

Continue Reading
Change Your Country
Please select your country, this will change the site to your country's currency:

Cancel