Skip to search Skip to navigation menu Skip to main content Selecting option will reload page

Painted Wooden Spoons


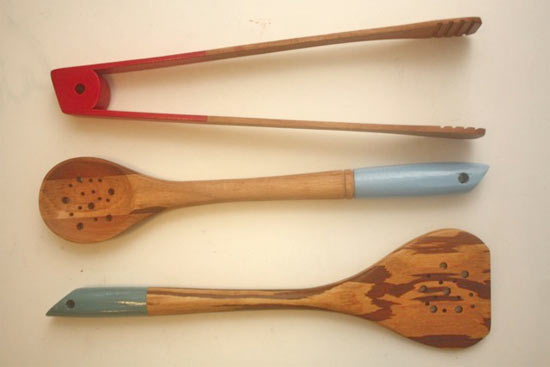
Wooden spoons are one of those kitchen basics that you just cant have too many of. But just because they are workhorses doesn’t mean they don’t have to be pretty. A little tape, a little paint and a little drying time and even the humblest of wooden spoons will be an eye-catcher.

Things you’ll need:
Wooden Spoons
Fine grit sand paper
Acrylic paint
Clear coat
Masking tape

Things to do:
1. Tape off a section of the handle, anywhere from 3-5 inches from the end, and smooth the tape down well with the edge of your fingernail so that the paint wont seep under.
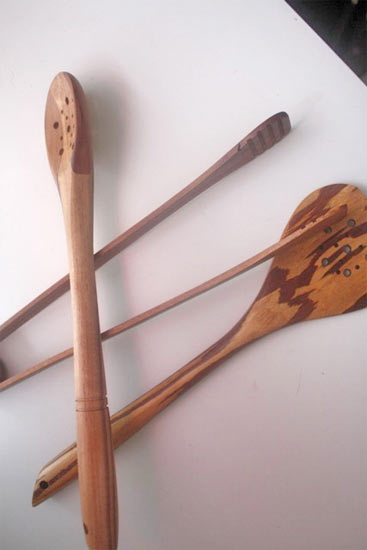
2. Lightly sand the area to be painted
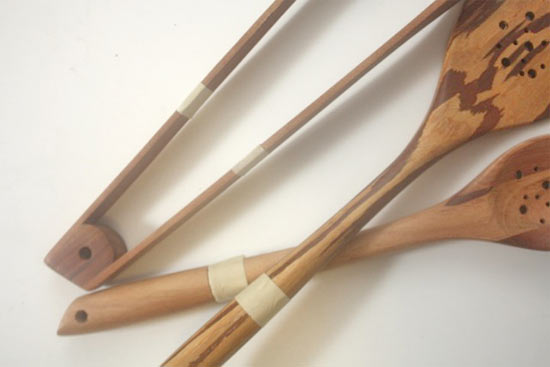
3. Brush on the paint in thin coats, allowing each to dry before adding the next, until the wood is well covered.
4. Coat lightly with clear coat to protect the paint and allow it to cure for 24 hours before using. Wash by hand.
Continue Reading

Fabric Bowl with Mod Podge


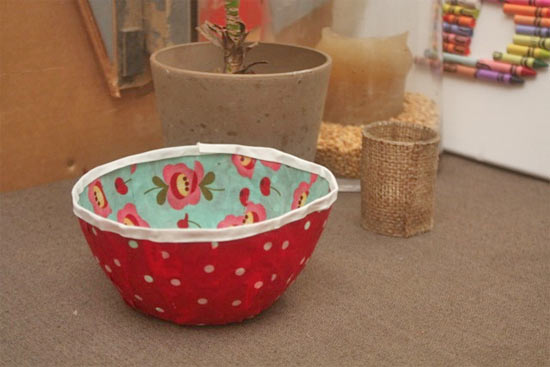
These cheerful fabric bowls are endlessly customizable and incredibly useful. Make a small one to catch your keys at the door, a larger one for jewelry and an in-between bowl that’s just the right size to corral your yarn while knitting. Perfect as gifts, these are simple enough for the kids to lend a hand as well.

Things you’ll need:
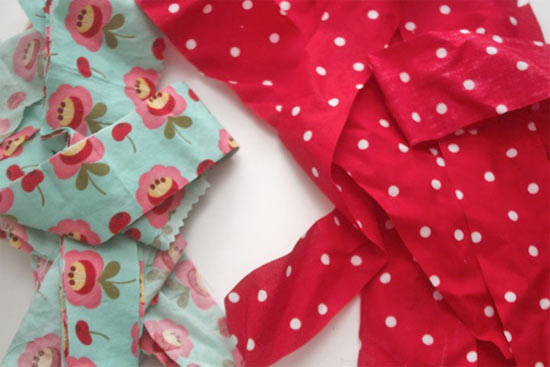
Lightweight fabric cut into 2-inch wide strips- two different patterns
Bowl
Plastic wrap
Mod Podge
Disposable container
Foam brush
Bias tape
Craft glue
Scissors

Things to do:
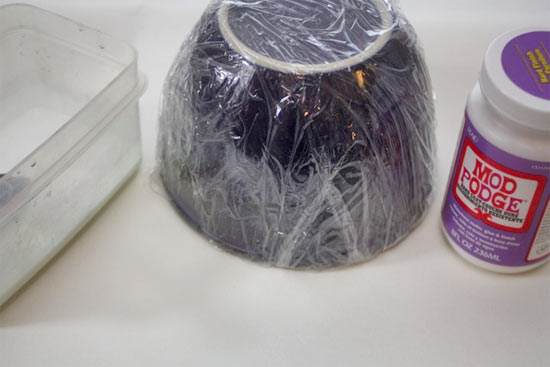
1. Cover your bowl entirely with plastic wrap. You’ll use this as a mold so be sure it’s well covered.


2. Pour the Mod Podge into the container and thin slightly with water.
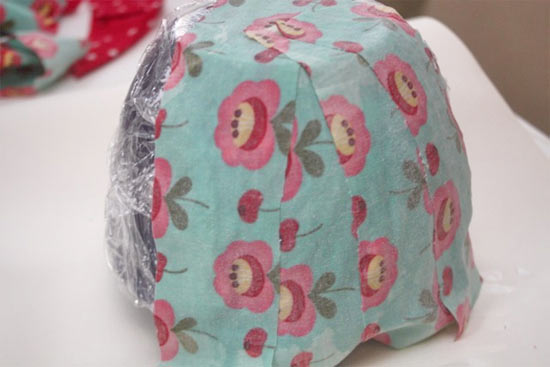
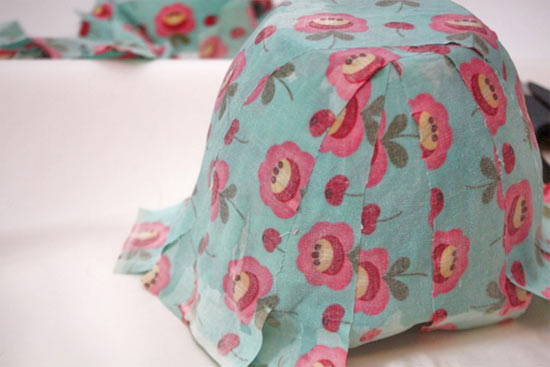
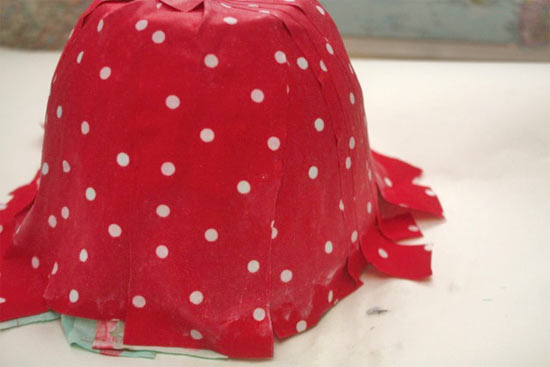
3. Flip the bowl upside down. Paint a two-inch wide strip from edge to edge on the bowl and lay a strip of fabric, print side DOWN. Continue to add strips of this pattern, print down, until the bowl is covered.


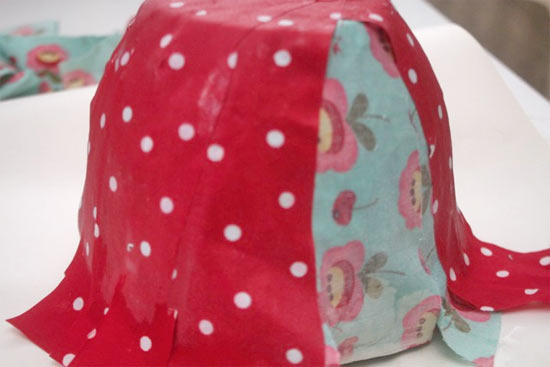
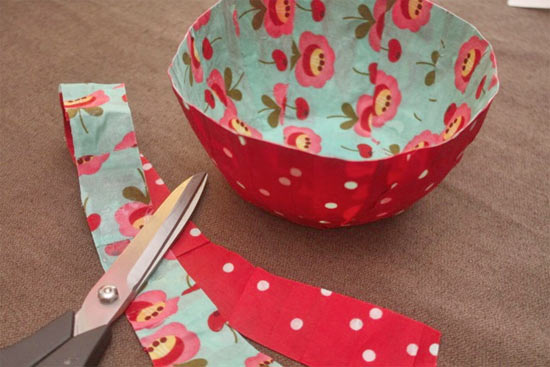
4. Paint another section of the bowl, over the first layer of fabric, as before, this time adding strips of the second pattern of fabric print side UP. Continue until the second layer entirely covers the first.

5. Allow the bowl to dry overnight.

6. Once dry, remove the bowl from the mold and peel the plastic wrap away.
7. Trim the edge of the bowl to the height you want. Add a bead of glue to the outer edge and press the bias tape around the bowl, trimming the excess.

8. Once dry, fold the bias tape over and glue along the inside edge. Allow the glue to dry before using.

Continue Reading
Change Your Country
Please select your country, this will change the site to your country's currency:

Cancel