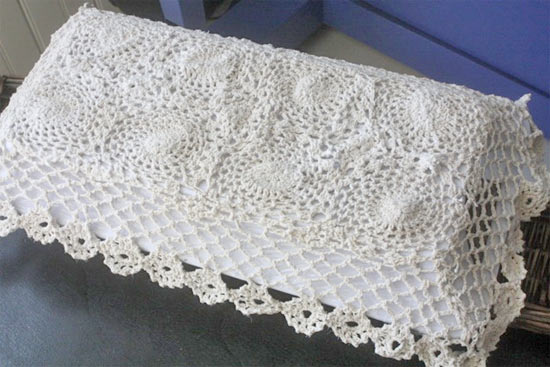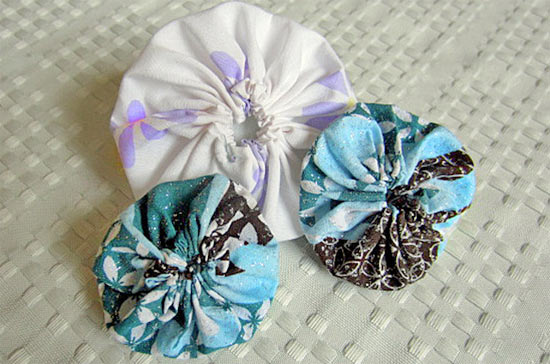
No, not the spinning toy on a string, but a cheerful little circle of fabric that is a versatile, portable craft for you and your kids! Use a few yo-yos to update a t-shirt or sew a bunch together to make a unique blanket. Cut some circles, take your needle and thread, and you can sew yo-yos wherever you go-go!
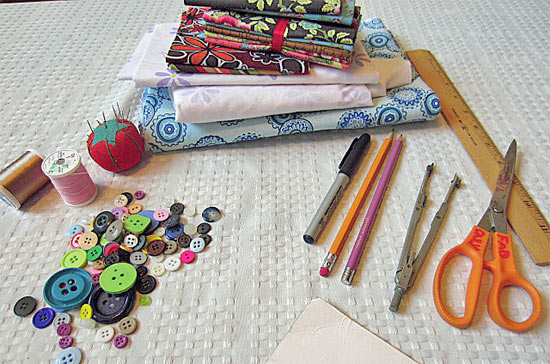
Things you’ll need:
Cardboard
Compass, Bowl, or Something Round
Fabric
Strong, matching thread
Needles
Thimble
Things to do:
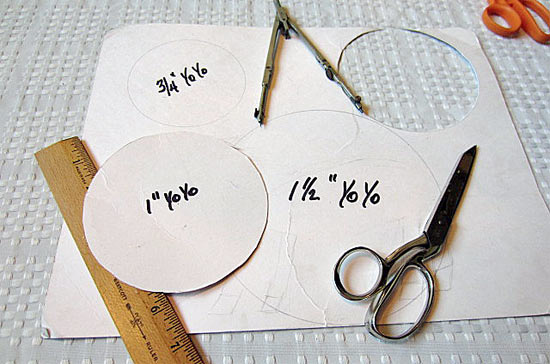
1. Draw a pattern for your yo-yos. Your yo-yo will be half the size of your pattern you cut, so double the size of desired yo-yo and add a 1/2 inch seam. Use the following to determine what size circle you’ll need:
| Finished Yo-Yo |
Pattern Diameter |
| 1-inch |
2.5 inches |
| 2-inch |
4.5 inches |
| 3-inch |
6.5 inches |
| 4-inch |
8.5 inches |
2. Cut your yo-yo patterns from cardboard and label each one.
3. Trace the pattern on the wrong side of the fabric.
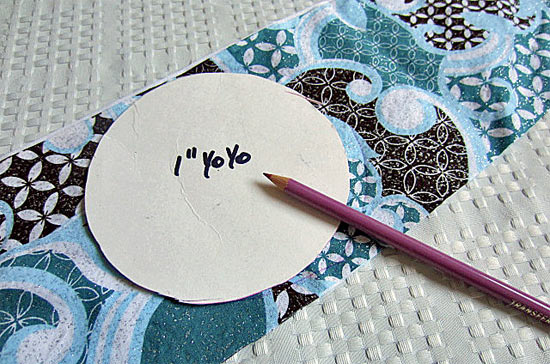
4. Cut out your fabric circles with scissors.
5. Finger-fold a 1/4 inch seam around the outside of your circle. (pins might help until you get the knack!).
6. Thread your needle and tie a sturdy knot in the thread.
7. Run a simple straight stitch through both layers.
– Shorter stitches make a more open middle of your yo-yo.
– Longer stitches make a tight yo-yo middle.
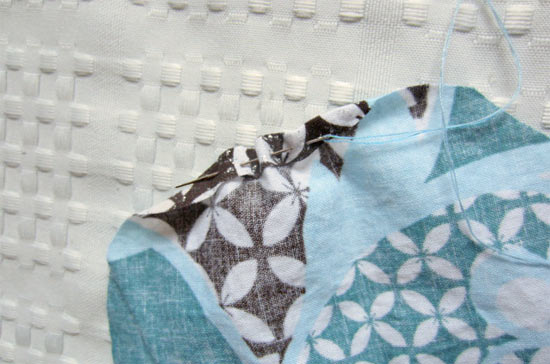
8. Once you’ve stitched around the edge of the circle, pull the threads to gather the edges to the center of the fabric circle.
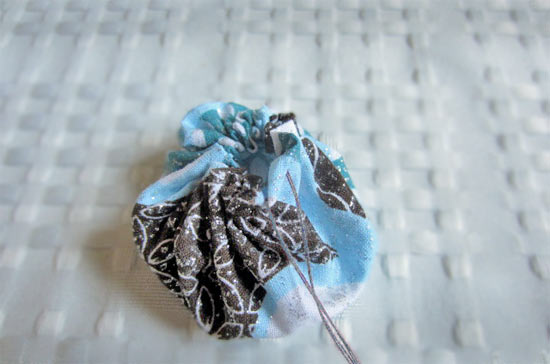
9. Secure the gathers with a couple of stitches, then knot the thread.
10. Trim the long threads.
11. Smush the fabric into a flat yo-yo with the gathers on top.
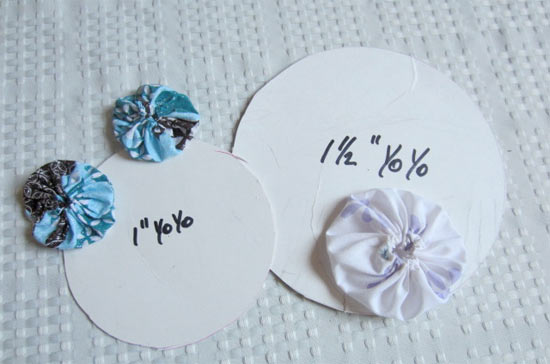
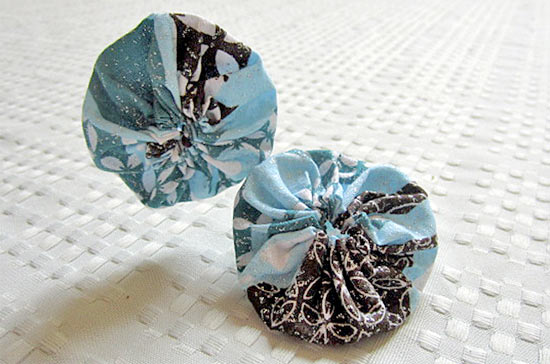
You can decorate yo-yos with smaller yo-yos, buttons, a felt cutout; whatever makes you happy!
