

Create a DIY American Flag Windmill Hanger with this simple and fun project. Using basic materials, you can craft a patriotic decoration perfect for hanging on your front door or displaying inside your home. Show your American pride with this unique and charming piece!
Difficulty level: Beginner
Time to complete: 30 minutes
Age range: 12 and up
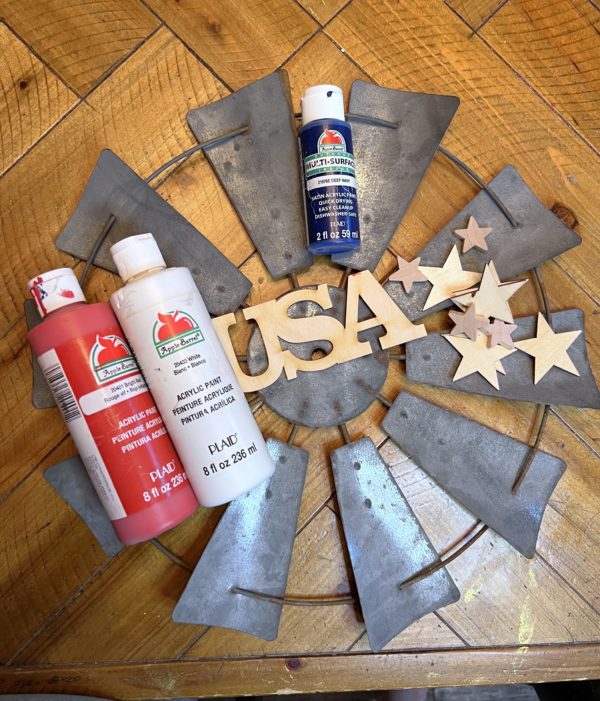
Things you’ll need:
15″ Zinc Windmill Wall Fan
1″ Unfinished Wood Stars
2 inch Unfinished Wood Star Cutouts
Unfinished Wood USA Cutout
White Apple Barrel Acrylic Paint
Black FolkArt Brushed Metal Acrylic Paint
Bright Red Apple Barrel Acrylic Paint
Royal Blue Apple Barrel Acrylic Paint
Hot Glue Gun and Sticks
Let’s grab your supplies, channel your inner artist, and let get crafting!
Step 1:
Grab your blue paint. Here i used the royal blue apple barrel paint. I painted 4 panels in the blue color.
These windmills come with a hook already attached on the backside. Make sure you have that set to the top before deciding the color lay out.

Step 2:
Next, i grabbed the bright red apple barrel paint and painted every other panel. Which ended up being 3 in total.

Step 3:
Take your White paint and finish painting the rest of the panels that are left on the windmill. Then i took that paint and painted the center circle.


Step 4:
We had this brushed metal black paint, which i thought would fit really well with the rustic look of the wire still showing on the windmill. I took this and paint the ‘USA’ cutout.

Take you hot glue gun and glued this onto the center circle.

Step 5:
Lastly, you will grab the 1 and 2 inch star cutouts. I let them plain to add more contrast to the piece, but feel free to paint white or even silver. I then placed them onto the blue panels. Once i got them laid out to my liking, i glued them in place with the hot glue gun.
Then it is set and ready to display for the holiday celebrations!