
Spring is the perfect time to bring some fresh and colorful decorations into your home. One great way to do this is by creating your very own DIY carrot wreath! Not only is this wreath adorable and unique, but it’s also easy to make and customizable to fit your personal style.
Difficulty level:Beginner
Time to complete: 35 minutes
What is needed:
- 1 – 12″ Natural Grapevine Wreath
- 5 packages – Raffia Wrapped Faux Carrots
- 1 roll – Lace Edge Burlap Wired Ribbon (any other ribbon of your choice)
- Glue gun
- Scissors

Let’s get crafting!
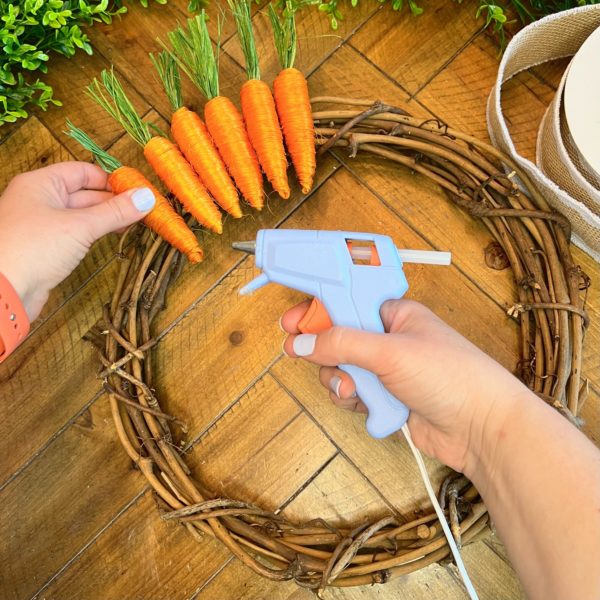
Creating the wreath
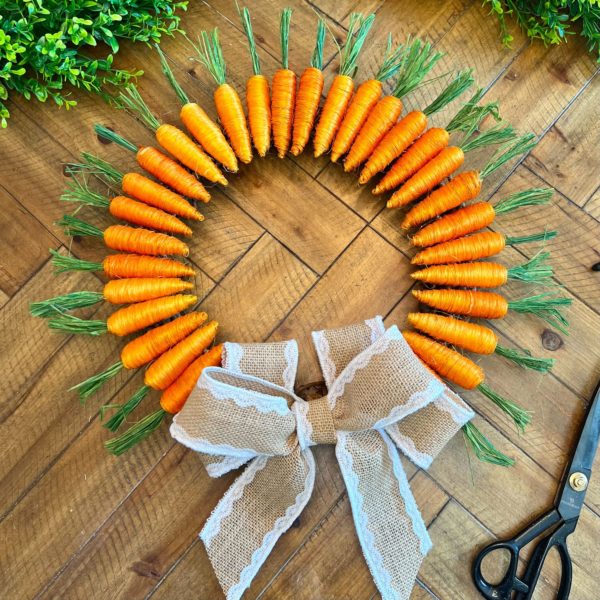
This is the time consuming part of the craft. It is super easy but making sure each carrot is glued in place to stay before moving on. You will grab your wreath form and start hot gluing all the carrots around the wreath. I chose to glue each carrot in the middle of each carrot to help them line up better.
I left about 12 inches of the wreath showing. This allows me space to create a good size bow. I had about 6 remaining to help come back and fill in the space once bow is in place.

Make the bow
Here i wanted to make a decent size bow but nothing that was going to be overwhelming for the wreath itself. I made the loops around 5.5 inches each.
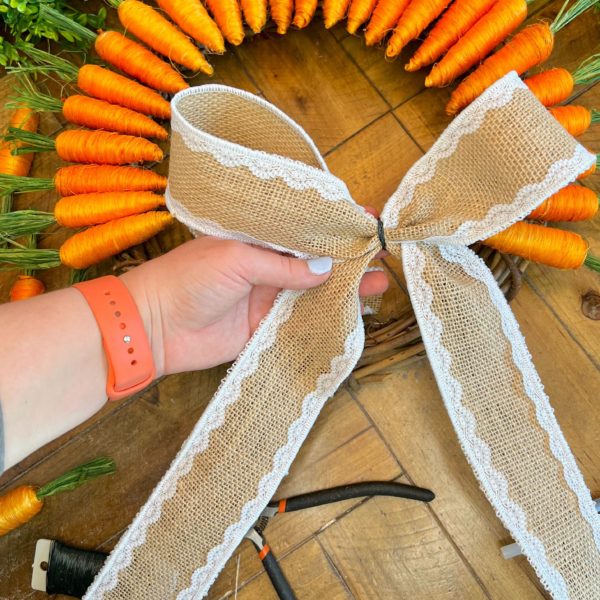

I covered the wire and create a perfect center with a small piece of the ribbon folded.
With this being a wired ribbon and lace, it was hard for me to really form that BIG fancy bow with multiple loops. I took the easy way out, because lets be real – Those can be hard!
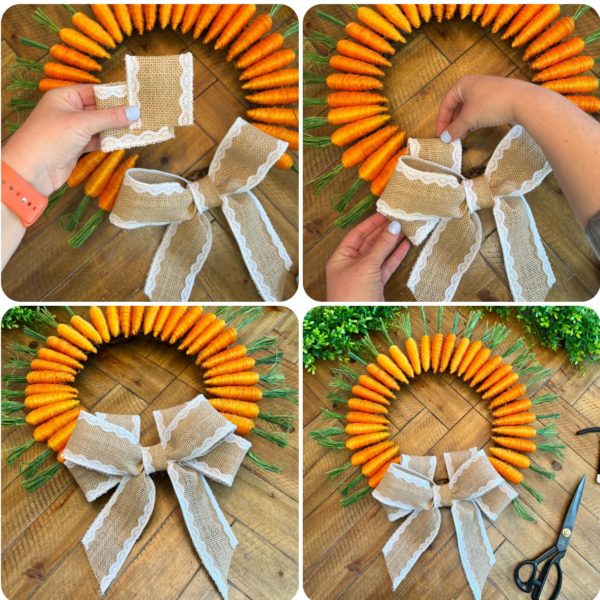
Creating my extra loops, i cut 4 pieces to measure about 6 inches. I then folded those in half. Tucked them in the back of the already made bow. Once i have them in place, hot glue them to the back. This will help create that big glamours looking bow without all the hassle!!
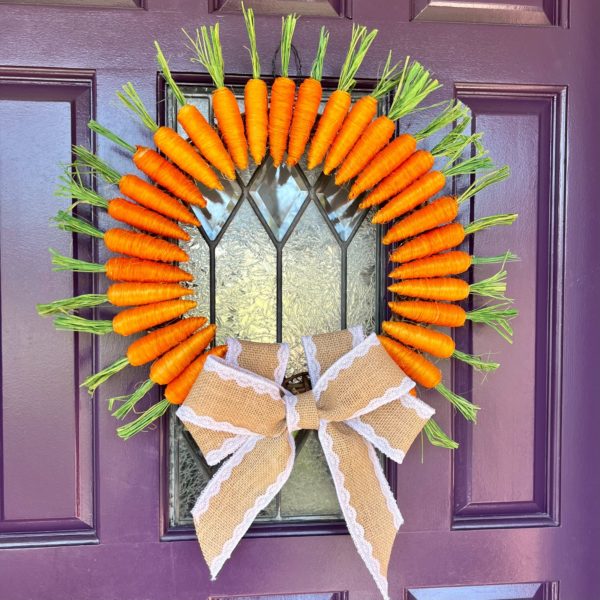
Time to Enjoy
Once all the glue is dry, you are ready to start enjoying your beautiful creation for Easter and all spring long! This is a unique wreath that really adds some fun to your indoor decor or hang on the front door to welcome in your friends and family!
How to video
Want to see more? Find more beautiful and unique projects by subscribing to our YouTube Channel here