
Difficulty level: Beginner
Time required: 1 hour plus paint drying time
Age range: 10+
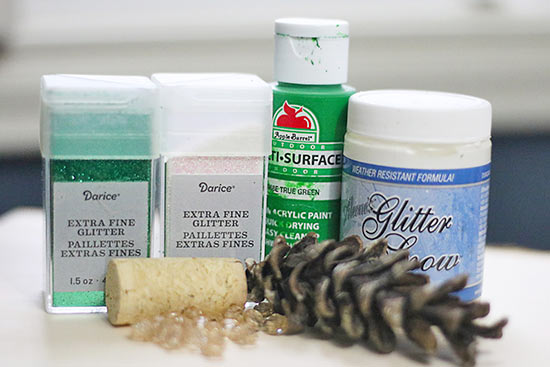
Things you’ll need:
Pinecones
Corks
True Green Multi-Surface Acrylic Paint
Champagne Round Faceted Beads
Emerald Green Extra Fine Glitter
White Extra Fine Glitter
Aleene’s True Glittered Snow
Mod Podge
Epson Salt
Things to do:
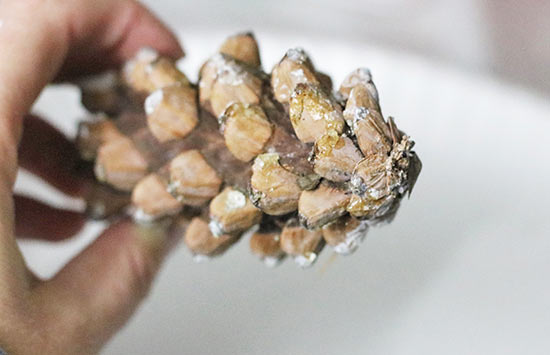
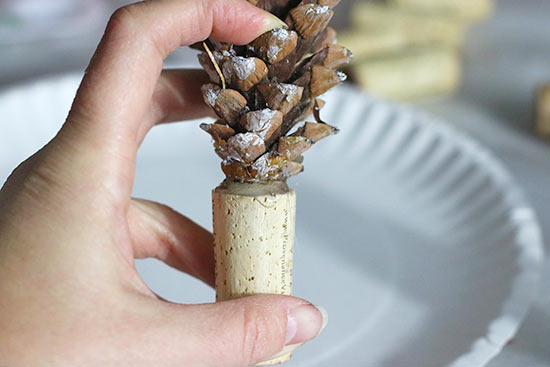
1. Cut off the end of a clean pinecone to give it a flatter bottom edge.
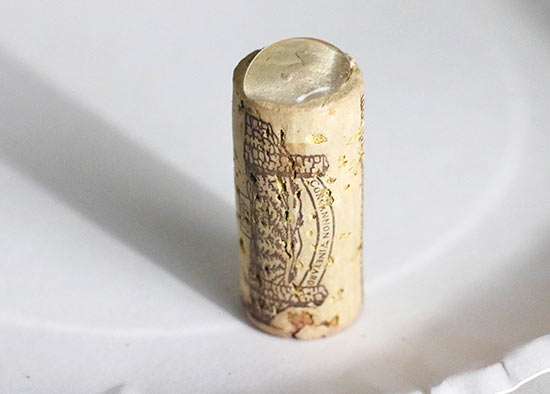
2. Place a large amount of hot glue on top of the cork.
3. Place and hold the pinecone into the hot glue. Hold the pinecone in place until the glue starts to dry. Set the pinecone aside, standing straight up, to completely dry.
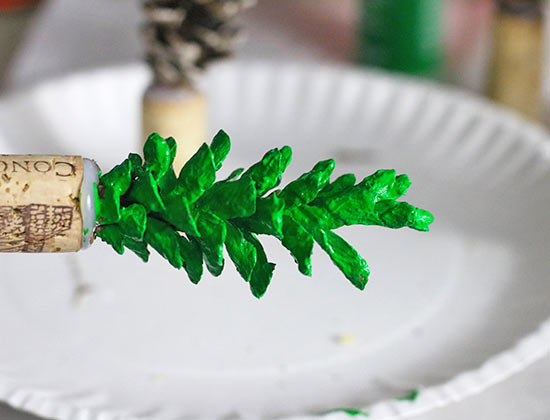
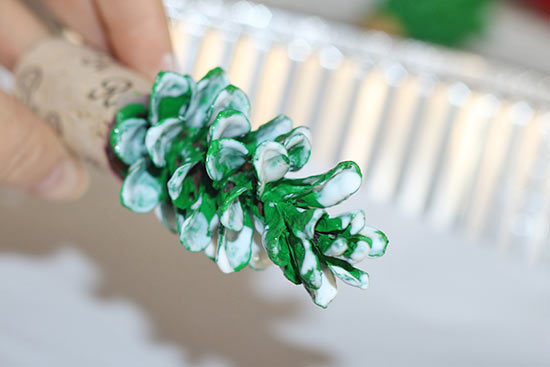
4. With the True Green Multi-Surface Acrylic Paint, paint the entire pinecone. I found it easier to start with the underneath side first, then paint the inside of the pinceone last. Set pinecone aside to dry.
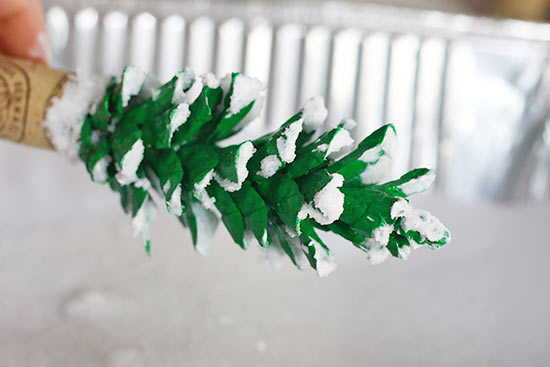
5. Once the green paint is dry, start brushing on the Aleene’s True Glittered Snow. Be sure to leave some small clumps to give more of a snow feel.
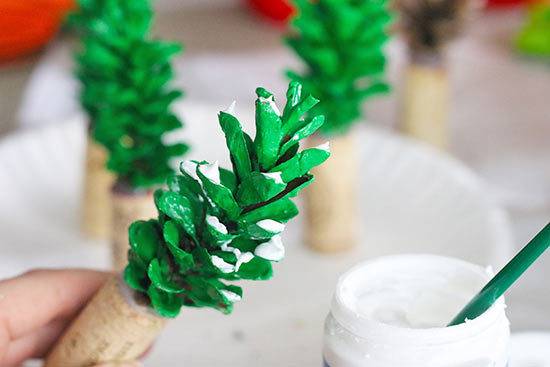
6. Also, brush on the Aleene’s Glittered snow to the base of the pinecone. You may set the pinecone aside to dry, or add some other fun options.
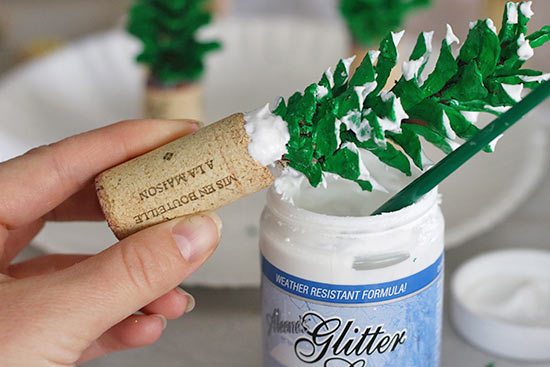
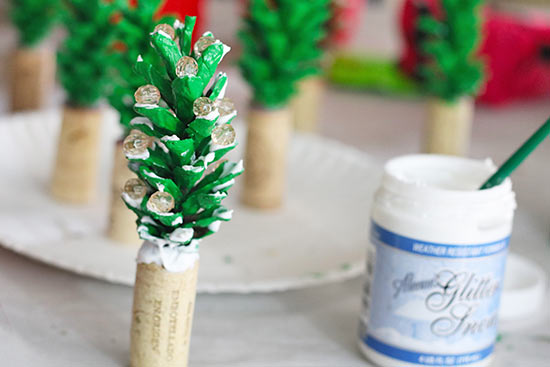
7. One option is to add the Champagne Round Faceted Beads before the Aleene’s Glittered Snow dries. Place each bead into some snow.
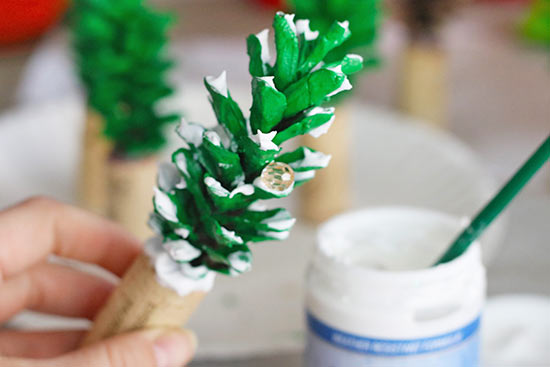
8. Add a many Champagne Round Faceted Beads as you would like, then set the pinecone aside to dry.
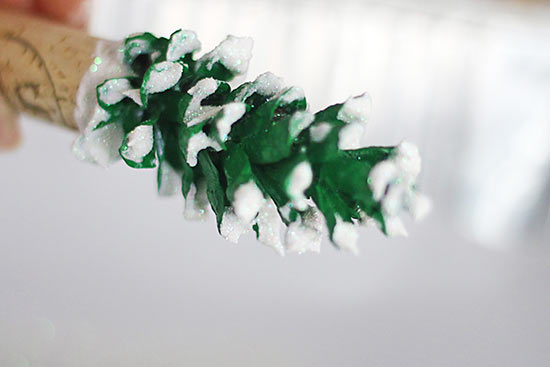
9. Another option is to pour Epson salt on top of the snow glue.
10. Or pour on some white glitter on top of the snow.
11. If you are not looking for a snow effect, you may also add some glitter directly onto the green paint. Brush on some Mod Podge onto the painted pincecone where you would like the glitter to stick.
12. Over a paper lined container, generously pour some green glitter onto the pinecone. Completely cover the Mod Podge. Shake off excess glitter.
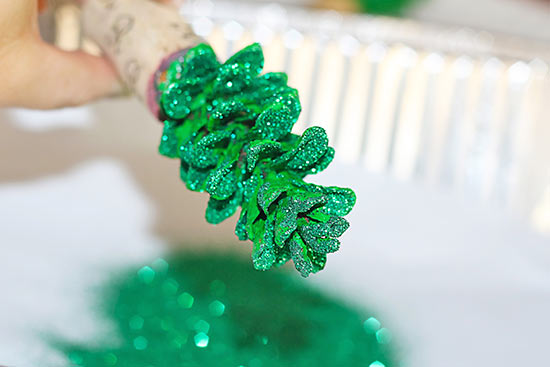
13. Fold the paper in half and pour the glitter back into the container.
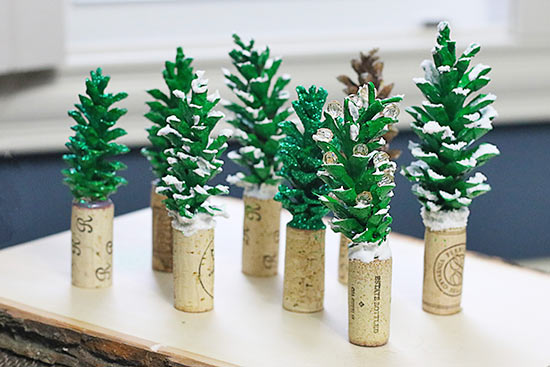
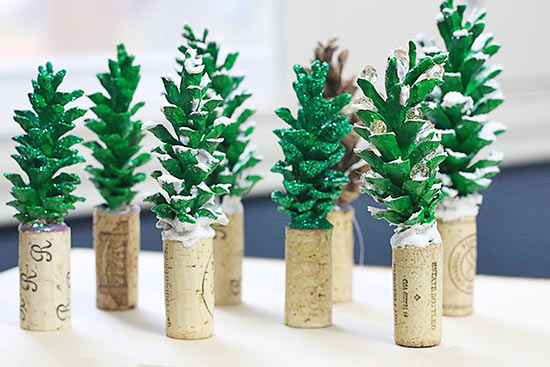
Voila! You now have your own DIY Pinecone Christmas Tree.