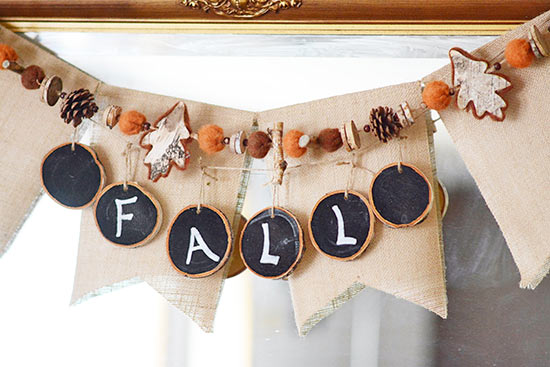
Create a rustic chalkboard banner, that is customizable and perfect for every holiday and season with this super simple tutorial!
Difficulty level: Beginner
Time required: 20 Mins+
Age range: 10+
Things you’ll need:
Wood slices
Chalkboard paint/paint brush
Jute twine
Scissors
Ruler
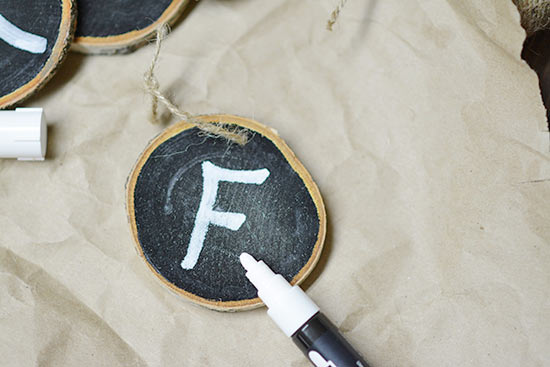
Chalk/chalk pen
Drill *optional
Things to do:
This wood slice banner can be created using wood slice pieces that are not predrilled, and strung with twine, but is a snap using those that are.
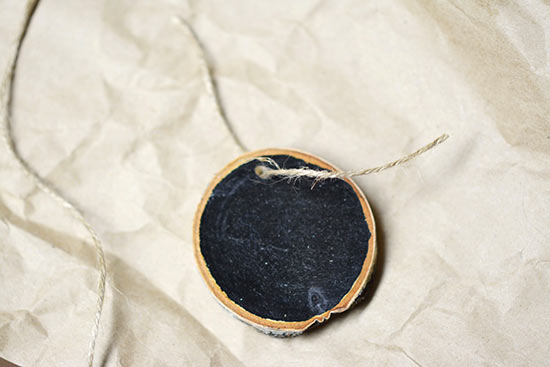
1. If you wood slices are not pre drilled, drill a hole in each slice, near the top of the wood slice.
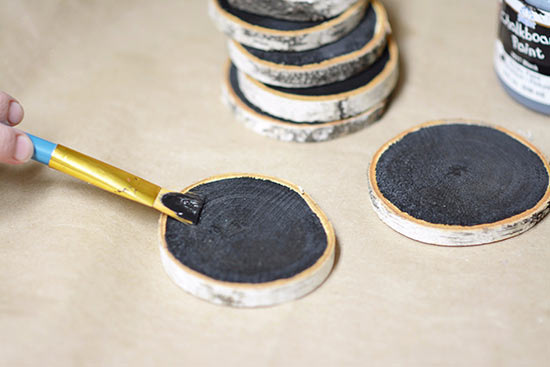
2. Paint each slice with chalkboard paint., and allow to dry.
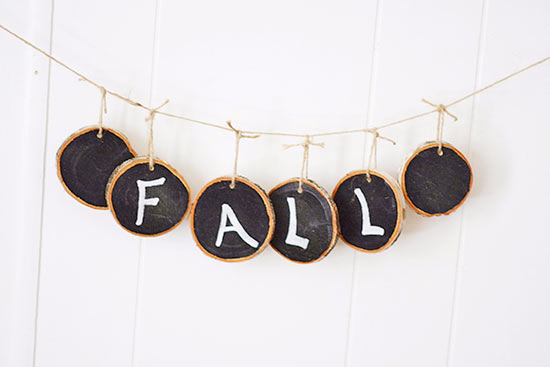
3. String each slice with a piece of twine. Measure each piece of twine, so that they are the same length.
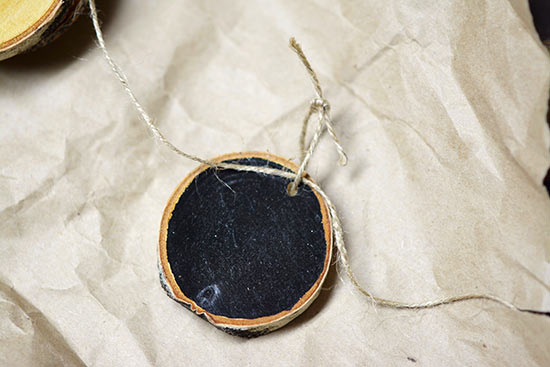
4. String your wood slices on a large piece of twine, length will be determined by the amount of slices you are using, and your desired length. (You may tie each slice to the twine to keep them in place, or allow them to move freely by simply stringing the twine through the loops.)
5. Decorate your wood slices using your chalk or chalk pen.