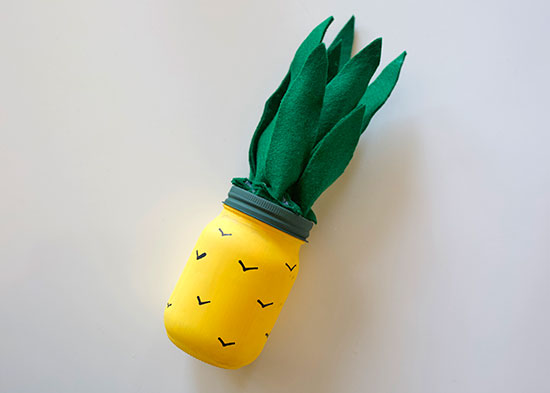
Light up your summer table with these adorable, pineapple luminaries! These lamps are the perfect seasonal centerpiece, taking your picnic or party to the next level.
Difficulty level: Beginner
Time to complete: 30 minutes
Age range: 12 and up
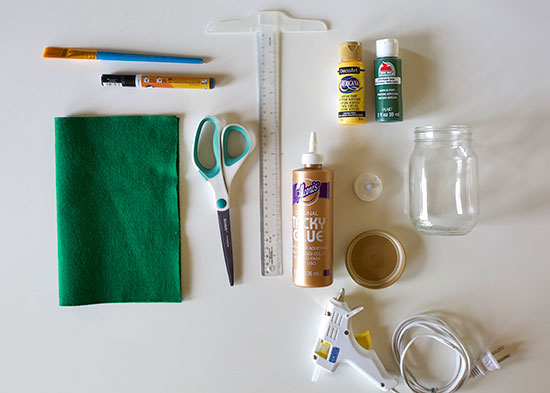
Things you’ll need:
Mason jar
Acrylic paint (yellow and green)
Black paint pen
Paint brush
Green felt
Scissors
Hot glue gun and glue sticks
Battery tea lights
Things to do:
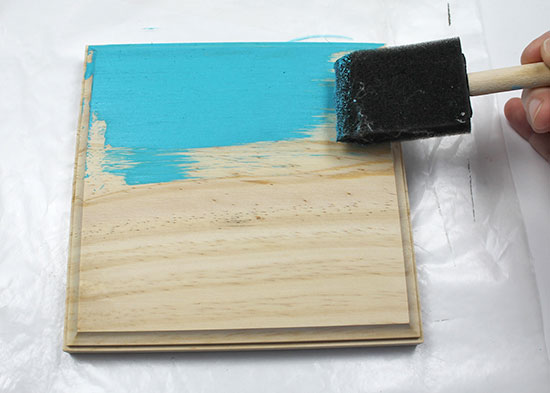
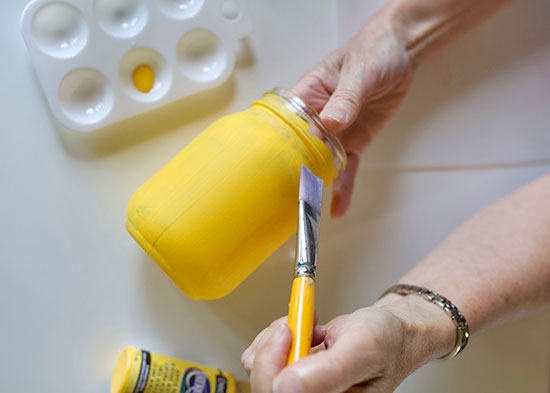
- Paint your mason jar with yellow acrylic paint. Let the surface dry entirely before applying a second coat.
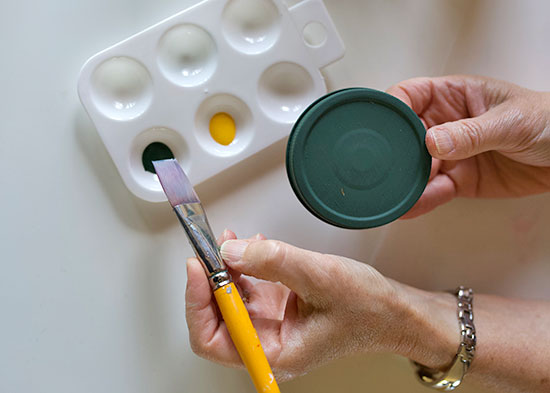
- Paint your mason jar lid green.
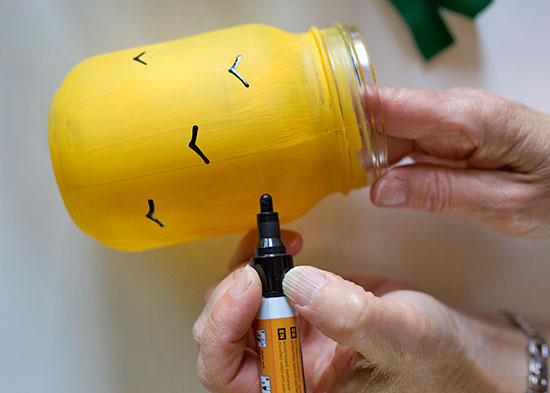
- Add black “v”s around the jar, using your paint pen.
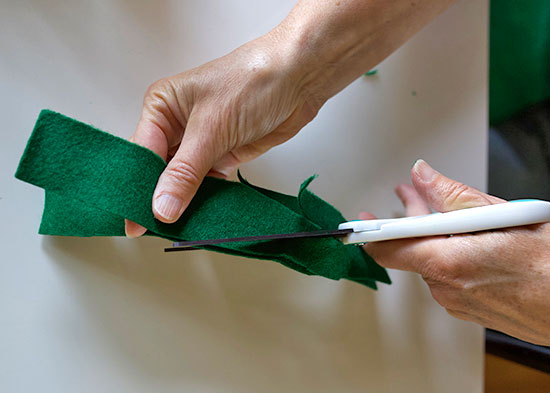
- Cut 1 1/2 ” wide strips of felt.
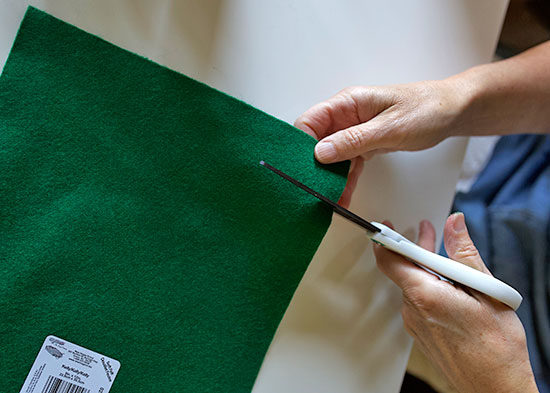
- Trim the tops of the strips to look like leaves. All of your strips should be different lengths.
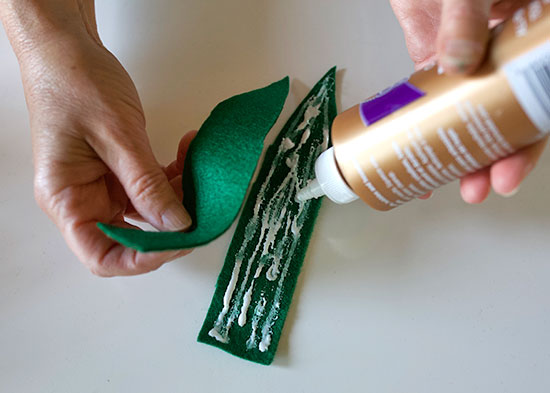
- Glue two strips together to make them stiffer so that they can stand on their own.
- Cut slits at the bottom ends of your felt strips to create little footings.

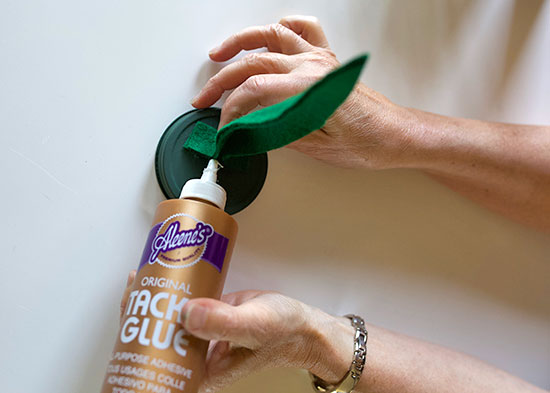
- Fold the felt strips in half and spread out the slits to glue it to the lid of your jar. Add all of the leaves in a round bunch.
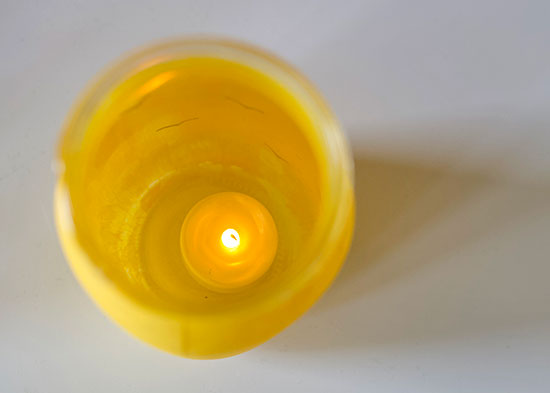
- Add a tea light to the luminary.