
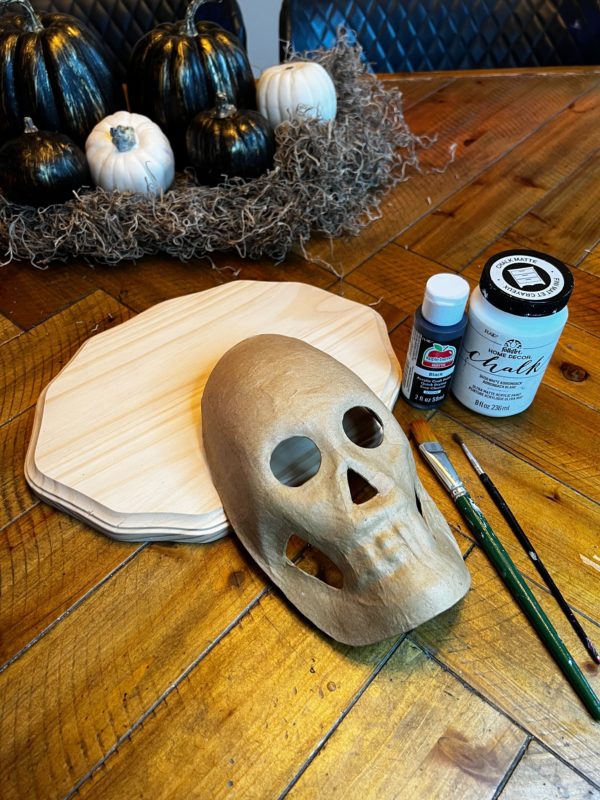
This project was so EASY and QUICK! We have our popular skull mask that I wanted to try and create something for our Halloween decor. What a better way to display the mask glued onto a plaque for a wall decor. This will sure help add to your Halloween displays and add that spooky feel of someone watching you! 💀All is needed is 5 simple crafting materials!

Needed supplies:
- 1 Unfinished French Oval Wooden Plaque – 11″x9″
- Paper Mache Skeleton Mask
- Black Apple Barrel Acrylic Paint
- White Apple Barrel Acrylic Paint
- 28 mm Realistic Light Gray Half Round Doll Eyes
- Mod Podge Hard Coat
- Multi surface glue
- Hot Glue Gun & Sticks
- Paint brush
- Baby Wipes
Shop the needed material here:
https://factorydirectcraft.com/catalog/advanced_search_result.php?keywords=FBplqskllmsk
Let’s grab your supplies, channel your inner artist, and let get crafting!
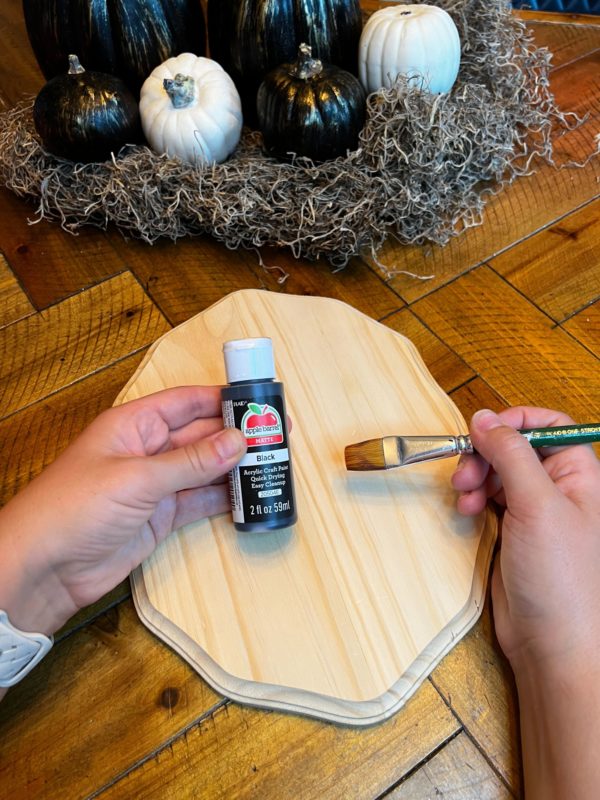
Step 1: Prepping & Painting
Grab your desired color of background color for your wooden plaque. Here i choose to go with that apple barrel paint. I painted a nice layer on the top surface.
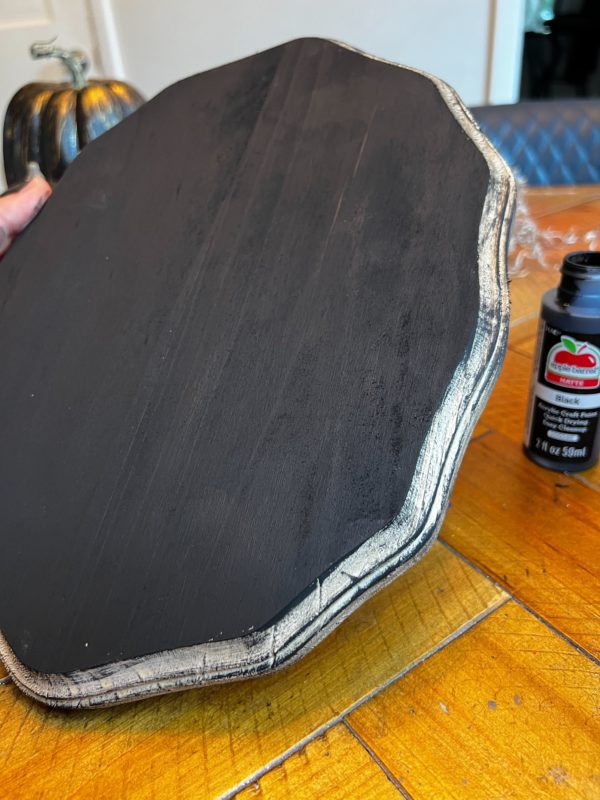
I wanted some contrast on the sides. Instead of leaving them that a natural wood color, I came in with a semi soaked brush. I took it and rubbed every so slightly to get that black paint on just the surfaces areas.
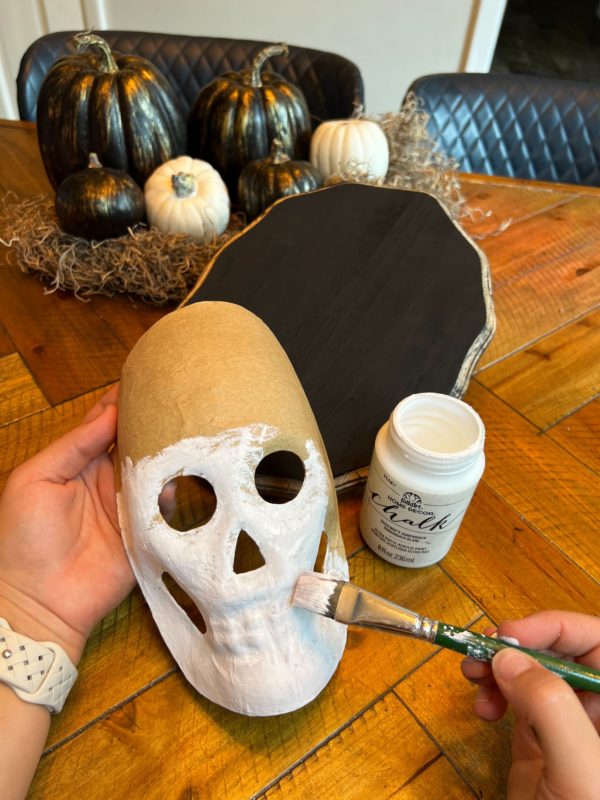
Step 2- Painting the Skull Mask
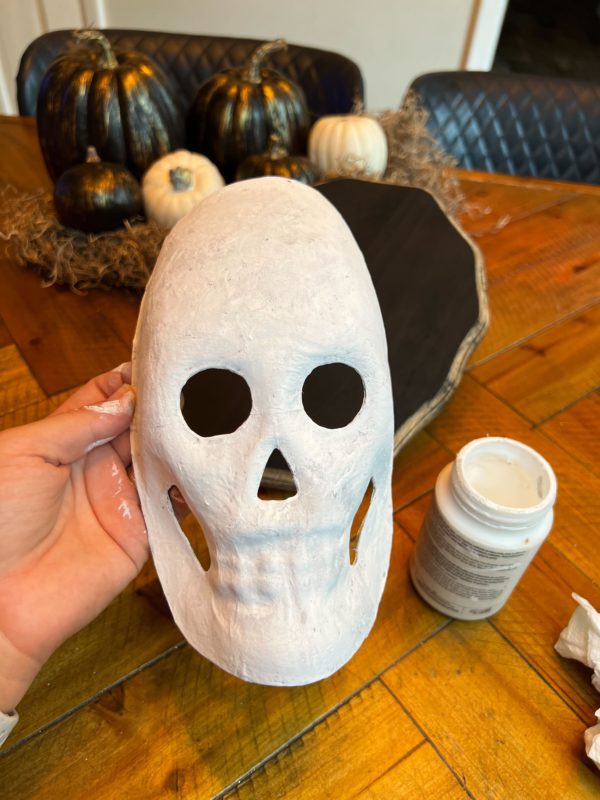
Skulls are normally never a clean looking and one color. Here i choose to use the white chalk paint and dab it on. This allowed for it to still show a bit of that natural paper mache color throughout the surface of the mask. I liked the chalk paint as it allowed it to be more matte verses a shiny.
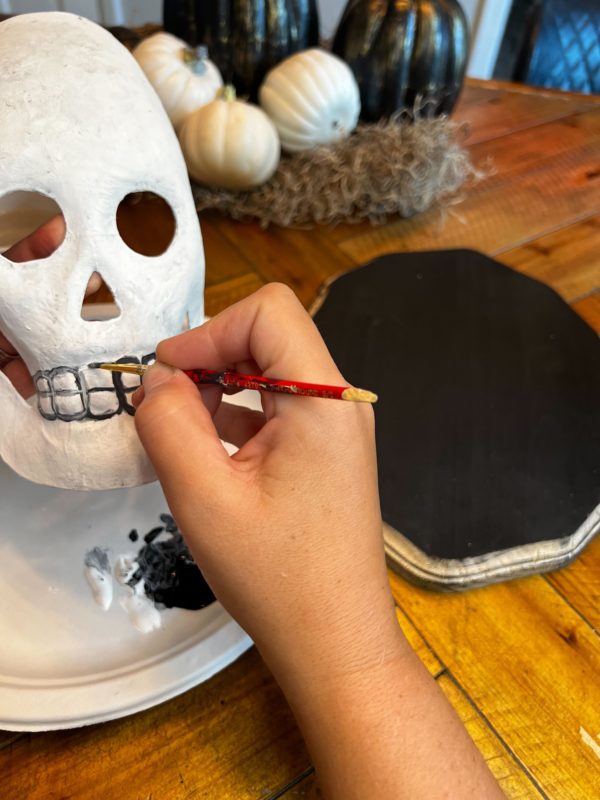
Step 3 – Painting the Details
At first, when i came in to paint the mouth of the skull, i used a mixture of the white and black paint to not be so bold. I was not a fan of it. So i came back with a black and went over my lines again.
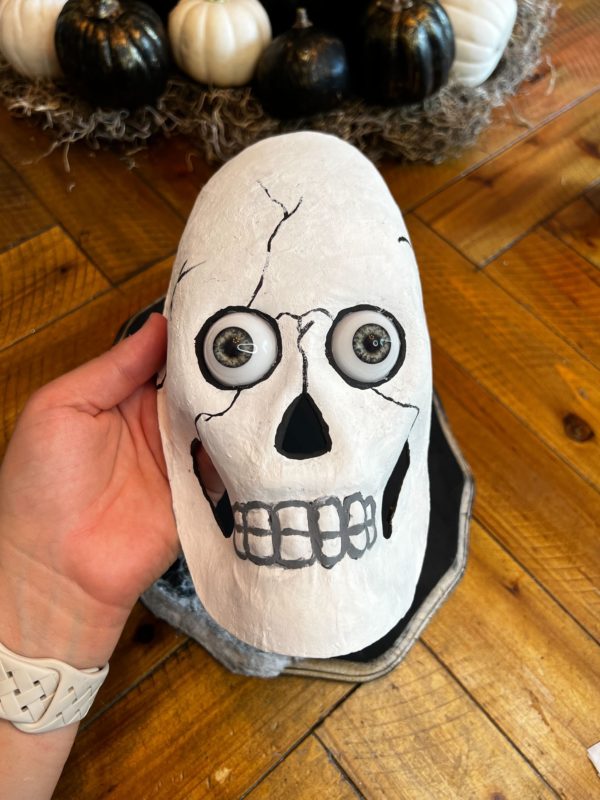
I painted black around all the openings of the skull mask. To help those pop out more. Then took a thin brush to go through and paint on the “cracks” throughout the skulls face.
*Tip – If your brush bristles are not sticking together and has had its fair share of being used – Use a thin layer of Vaseline. This will then hold the bristles together and allow for a more clean lines!
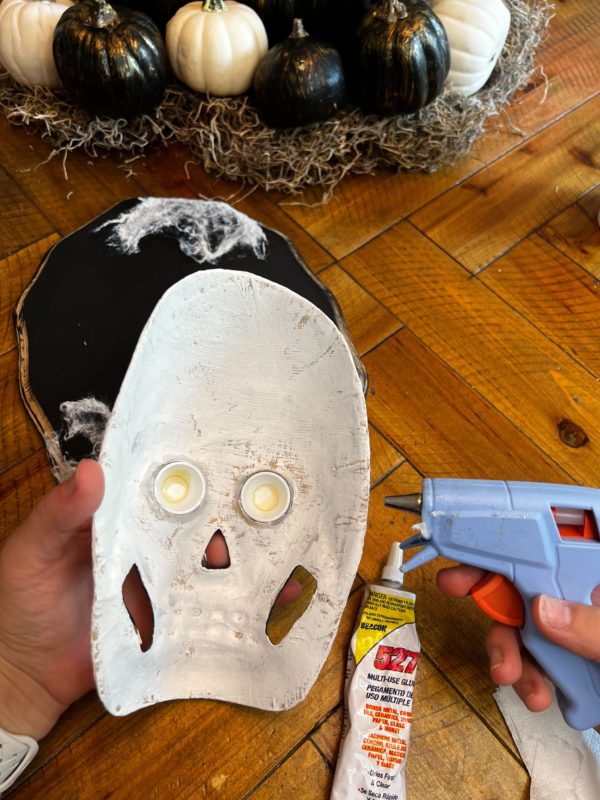
Step 4 – Glue in the Eyes
You will grab the 28mm half eyes and glue them to the opening of the eye holes. I used a little dab of the all purpose glue on each side and then some hot glue to hold it in place.
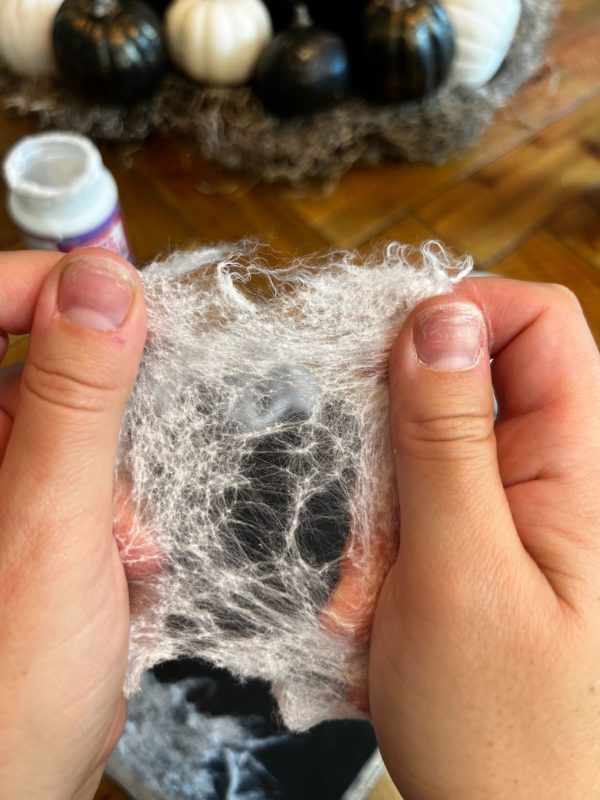
Step 5 – Spiderwebs
I had a baby wipe dry out. Then i just pulled at it to get the desired look and size.
I have found the new love for baby wipes. They come in handy when you are needing webbing for my halloween crafts this year.
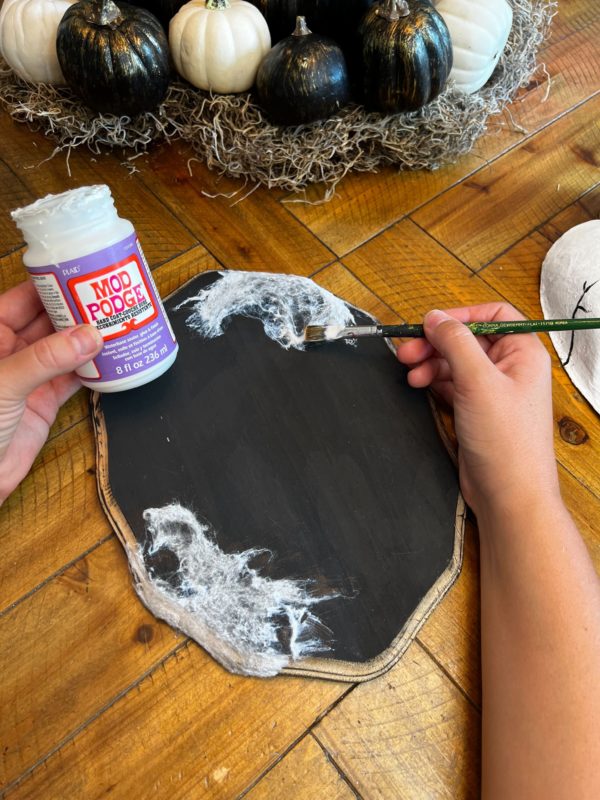
I placed the “webbing” around in the areas that i wished to have them displayed. Once i found where i wanted them. I took the Mod podge and glued them in place.
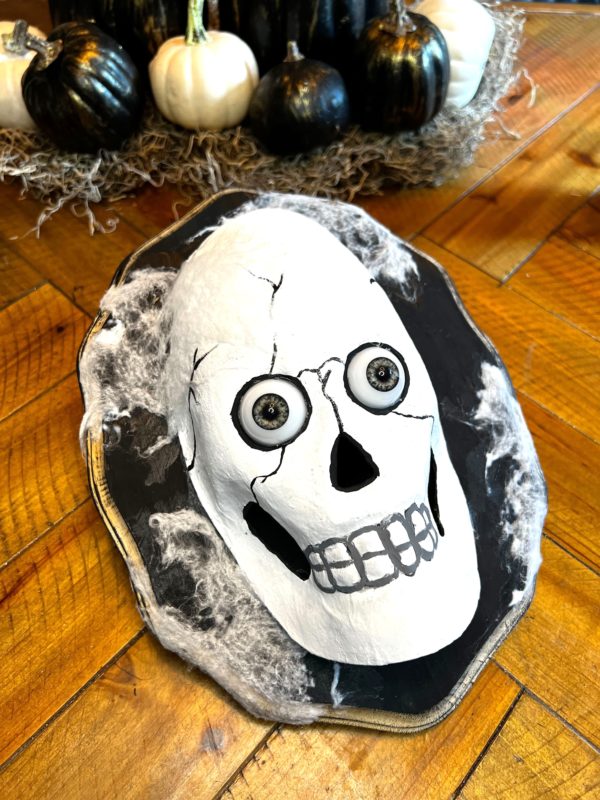
Creating a paper mache skull mask on a plaque is a fun and creative DIY project that will add a spooky touch to your Halloween decor. With some basic materials and a little imagination, you can craft a haunting masterpiece that will impress your friends and guests for years to come. So, get crafting and have a spooktacular Halloween!