Skip to search Skip to navigation menu Skip to main content Selecting option will reload page

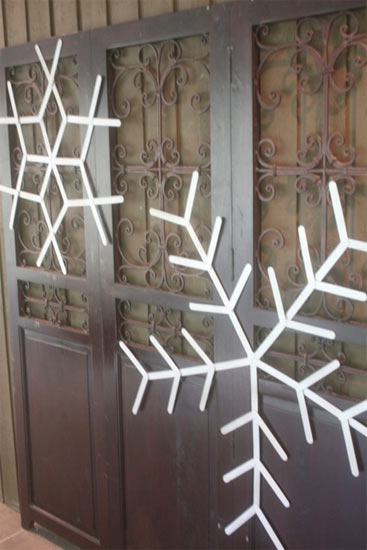
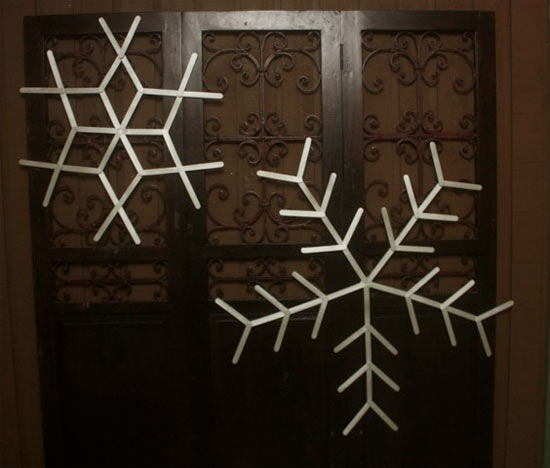
Giant Popsicle Stick Snowflakes


These over-sized snowflakes are a fun way to decorate large spaces in your home for winter. Simple to make and with endless variations possible, you’ll love putting them together. Because of their size, it may be easier to assemble these snowflakes on the floor to help keep them flat while they dry.

Things you’ll need:
Popsicle sticks
Wooden circles
Hot glue gun and glue sticks or craft glue
Silver spray paint
Glitter paint (optional)

Things to do:
1. Decide how many branches your snowflake will have, five or six is a good place to start, and glue the tips of those sticks evenly around one of the circles, keeping the angles that they just out at approximately the same all around.
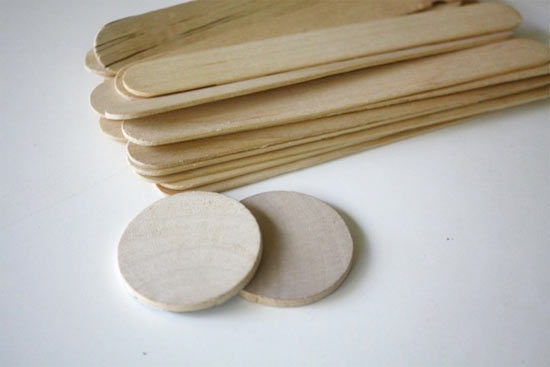
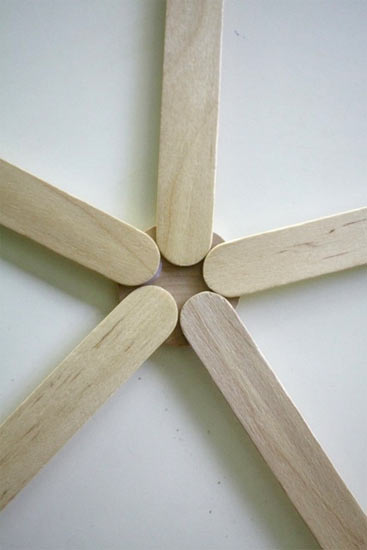
2. Extend the initial branches either in a straight line or branching again at an angle around the snowflake. Experiment with different combinations of sticks crossing or meeting until you have the snowflake you want. Allow the glue to dry completely.
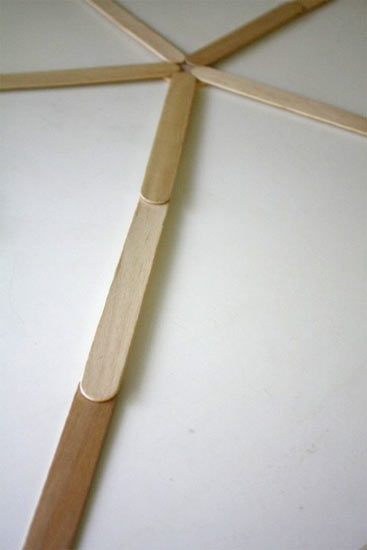
3. On a covered and well-ventilated work surface, lightly spray the snowflakes first with silver paint and then with glitter and allow it to dry before hanging.
Continue Reading

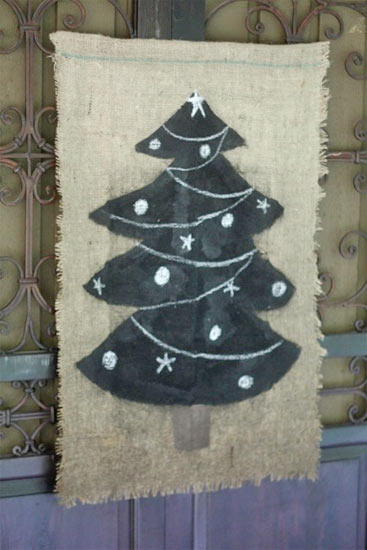
Burlap and Chalkboard Christmas Tree


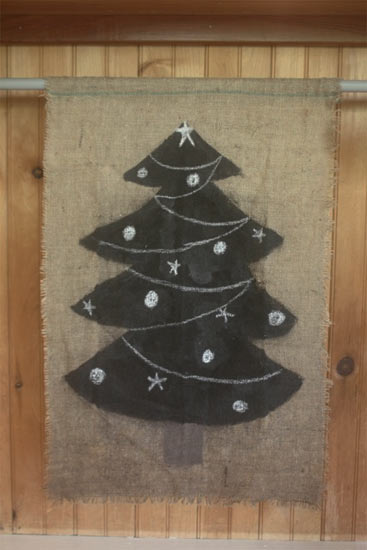
For as long as they’ve been talking, my kids have asked every December for Christmas trees in their rooms as well as our family tree. For obvious reasons, I’ve never let them have a real tree in there but we’ve had various versions of Christmas trees near their beds for the past few years. This year I’ve gone interactive with this fun chalkboard and burlap wall hanging tree. Because it’s made of fabric, you can pin real ornaments to it with safety pins as well as drawing decorations on to your hearts content. If you want to change things us, simply wipe down with a wet cloth and begin again.

Things you’ll need:
Burlap, appropriately sized for your room
Chalkboard paint
Brown acrylic paint
Foam brush
Sewing machine (optional)
Dowel rod (optional)
Ribbon (optional)

Things to do:
1. Cut a rectangle of burlap that works for the size of your room and the size of the tree you want.
2. Fold the burlap down the middle and crease slightly so that you have a center point.
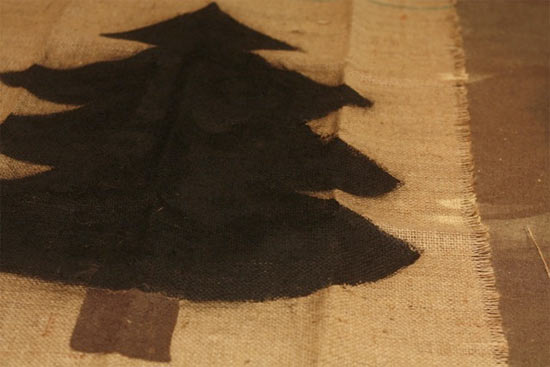
3. Starting about 1/4 of the way down the fabric and using the middle crease as a guide, paint a Christmas Tree shape, minus the stump, onto the fabric with chalkboard paint. Allow the paint to dry and then add at least one more coat.

4. Once the chalkboard paint is dry, switch to the brown paint and add a stump to the tree. Allow the brown paint to dry.
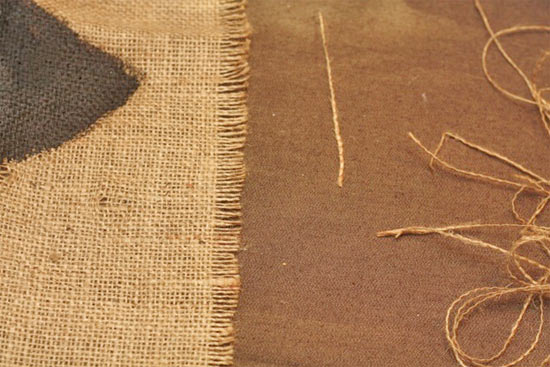
5. Pull the edge strings away from the fabric on all sides to create a frayed look and trim the raw ends as necessary.

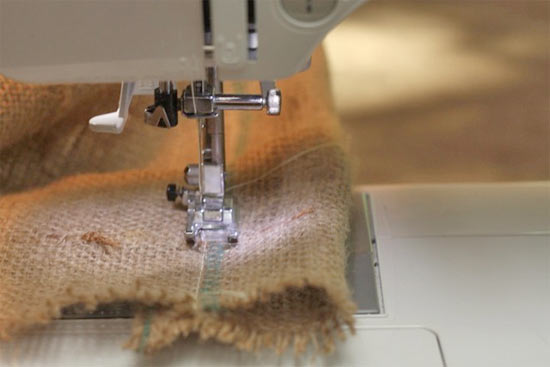
6. If desired, fold down the top 1/4 of the fabric and sew a pocket across the top large enough to accommodate your dowel. Slip the dowel through the fabric tube and create a hanger with ribbon. You can also mount the tree to the wall with pushpins if you do not wish to use the dowel.

Continue Reading
Change Your Country
Please select your country, this will change the site to your country's currency:

Cancel