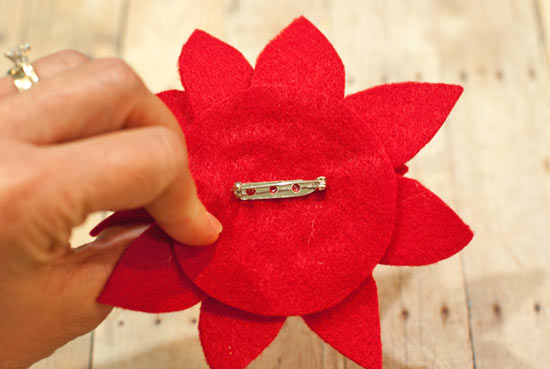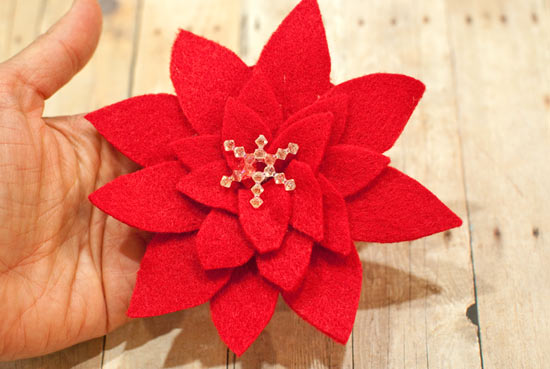
This beautiful felt poinsettia can be used as a pin, shown here, or as a barrette or a package bow. Consider making these in larger sizes for home decor. Try this in white or pink, in addition to red – and with hot glue and doubling felt layers, this is quick to make!
Difficulty level: Intermediate
Time required: 30 minutes
Age range: 10+
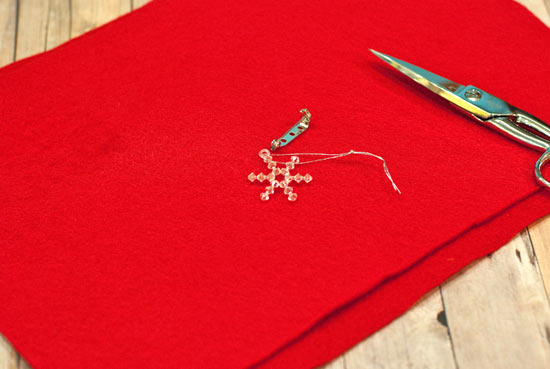
Things you’ll need:
Red felt sheets
Crystal snowflakes or other sparkly embellishments
Pinbacks
Scissors
Pins
Hot glue gun and glue sticks
Things to do:
1. Fold the long end of your piece of felt down about 2″. Pin to keep the fold in place. Cut out to make one folded strip.
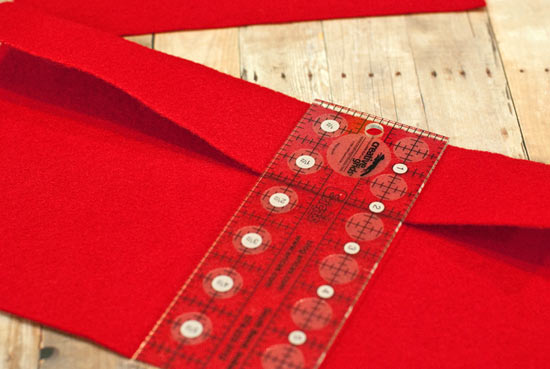
2. Snip to divide it into at least 6 sections, each one about an inch (or a little less). Keep them folded – we’ll cut them apart later.
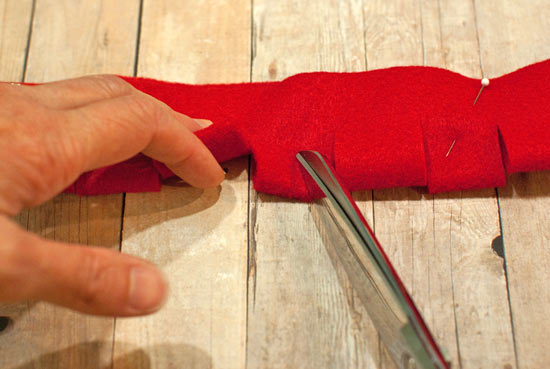
3. Fold two more pieces of felt. One should be folded about 1 1/2″, and the other 1″. Cut out the folded strip. Snip these to divide them into at least 3 sections each.
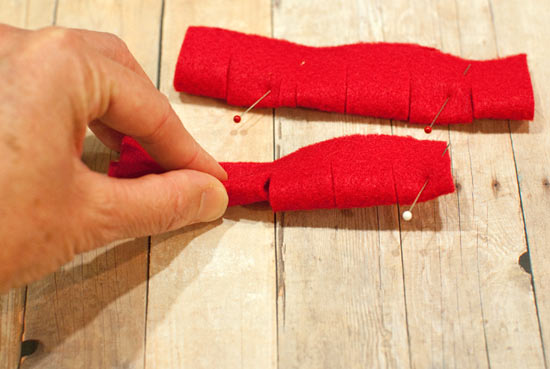
4. Out of the larger pieces, cut the snipped areas apart, but keep them folded. Cut out at least 6 doubled leaf shapes, as shown.
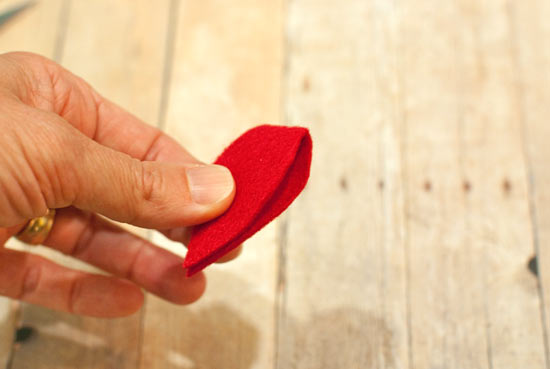
5. Cut along the fold.
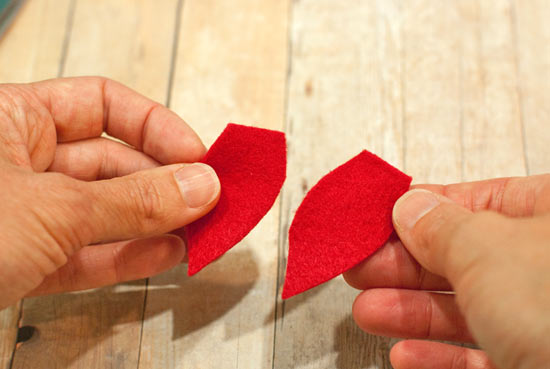
6. You’ll need 9-12 outer leaves for your poinsettia.
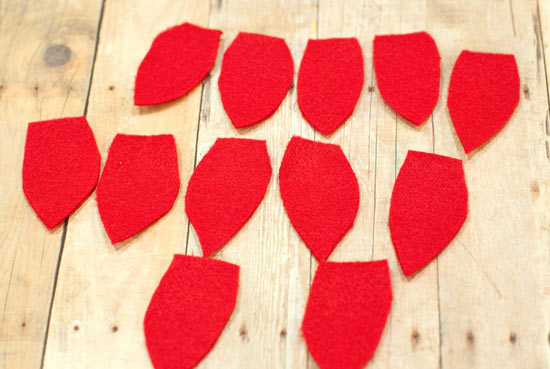
7. Repeat steps 4-5 out of the narrower strips, but you’ll only need 6-7 pieces for the middle row and 5-6 for the middle row.
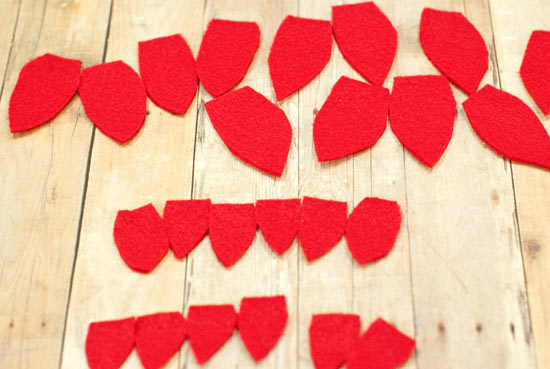
8. Warm up your hot glue gun. Cut out a circle that’s between 2-3″ in diameter.
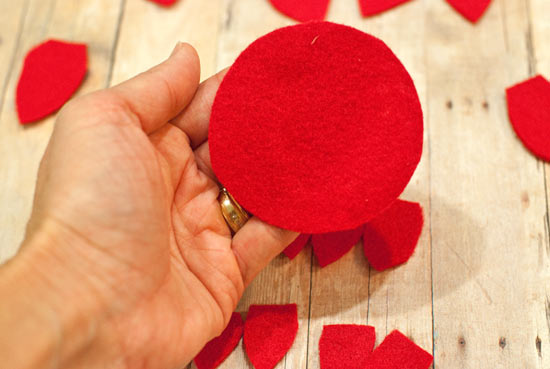
9. Hot glue the largest petals around the circle as shown.
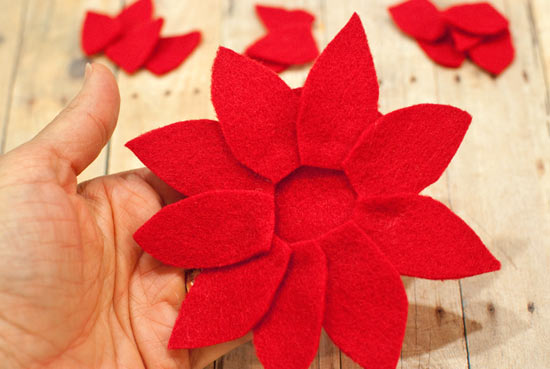
10. Hot glue the medium-sized petals just inside the larger ones.
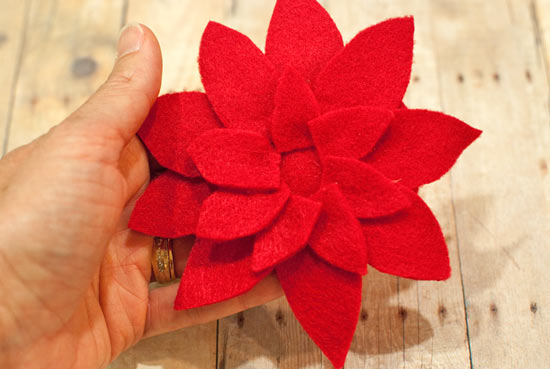
11. Finally hot glue the smallest petals inside the medium ones.
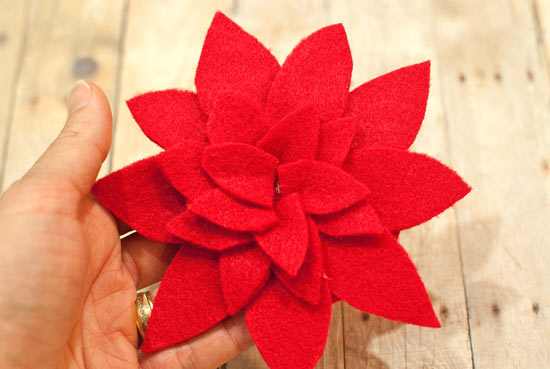
12. Add a sparkly center.
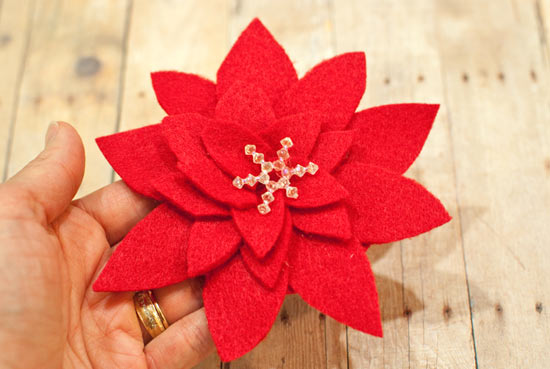
13. Finally, hot glue the pinback to the back of the circle. Pin onto you favorite coat and wear this proudly!
