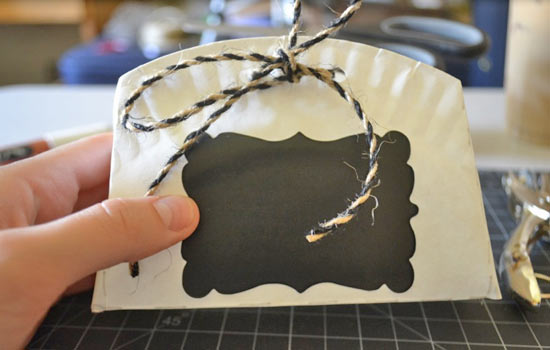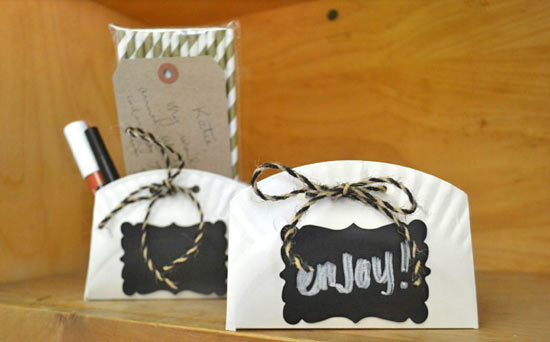
This simple project creates the perfect storage container or gift bag for cookies, pencils, or other small objects. Customize the ribbon color to create a themed gift box or organize your counter space with the chalkboard label. However you choose to use this craft, you’re sure to enjoy it!
Difficulty level: Beginner
Time to complete:
Age range: 10 and Up
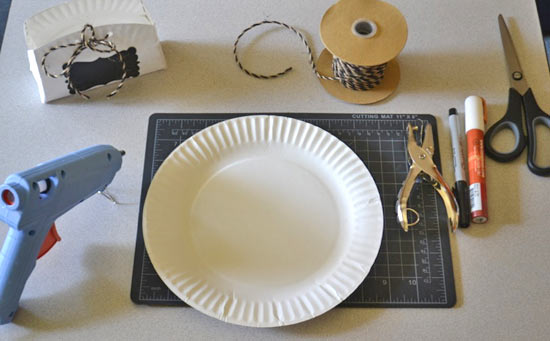
Things you’ll need:
Paper plate
Scissors
Sharpie
Cutting mat
Ribbon
Chalkboard sticker
Hole punch
Chalk Ink Pen
Hot glue gun and glue sticks
Things to do:
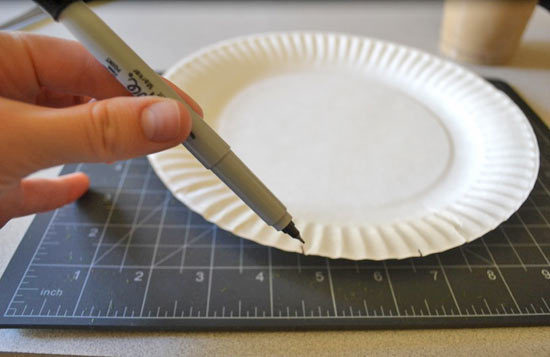
1. Make two small marks, about 2 inches apart, at the bottom and top of the paper plate.
2. Cut along the marks to the center of the plate.
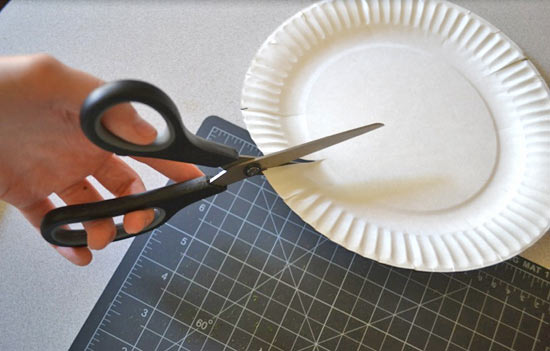
3. Use the cuts as guidelines to fold the paper plate. Make sure you create crisp creases.
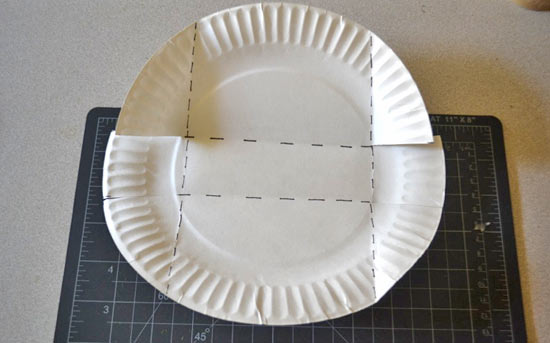
4. Fold the paper plate into a box shape, using hot glue to hold it all in place.
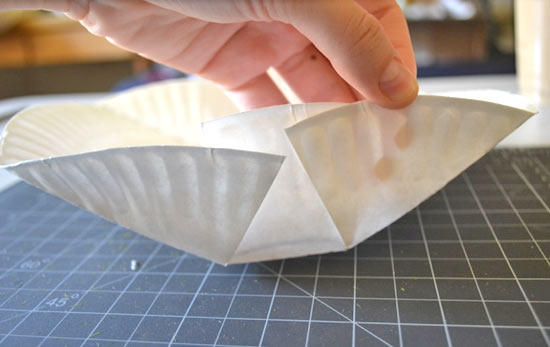
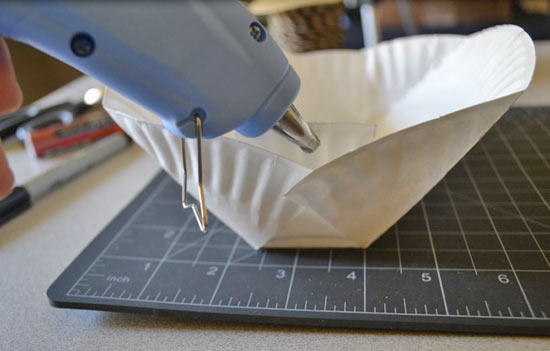
5. Punch two holes in the center of the box, about 1 1/2 inches apart.
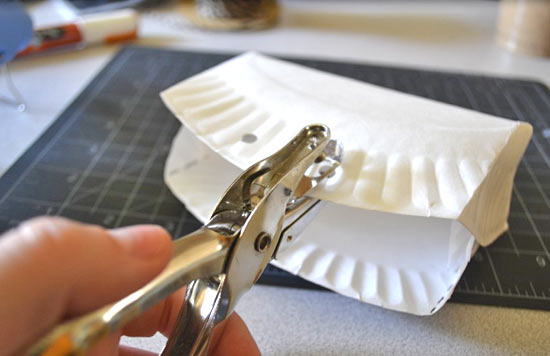
6. String jute through the holes and tie a bow.
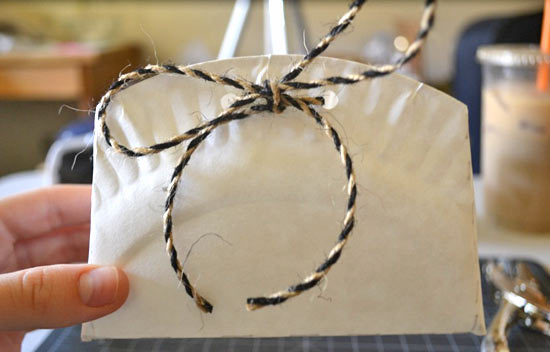
7. Attach a chalkboard sticker to the front and use a chalk ink pen to label the contents.
