Difficulty level: Intermediate
Time required: 1 hour
Age range: 12 and up
Things you’ll need:
Cardboard
Pen or pencil
Ruler
Scissors
Tapestry needle
Yarn in light weight and any other weight of your choice (note that novelty yarns work really well for this project)
Pin back
Hot glue and hot glue gun
Gray felt sheet
Things to do:
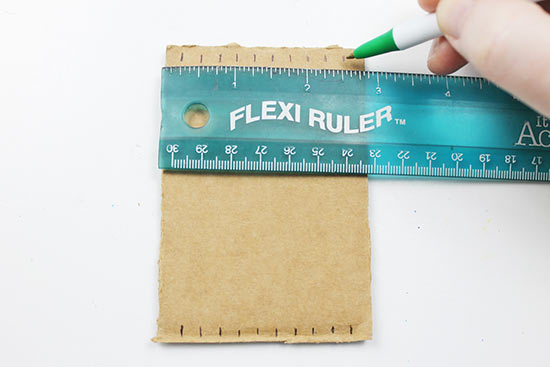
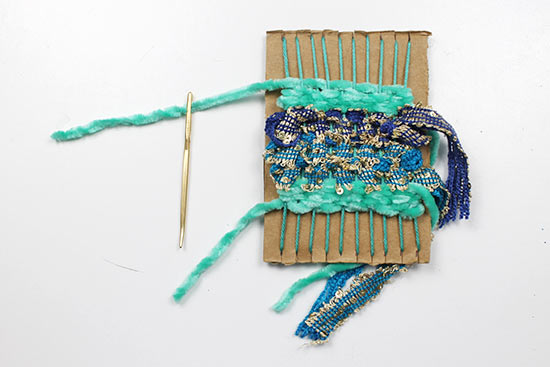
1. Make a loom by cutting a 2 3/4 ” x 4″ rectangle of scrap cardboard. Using a ruler and a pen or pencil, mark 1/4 ” increments across the short ends of the cardboard.
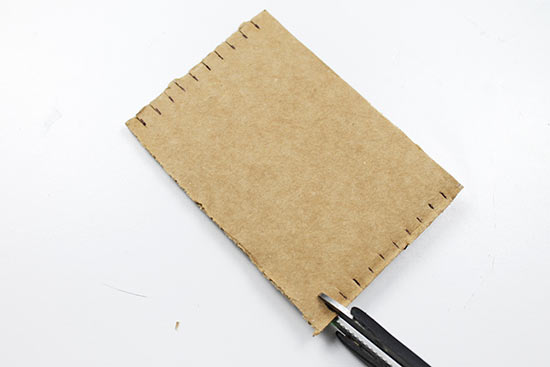
2. Using scissors, snip about 1/4 ” into the marks you made.
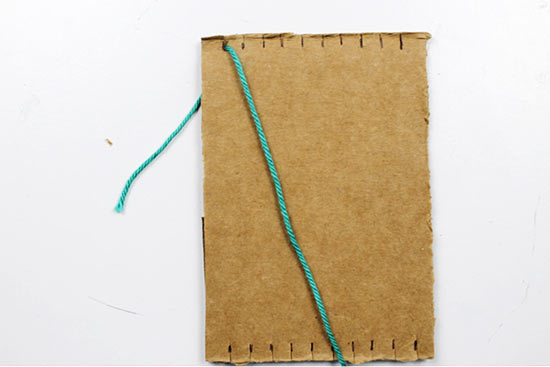
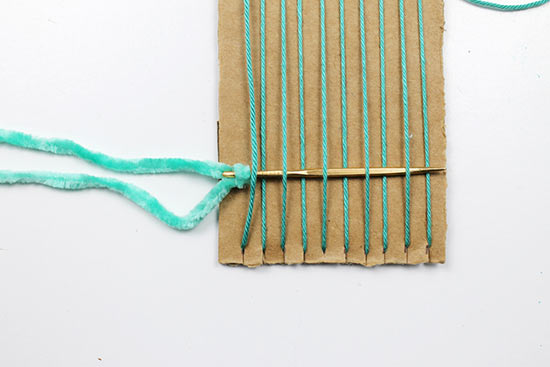
3. Using a lightweight yarn, slide one end of the yarn into the first snip, leaving a 3-4″ yarn tail. Slide it down so that it’s secure between the layers of cardboard.
4. Slide the yarn into the first snip on the opposite short end, then bring it up through the second snip. Continue in this way across the cardboard.
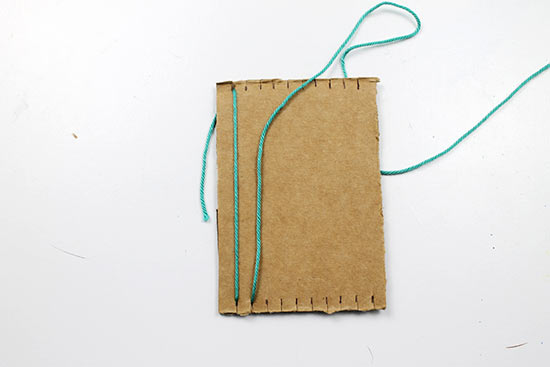
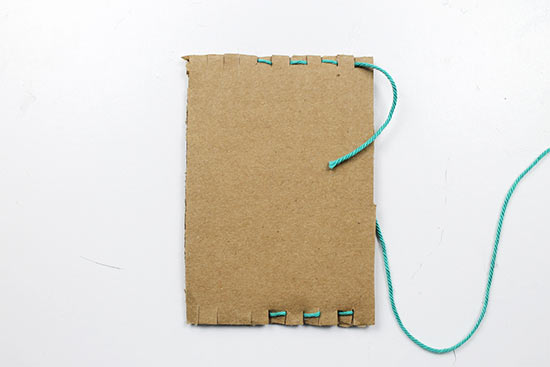
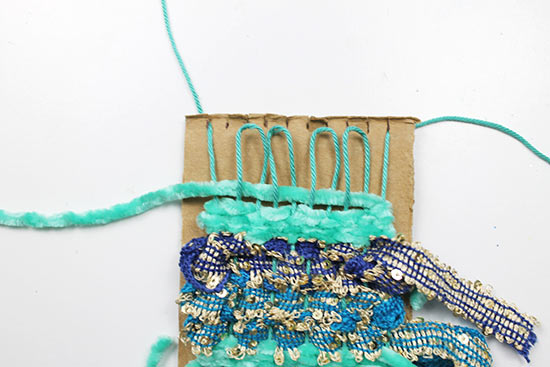
5. The yarn should look like this on the back of the cardboard as you work across.
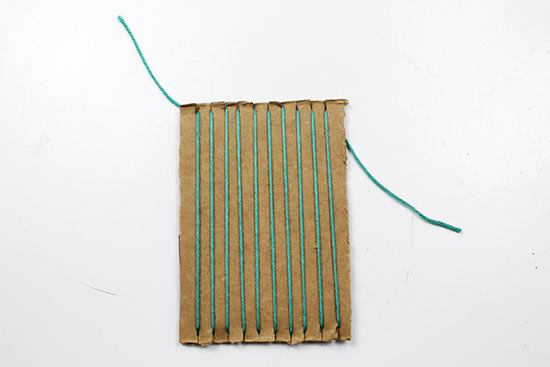
6. Work until you have threaded the yarn through each snip, then cut the yarn, once again leaving a 3-4″ tail. We have a total of 10 strands of yarn on our loom.
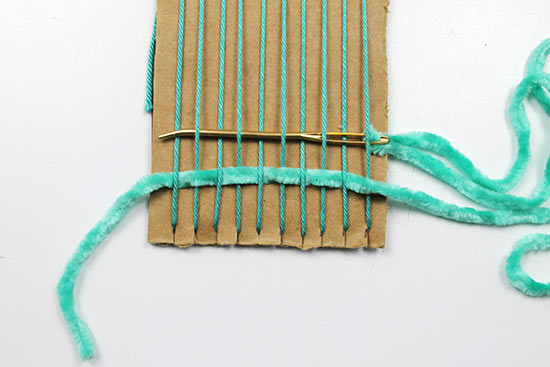
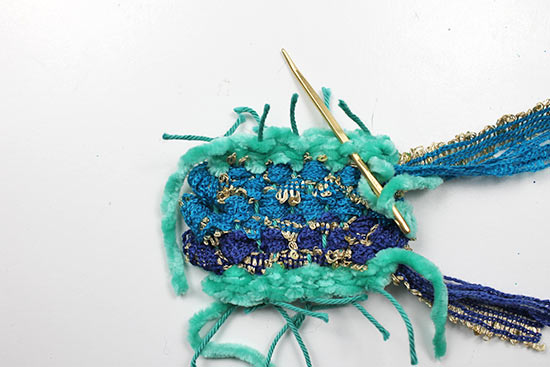
7. Cut a long strand of yarn (any weight of your choice) that’s about 12″ long. Thread it through the tapestry needle. Begin weaving the tapestry needle across the yarn, weaving it under the first thread, then over the second thread. Repeat this across (under, over) until you have reached the last thread of yarn.
8. Pull the strand of yarn through, leaving a 5-6″ tail.

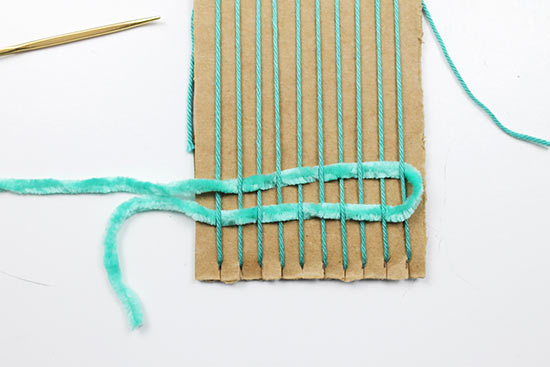
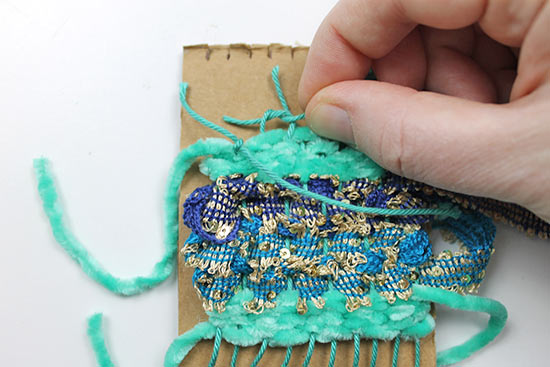
9. Begin threading the tapestry needle in the opposite direction, this time weaving the opposite from row 1. Since the yarn went over the last thread you wove, now it will go under it. Continue across the loom until you have woven the needle over or under all the threads.
10. Pull the needle to weave the yarn through. Be sure to leave a little bit of space on the edge. If you pull too tightly, the weaving will draw in, making it smaller in the center and uneven on the edges.
11. Every couple of rows, use the needle to move the yarn down so that it stacks neatly on top of the previous row.

12. When you’re ready to weave a new yarn, cut the old yarn, leaving a 5-6″ tail. Begin weaving the new yarn just as you did the old yarn in steps 7-11.
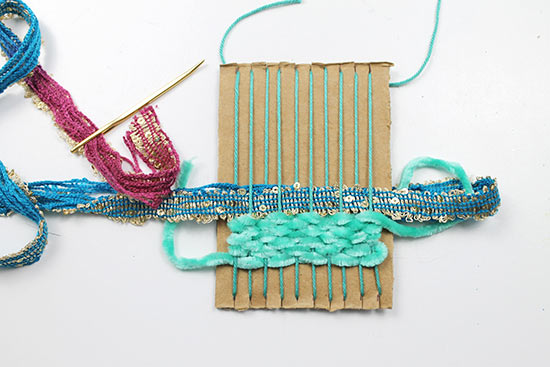
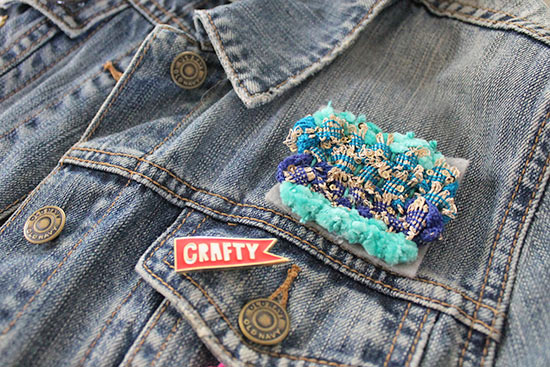
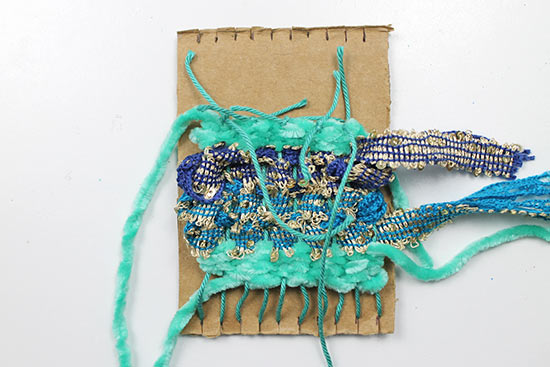
13. Continue weaving until your brooch is several inches tall.
14. To remove the brooch from the loom, slide the loops out of the snipped cardboard.
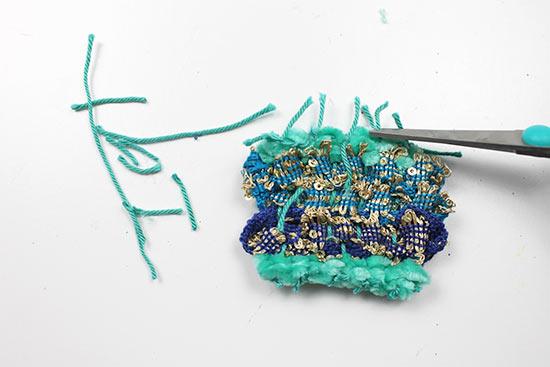
15. Using scissors, cut the loops in half.

16. Tie the loops together two at a time.
17. Work your way across the entire edge until each end is secure. Repeat this on the opposite end of the weaving.
18. Flip the weaving over to the wrong side. Thread any yarn ends through the tapestry needle, then weave them in and out of the wrong side to secure them.
19. Trim both the woven-in ends and the thread ends.
20. Cut a piece of felt that is the same size as the weaving. The felt will add stability to the brooch.
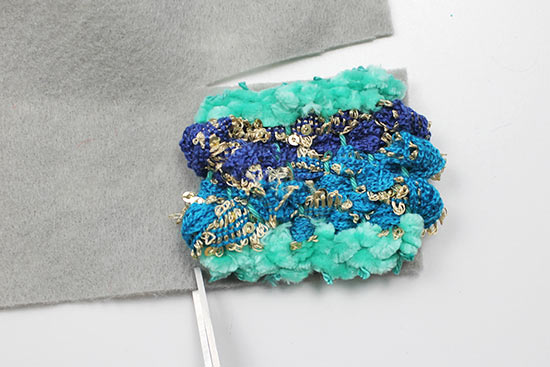
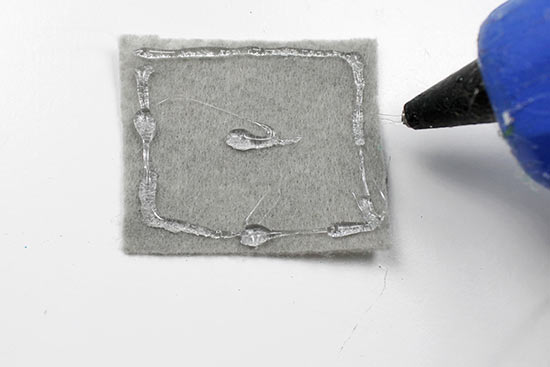
21. Using a hot glue gun, draw a square of glue around the edge of the felt, then add hot glue to the center.
22. Place the woven piece onto the felt immediately, making sure the right side is facing up.

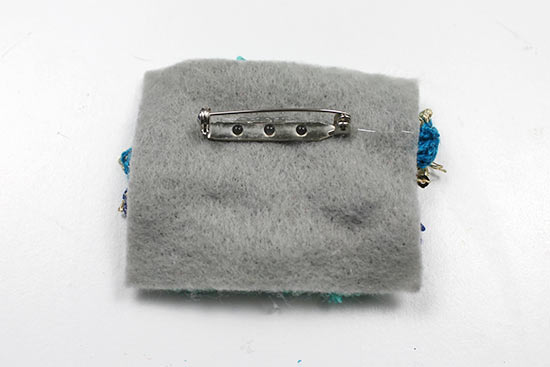
23. Hot glue a pinback to the back of the felt.