
Difficulty level: Beginner
Time required: 15 minutes, plus time for paint to dry
Age range: 8 and up
Things you’ll need:
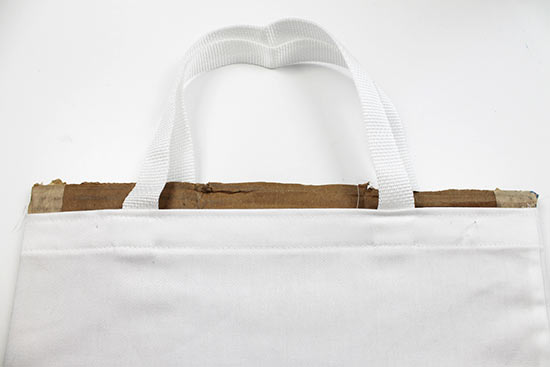
White canvas tote
Orange
Kitchen knife
Cutting board
Scrap cardboard for paint palette
Scrap cardboard to fit inside tote bag
Orchid fabric paint
Blue fabric paint
Foam brush
Things to do:
1. Place the orange on a cutting board. Using the kitchen knife, cut the orange in half, separating the top and bottom.

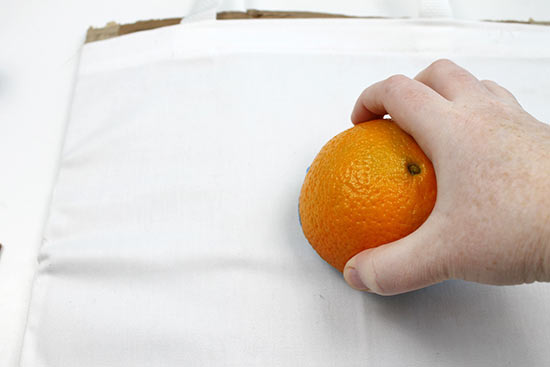
2. Place a scrap of cardboard inside the tote to avoid paint seeping through to the other side.
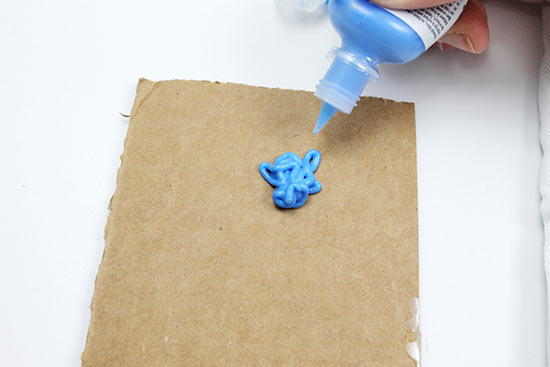
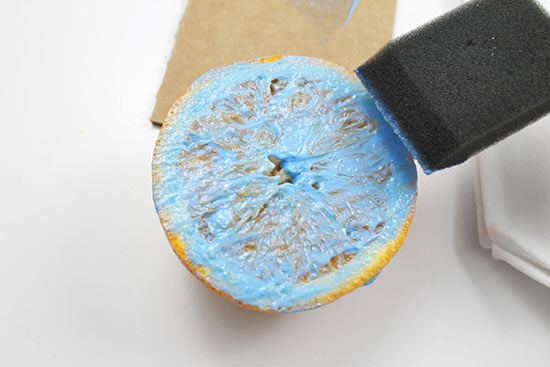
3. Squirt a bit of fabric paint onto scrap cardboard.
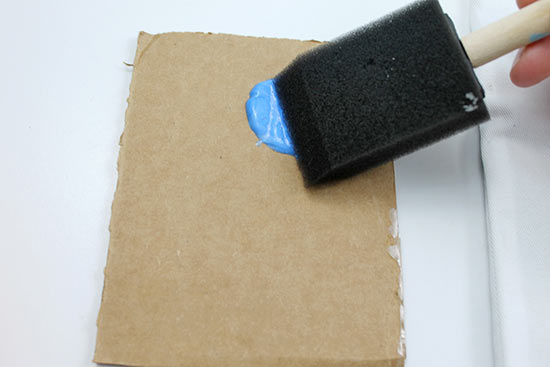
4. Dip the foam paintbrush into the paint.
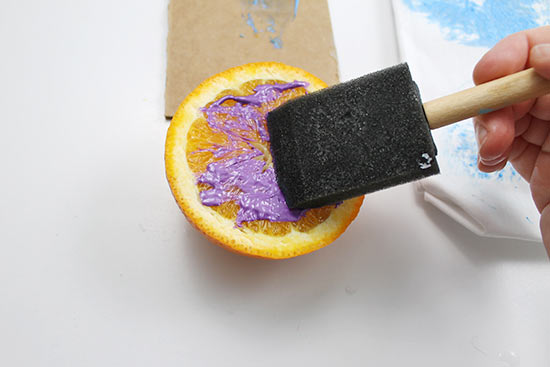
5. Grab one half of the orange, then evenly paint a layer of fabric paint onto the flat side of the orange.
6. Press the orange firmly onto the canvas tote, then remove it. When you remove it, be sure you’re lifting up on the orange without moving it around, otherwise the paint will smear.
7. Repeat steps 3-6 to add as many oranges as you’d like to your tote.

8. If you’d like to use a new color, paint the other orange half with a different color. If you use more than two colors, just be sure you wipe each orange clean before applying a new color to avoid mixing paint colors.
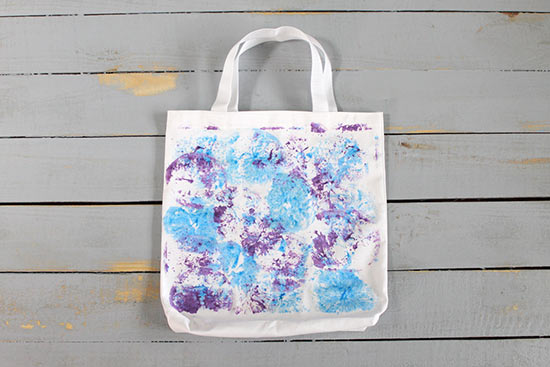
9. Continue to apply orange stamps to the tote until you are happy with the design. You can stamp them in neat rows, or layer them on top of each other like we did here, stamping as few or as many as you’d like. Allow 4 hours for the paint to dry, then stamp the other side of the tote if desired. The tote can be washed after 72 hours.
