Difficulty level: Beginner
Time required: 30 minutes
Age range: 12 and up
Things you’ll need:
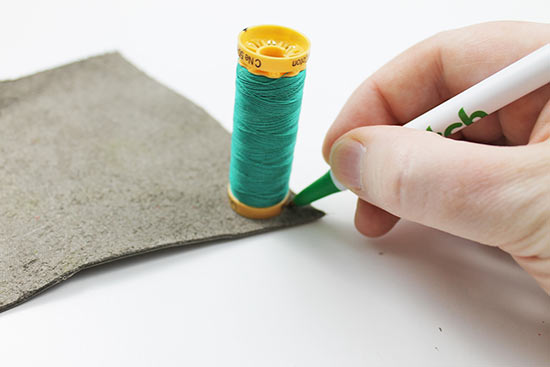
Small circle to use as a template (we used a thread spool)
Pen or other tool for tracing
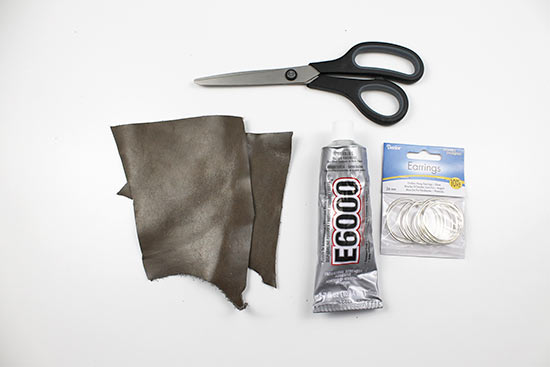
Hoop earrings
E6000 glue
Leather remnants
Scissors
Toothpick (optional)
Things to do:
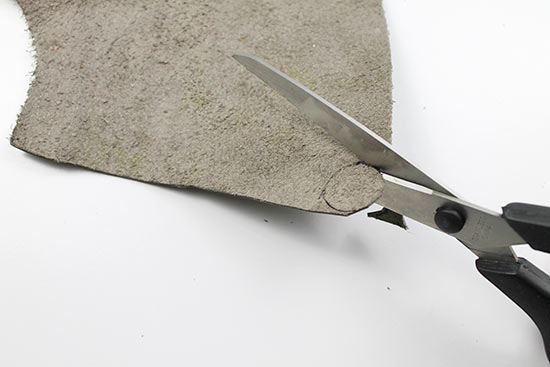
1. Place your circle template onto the leather, then trace a circle using a pen. We used a thread spool with a 3/4 ” diameter, but you can also use things like bottle caps or anything else around the house.
2. Repeat step 1, cutting out a total of six circles.
Tip: If you’re using larger hoops, you can add more circles.
3. If your circles have jagged or uneven edges, use the scissors to trim them.

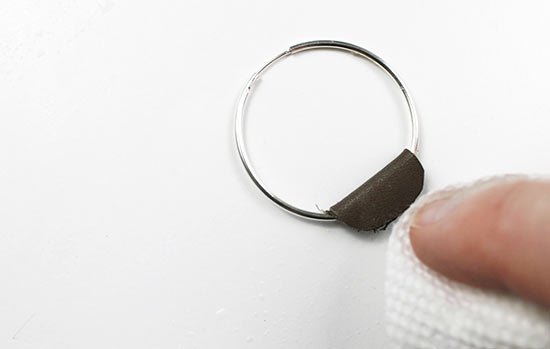
4. Place a small dot of glue onto one of the circles. Since you only want a small amount of glue, you can use a toothpick to apply the glue onto the leather circle rather than applying it straight from the glue tube.

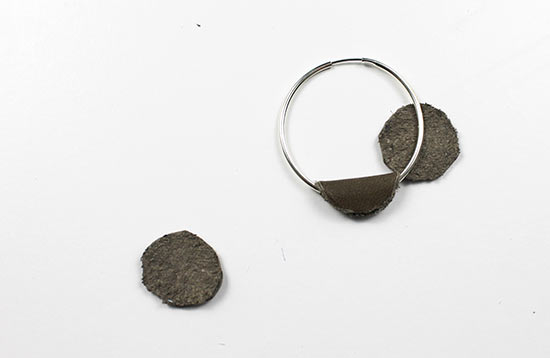
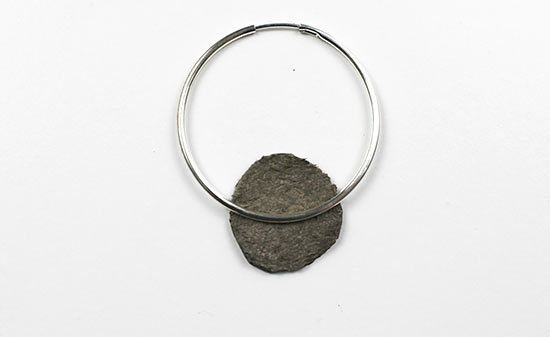
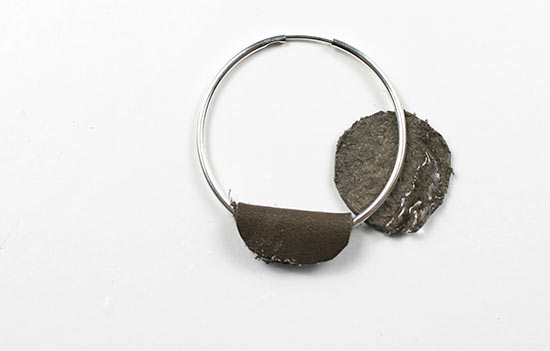
5. Place the circle wrong side up under the hoop earring.
6. Fold the circle over, matching it as close as you can to the opposite side.
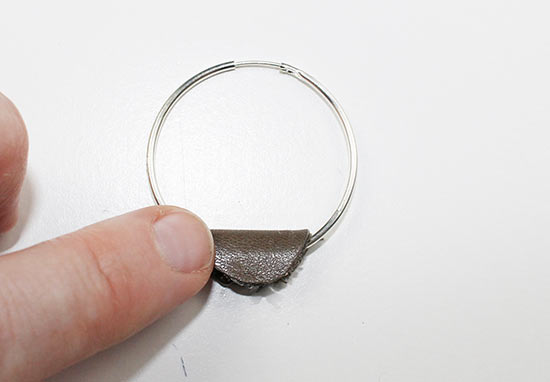
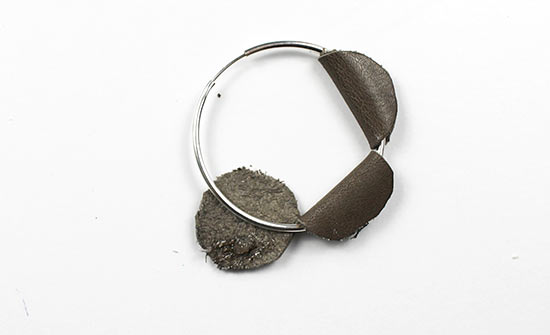
7. Press to close and secure, creating a half circle around the hoop. You may want to press the circles between your fingers for several seconds to make sure the glue sets.
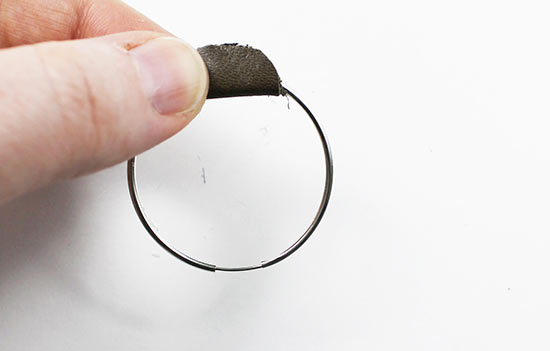
Tip: If the glue seeps out from the circle after you press it closed, just use a paper towel to wipe it away.
8. Repeat steps 4-7 to add a second circle on one side of the first circle.
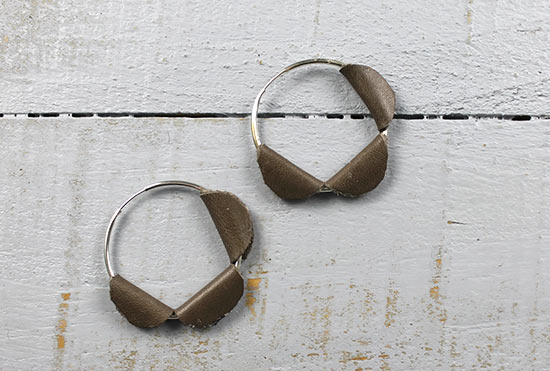
9. Repeat steps 4-7 to add a third circle on the other side of the first circle.
10. Repeat steps 4-7 to create a second identical earring. Allow the glue to dry completely on both earrings.