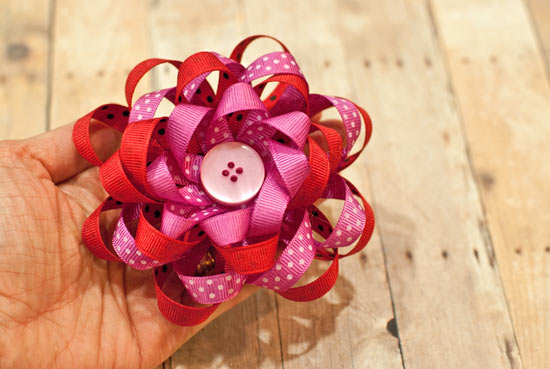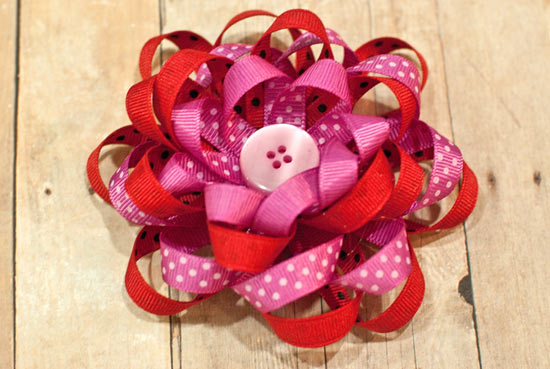
This four-layered ribbon mum flower can be a hair bow, a lapel pin, or a package bow. The luxurious look but simple construction process will inspire you to make several of these in many different colors!
Difficulty level: Intermediate
Time required: 30 minutes
Age range: 10+
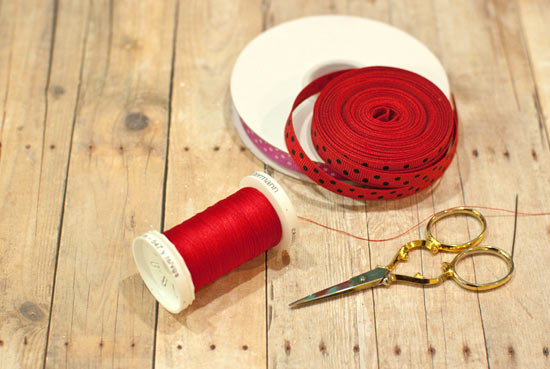
Things you’ll need:
Ribbon A
Ribbon B
Button
Scissors
Hot glue sticks and hot glue gun
Needle and thread
Things to do:
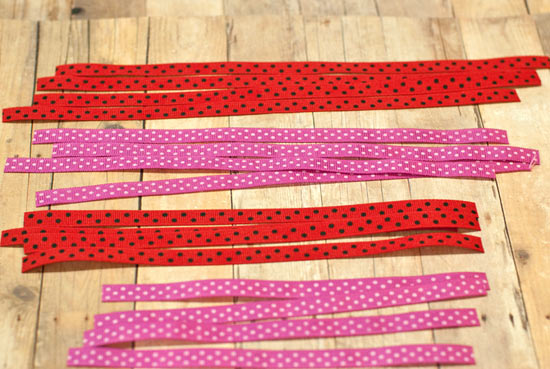
1. Cut 4 pieces of ribbon A to 9″ each, and another 4 pieces to 8″ each. Cut 4 pieces of ribbon B to 10″ long each, and another 4 pieces to 6 1/2″ each.
2. Start with the 10″ ribbons, in color B. Fold each ribbon in half to find the center. Thread your needle and knot the end.
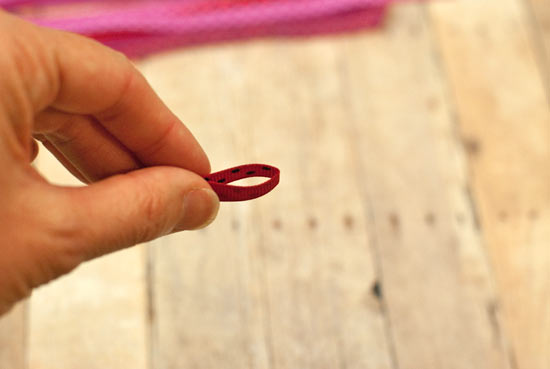
3. Stack the ribbons in one hand and stick the needle into the center of the stack halfway. Don’t push the needle all the way through yet.
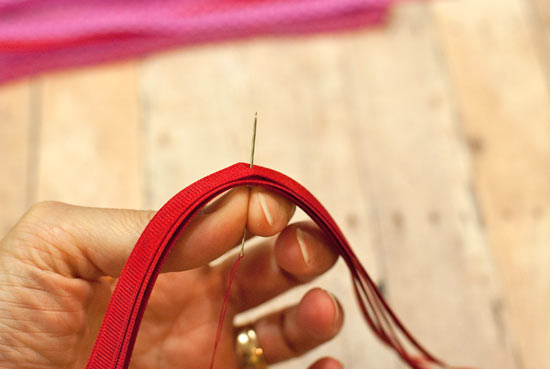
4. Twist one of the side ribbons so the bottom is now facing upward. Stick this onto the needle, about 1/8″ from the edge.
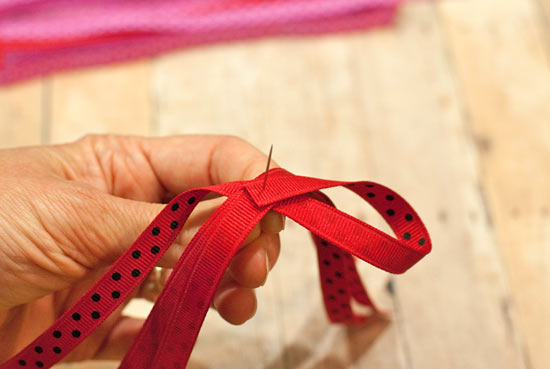
5. Repeat Step 4 with the other side, as shown.
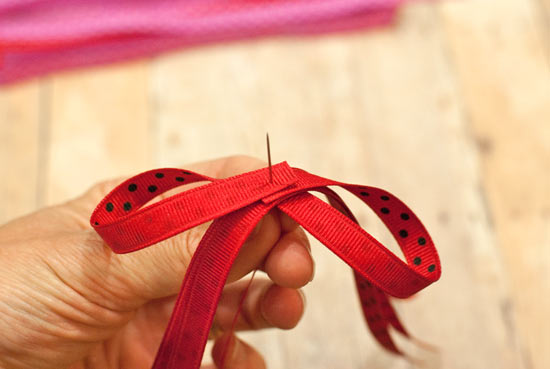
6. Repeat steps 4-5 with one of the other ribbon sections.
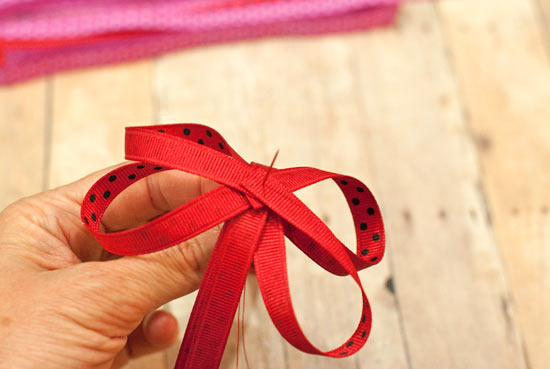
7. Finish the entire flower in the same way. Now pull the needle all the way through, and sew a few stitches to keep the flower in place. Knot the thread and clip. Set this layer aside.
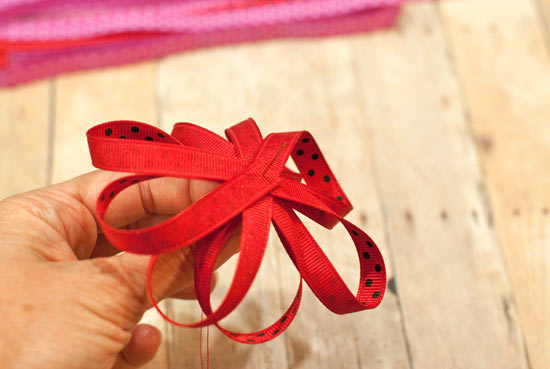
8. The flower should look like the the one shown.
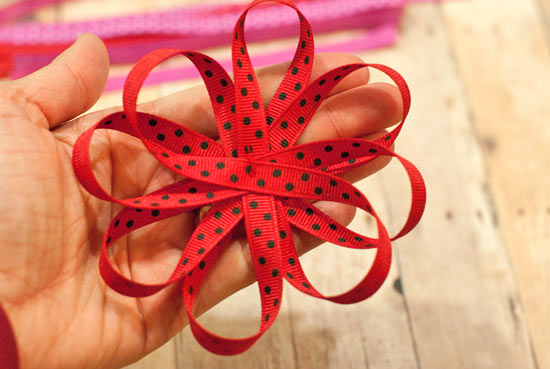
9. Repeat steps 3-7 with the 9″ ribbons.
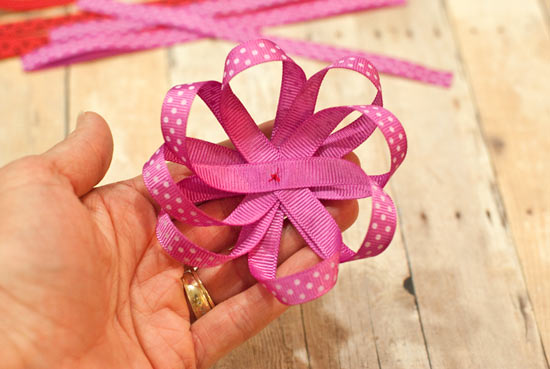
10. Warm up your hot glue gun. Repeat all flower steps for the remaining ribbon groups.
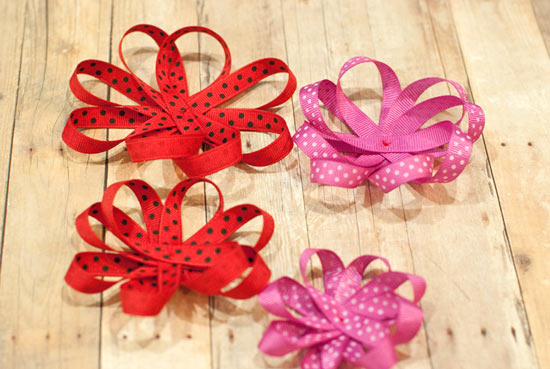
11. Glue the layers together, with the largest at the bottom and the smallest on top.
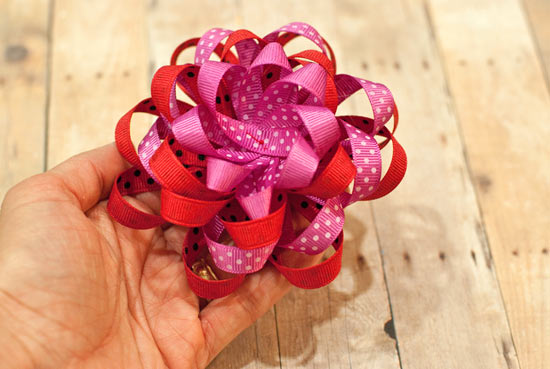
12. Glue a button to the center to finish the look!
