Difficulty level: Beginner
Time required: 30 minutes
Age range: 12 and up
Things you’ll need:
Scissors
Small pompom maker
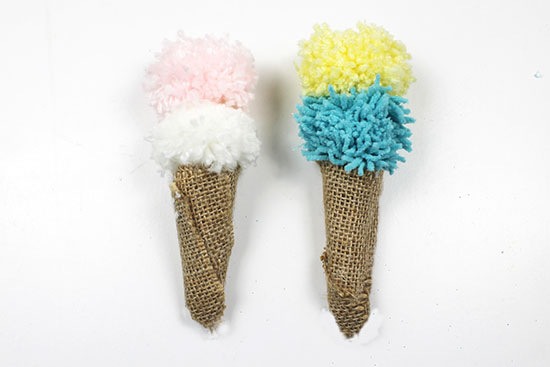
Two colors of yarn (we used pink and white)
Burlap ribbon
Hot glue gun and glue sticks
Things to do:
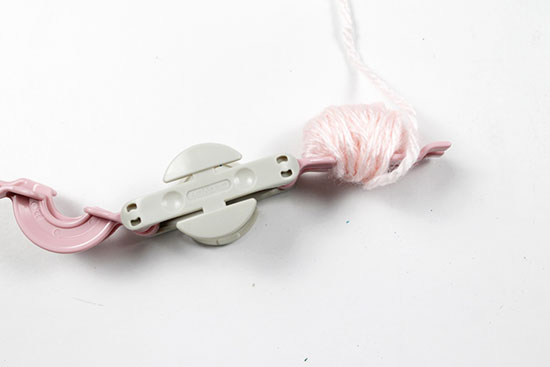
- Place the two pieces of the pompom maker together, if they are not already connected. Wrap the yarn around one end of the pompom maker until the yarn is thick and covers the entire half circle. Tip: If you’re not sure if the yarn is thick enough, test it by folding the half circle into the center of the pompom maker. If it fits easily with some room between the pompom maker and the yarn, wrap more yarn.
- When the half circle is full, fold it into the pompom maker. Begin wrapping the opposite half circle until it is full and even with the other half circle.
- Fold the circle into the center of the pompom maker. Cut the yarn.
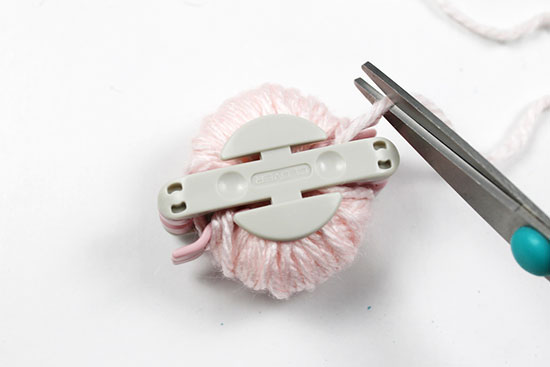
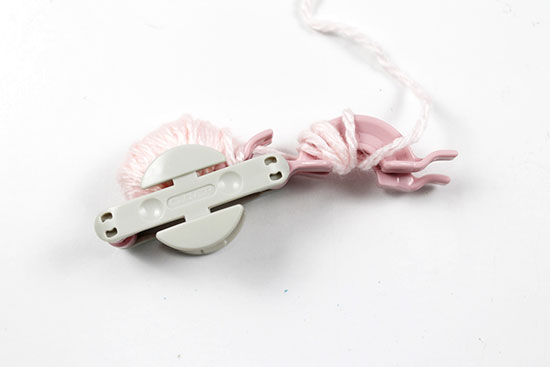
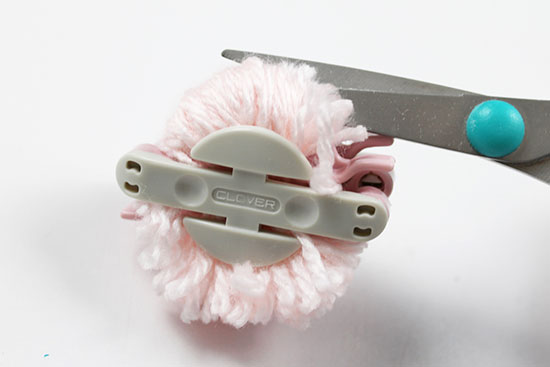
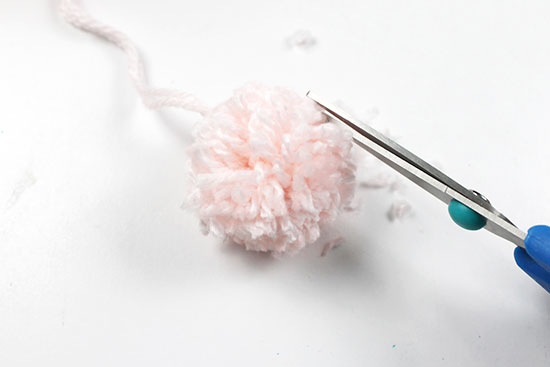
- Cut the loops of the pompom on both sides.
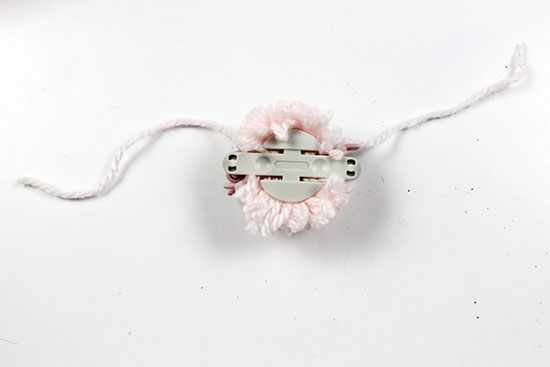
- Cut a 5-6″ strand of yarn. Tie the strand around the pompom maker and tightly tie a double knot to secure the pompom.
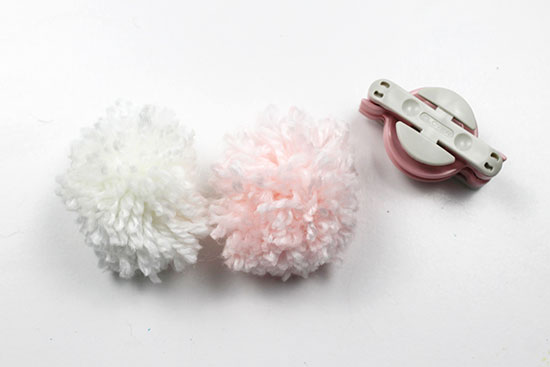
- Open the half circles back up, then pull apart the pompom maker.
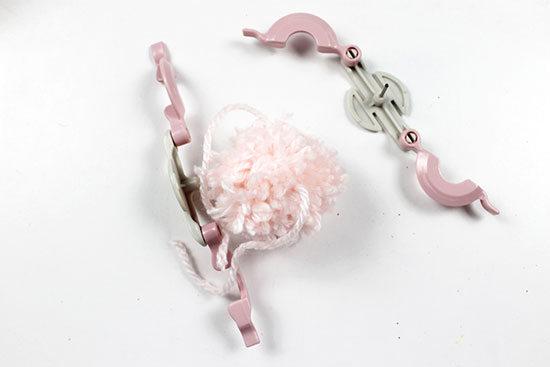
- Give the pompom a haircut to evenly trim the edges.
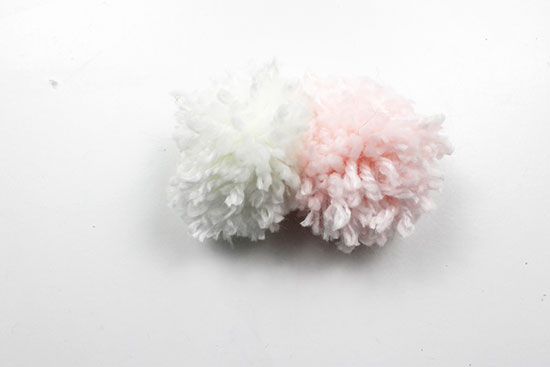
- Create a second pompom in a different color of yarn.
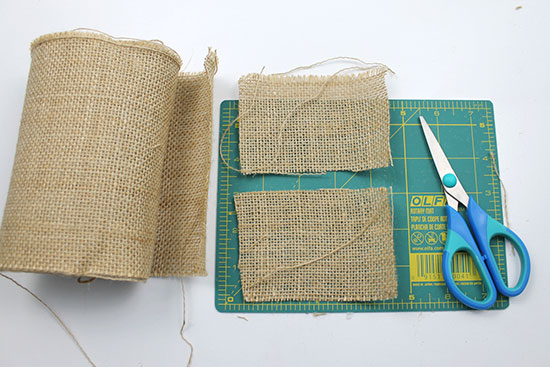
- Cut two pieces of burlap that are 4″ wide and 3″ high. If you’re using the burlap ribbon, you can cut a 4″ wide piece, then cut the piece in half widthwise.
- Place the two pieces of burlap together, one on top of the other.
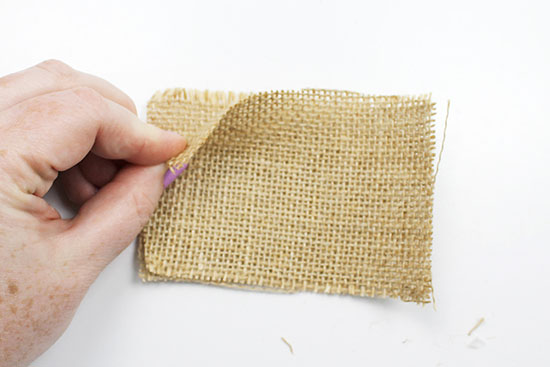
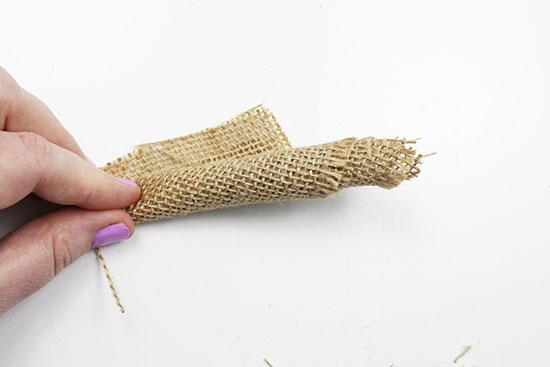
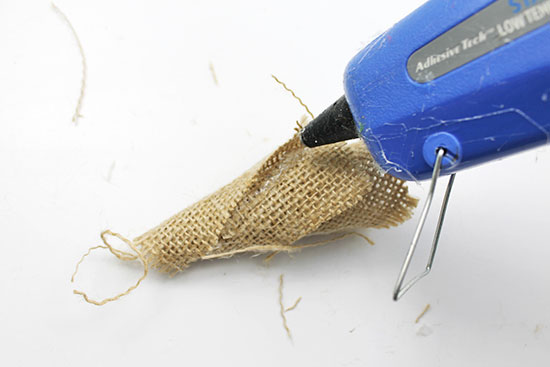
- Begin rolling the burlap into a tube, trying to roll from one corner to the other. Roll as tightly as possible to get that tight cone shape at the bottom.
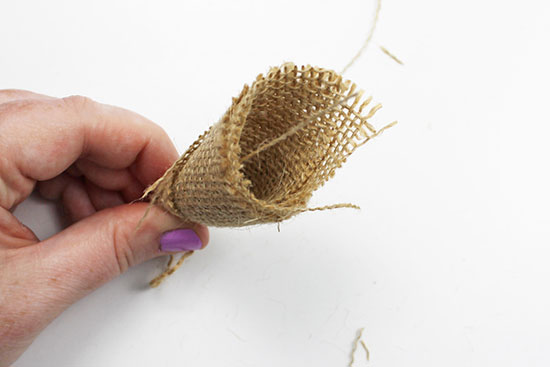
- Use your fingers to pull apart one end of the cone and make room for the pompoms. The opening should be just slightly smaller than the pompoms you made.
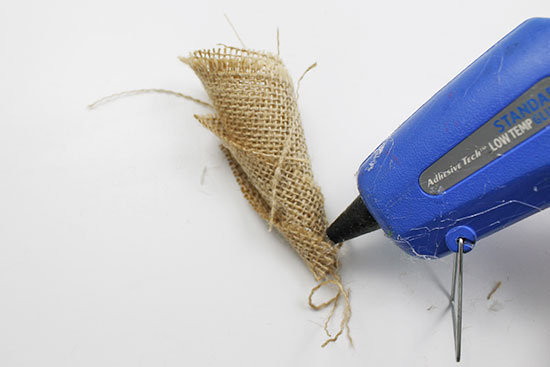
- Using a hot glue gun, glue the end of the cone to keep it in place.
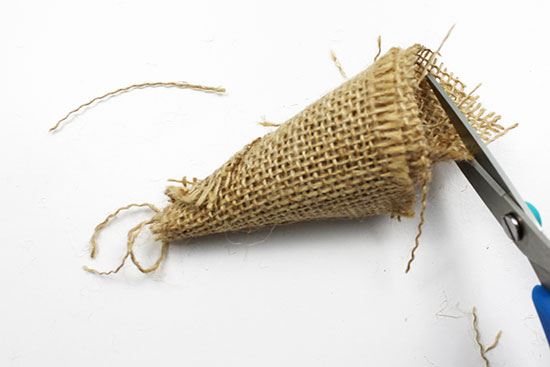
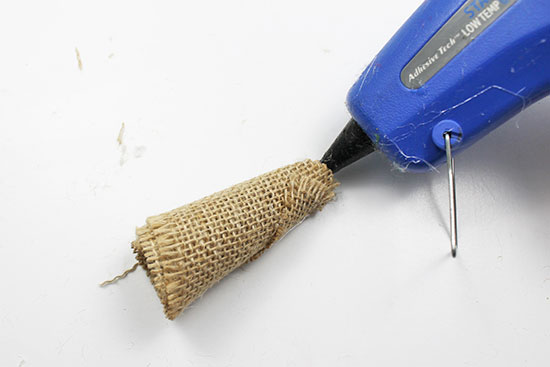
- Trim the top off the cone, cutting straight across.
- Add hot glue along the long edge of the cone. This will not only stabilize the cone, but it will also help avoid unraveling of the burlap.
- Trim any excess or stray pieces of burlap.

- Add a dot of hot glue inside the bottom of the cone, then press the ends together to seal it.
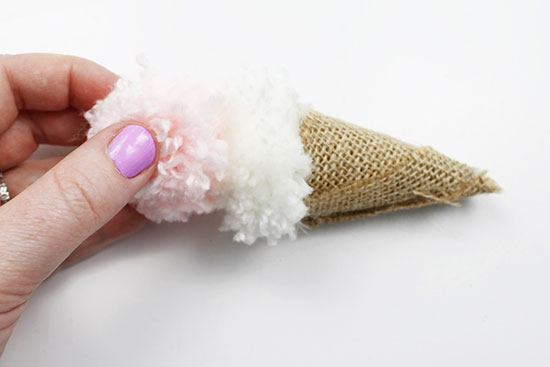
- Hot glue the two pompoms together.
- Add hot glue to the bottom of the white pompom, then place it into the cone. If your pompoms are wobbly, just add more hot glue around the edges of the cone and pompom.