Because of paint fumes and the messy nature of this project, we recommend taking your crafting outdoors.
Difficulty level: Beginner
Time required: 20 minutes, plus 4 hours drying time
Age range: 12 and up
Things you’ll need:
2 white pumpkins
Painter’s tape
Covering for work surface such as cardboard
Circle office supply stickers
Krylon Silver Foil Metallic Spray Paint
Krylon Banner Red Spray Paint
Things to do:
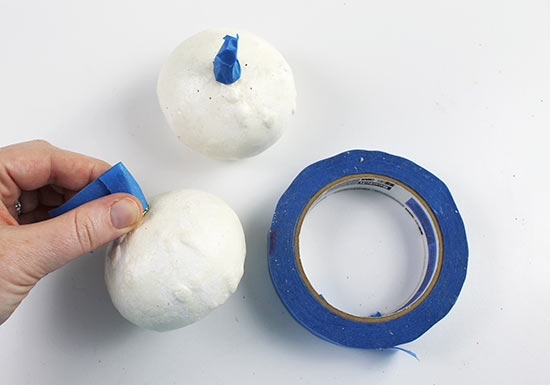
1. Cover the stem of each pumpkin in painter’s tape to protect it from the paint. Be sure to tape off the top of the stem, too.
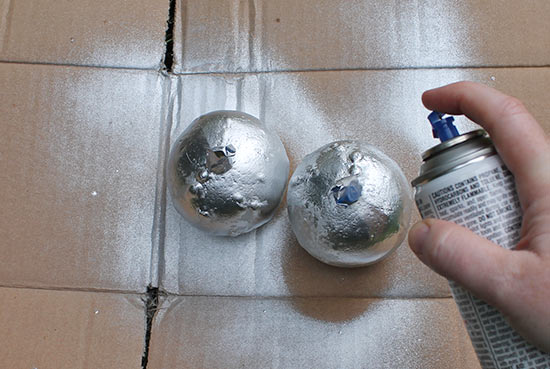
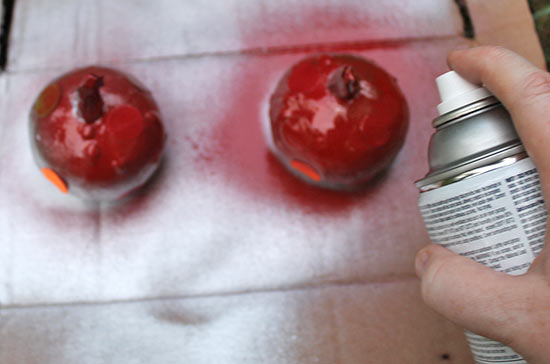
2. Place the pumpkins on a workspace covering. Using the silver spray paint, spray paint each pumpkin, holding the spray paint 6-8″ away from the pumpkins. Spray in a sweeping motion, moving back and forth from pumpkin to pumpkin to paint an even layer. (This will be the color of the polka dots once you’re finished.) You may need to apply a coat, allow it to dry, then flip the pumpkins over to ensure you’re covering the entire surface with paint. Allow the pumpkins to dry completely, around 2 hours. The paint will appear dry within 15 minutes, but it may smudge if you handle it.
3. Once the pumpkins are dry, apply office supply stickers where you’d like the polka dots to go.

4. When you’re happy with the dot placement, spray a coat of red spray paint onto the pumpkins, again spraying about 6-8″ away from the pumpkins with a sweeping motion. Allow the paint to dry for another 2 hours.
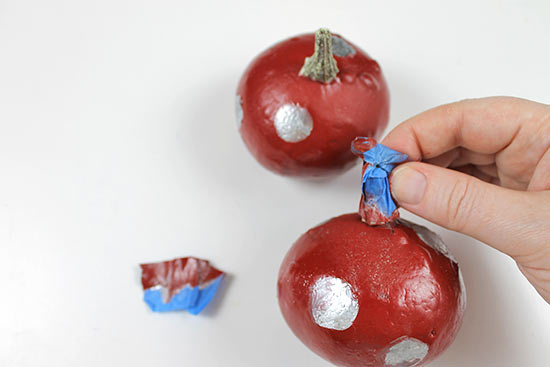
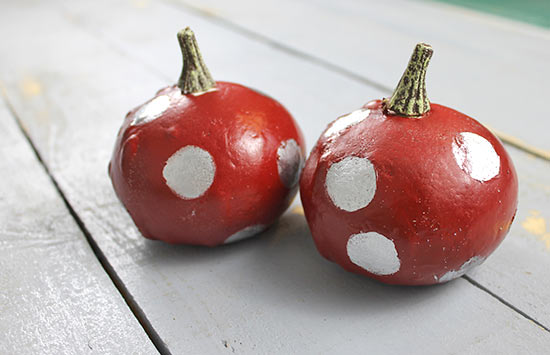
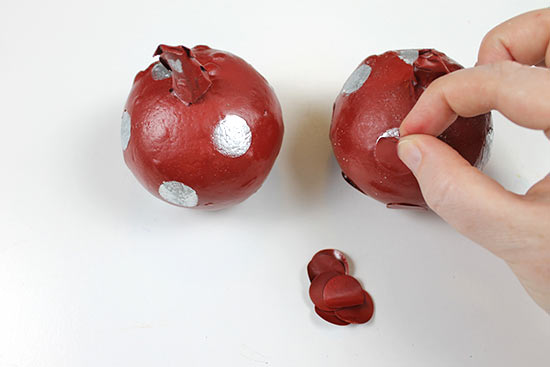
5. Remove the stickers from the pumpkins to reveal the polka dots.
6. Remove the painter’s tape from the top of each pumpkin.
Tip: If you have silver acrylic paint or a silver paint marker, you can either of them to touch up the edges of the polka dots, making them neat and even.