Difficulty level: Beginner
Time required: 30 minutes plus 1 hour drying time
Age range: 12 and up
Things you’ll need:
Covering for work surface
Cardstock
Star punch
Glitter
Adhesive spray
Small hole punch
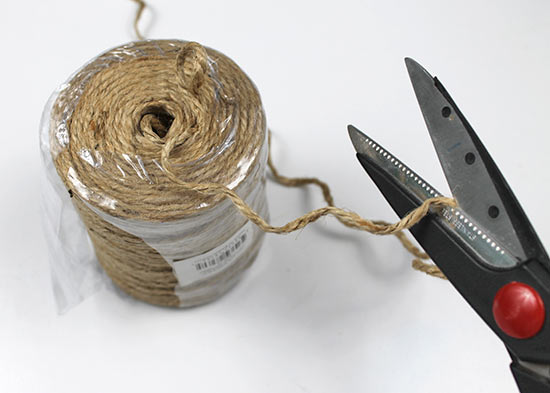
Scissors
Jute twine
Things to do:
1. Using the star punch, punch the star color of your choice in cardstock.
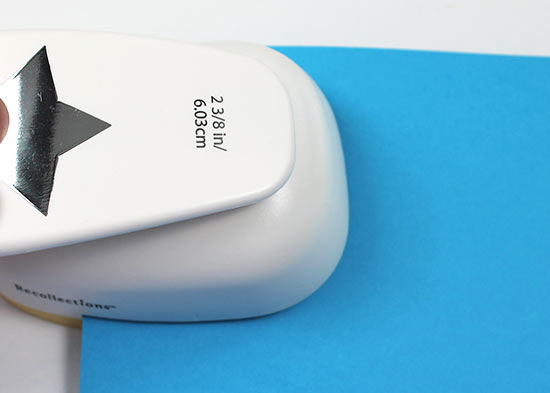
2. Continue punching around the border of the cardstock until you have the number of stars you’d like for your garland.

3. Place a covering on your work surface and lay out all the stars. Divide them into two groups. Spray the first group of stars with spray adhesive.
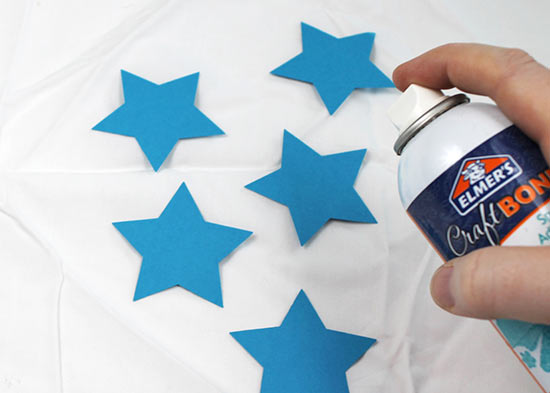
4. Immediately cover the first group of stars with the glitter color of your choice. (We used white glitter.)
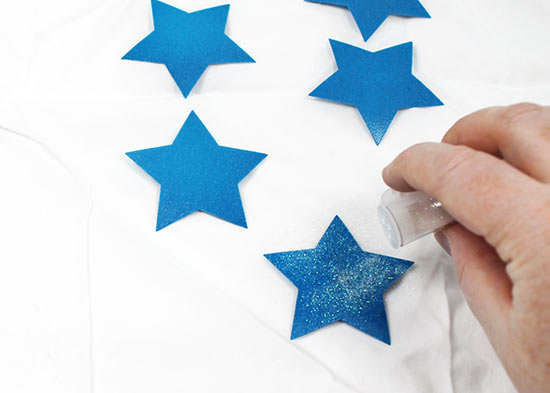
5. Once the stars are covered, use your finger to distribute the glitter evenly on the star’s surface.
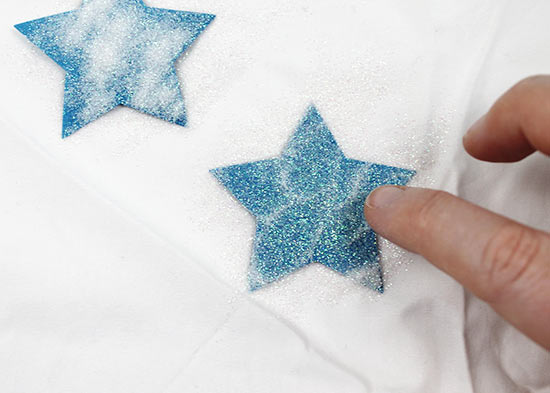
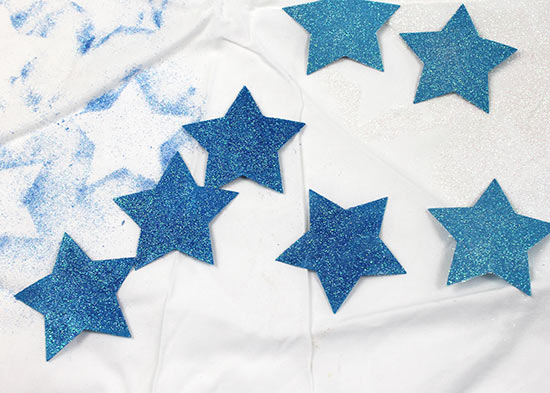
6. Repeat steps 3-5 with the second group of stars, this time using a different glitter color. (We used blue glitter.) Allow the glitter stars to dry for at least an hour. Tip: If you’d like, you can repeat steps 3-6 again to glitter the back of the star. This is ideal if your stars won’t be laying flat against a wall.
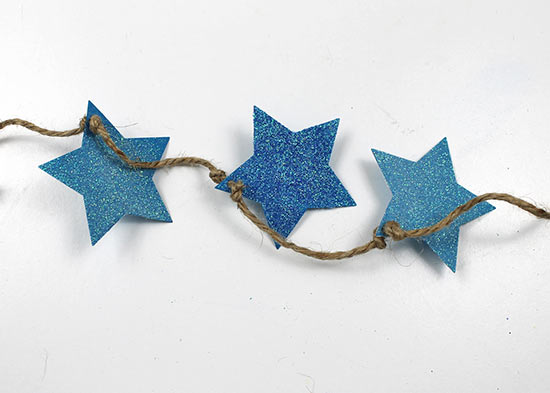
7. Once the stars are dry, punch a hole in the top of a star with a small hole punch.
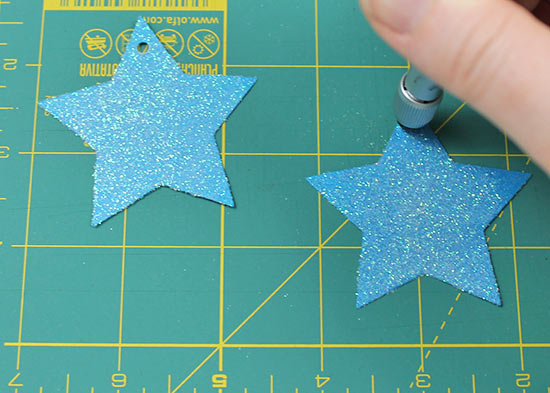
8. Repeat step 7 to punch a hole in the top of each star.

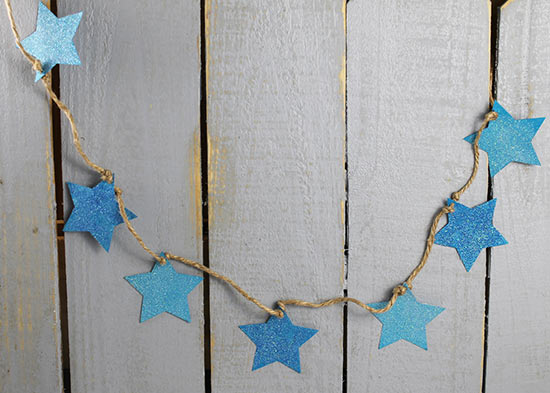
9. Cut a length of twine the same length you’d like your garland, plus 1-2″ extra.
10. Thread the first star onto the twine. Tie a knot before and after the star to ensure it doesn’t slide along the garland.
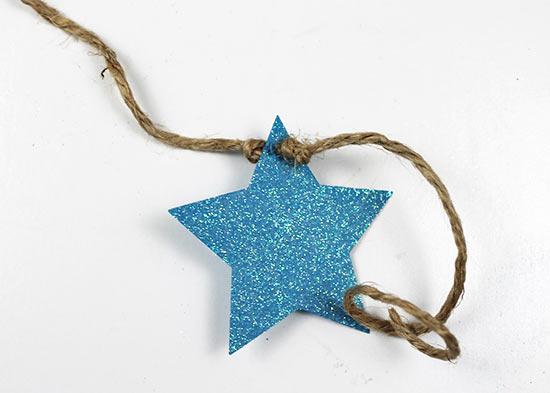
11. Repeat step 11 with the rest of the stars, spacing them evenly across. Hang your garland on the mantle or anywhere else that needs some holiday sparkle.