Skip to search Skip to navigation menu Skip to main content Selecting option will reload page

Category: Spring Crafts

Spring Bud Wire Tree


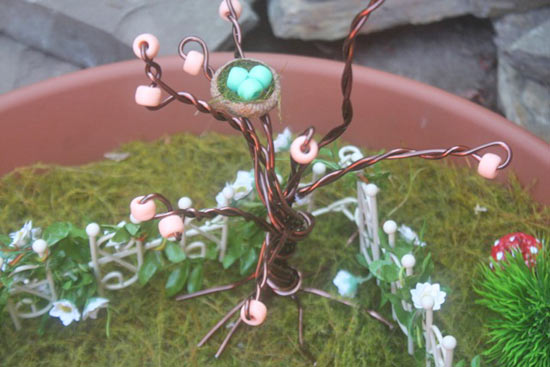
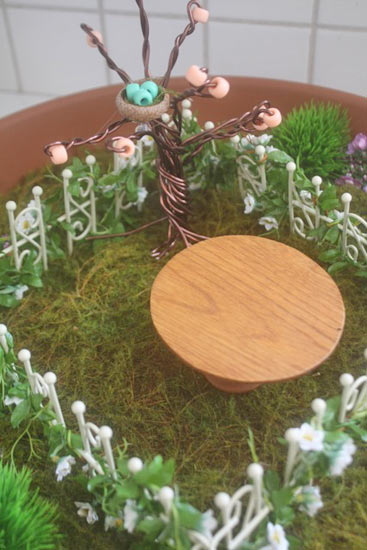
Spring is the best time in a Fairy Garden! The flowers are blooming, the birds are singing, the garden is growing! And fairies love growing things! Here’s a fun way to add a touch of spring to your garden with this spring bud wire tree! Chose whatever color bead you want for your blossoms to customize the tree to match your garden!

Difficulty level: Moderate
Time required: 15 minutes

Things you’ll need:
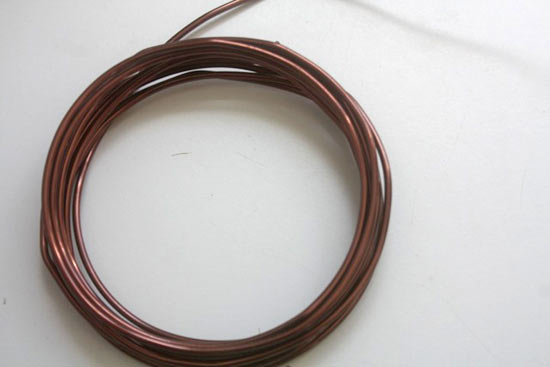
Brown wire
Pony beads
Wire cutters

Things to do:
1. Cut the wire into fairly equal lengths, a little more than twice as long as you want your tree.
2. Thread a bead (or two) to the center point on each piece of wire and fold the wire in half, twisting to secure the bead in place. Twist the rest of the wire about 3/4 of the way down the doubled wire.
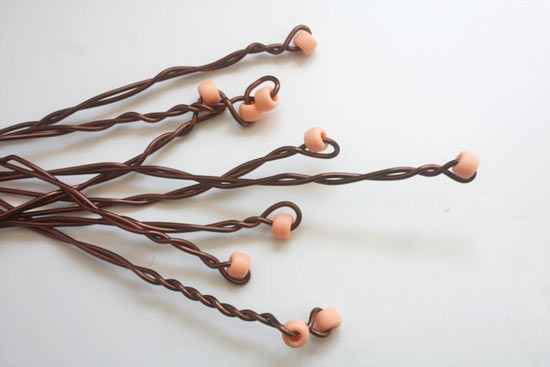
3. Start twisting the wires together, about an inch up from the cut ends, wrapping first three together then wrapping additional wires around to build up the trunk.
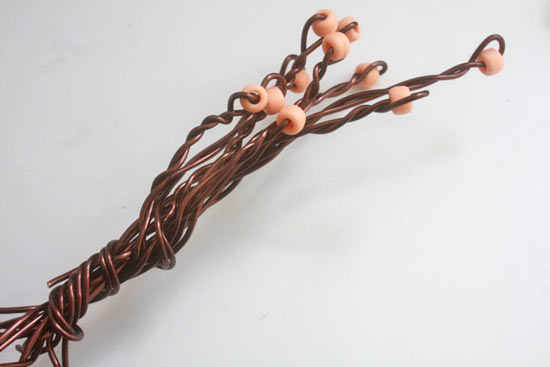
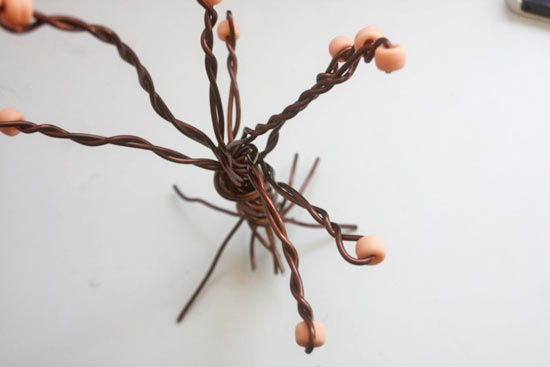
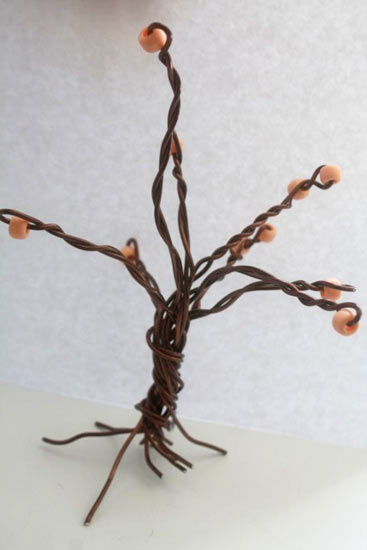
4. Splay out the bead ended branches and the cut end roots” and shape to create a tree.
Continue Reading

DIY Burlap Easter Bunny Bag Tutorial


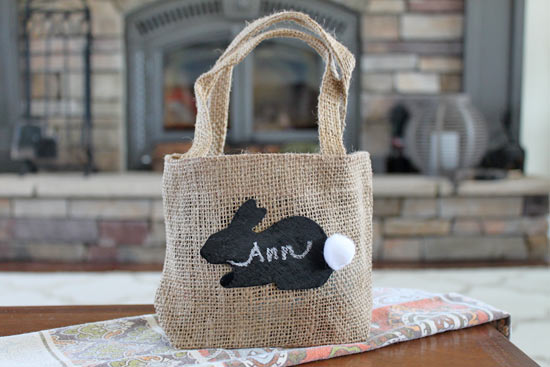
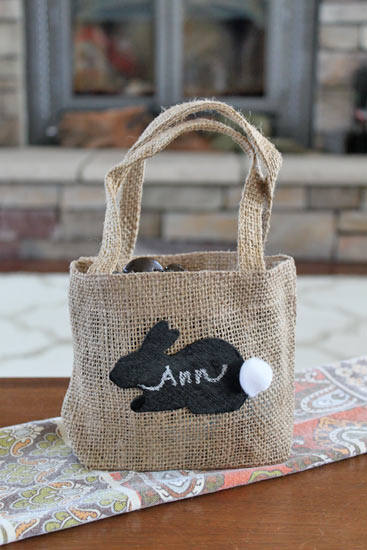
With spring right around the corner it is time to start working on some Easter crafts. This DIY is particularly great because you can re-purpose this burlap Easter bag each year. Simply erase the chalk lettering on the bunny chalkboard tag and add a new word or name.

Difficulty level: Beginner
Time required: This project will require various drying times throughout, allow 2 days to complete this project (though actual work time will be around 10-15 minutes for painting and gluing).
Age range: Any age, please just allow adults to handle E6000 glue.

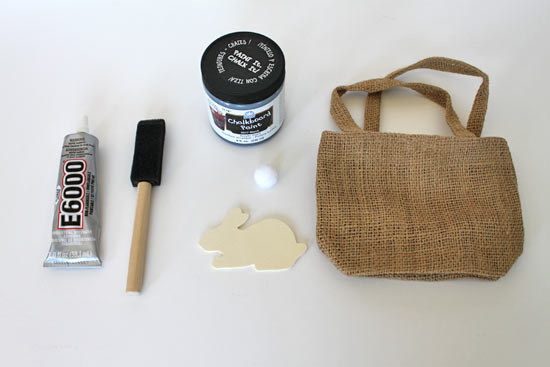
Things you’ll need:
Natural Jute Burlap Bag
Unfinished Wooden Lying Rabbit Cutout
Black Chalkboard Paint
Chalk or chalk ink marker
Small white Craft Pom Poms
Small Foam Brush
White E6000 Glue

Things to do:
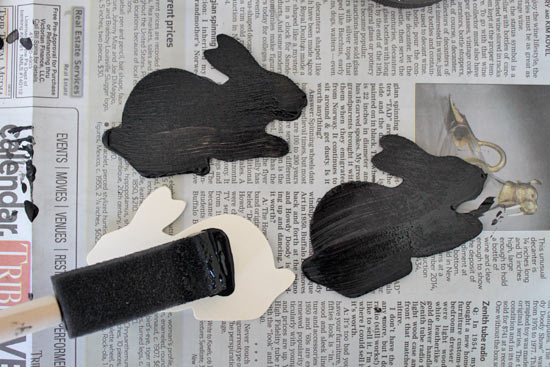
1. Shake chalkboard paint well, then apply a thin layer to the wood cutout with a small foam brush. Make sure to paint outer edges as well. Do not paint the back of the wood cut outs.

Craft Tip Time Saver: To avoid cleaning brushes between painting intervals, place the small foam brush in a Ziplock or plastic bag. This will keep the brush from drying out.

2. Follow directions on the chalkboard paint, wait one hour before applying a second coat. Let secondary coat cure for 24 hours before starting step 3.

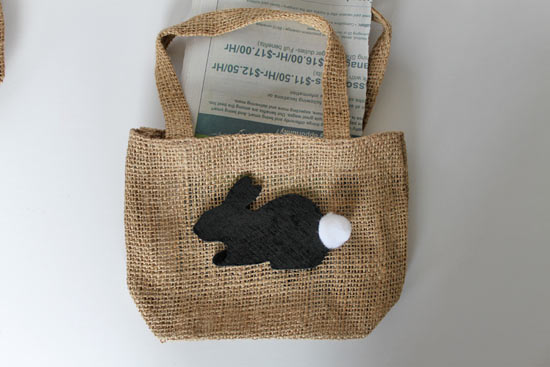
3. Insert newspaper inside the burlap bag to protect it from any extra glue that might squeeze through the woven fabric. White 3600 glue can have strong odors. I highly recommend doing your gluing in a well ventilated area with gloves on. Have a few paper towels handy in case of spills.

Apply glue to the back of the painted wood cut out and apply with pressure to the front center of the burlap bag. Attach a small white pom pom to the bunny to create a fluffy bunny tail. Place a heavy object such as a book on top of the glued wood cut out. Allow 2-3 hours for the bag to completely dry.

4. To personalize your Easter bag, write directly on painted chalkboard wood cut out with a chalk stick or chalk ink marker.

Continue Reading
Change Your Country
Please select your country, this will change the site to your country's currency:

Cancel