Skip to search Skip to navigation menu Skip to main content Selecting option will reload page

Category: Seasonal Crafts

Bell and Bead Snowflake

Bell_and_Bead_Snowflake
Snowflakes. Really, is anything prettier in this world? They typify winter, no matter your religious preferences or holiday traditions; snowflakes are the essence of winter. Which makes them perfect for stringing around your house, tree, window, wherever you need a little extra cheer. These bead and bell beauties can be changed to suit your color scheme and style. Here they have a rustic feel with cheerful red beads and rusty bells, but change it up with smaller and larger bells, crystal beads and shiny silver bells, whatever you like.

Things you need:
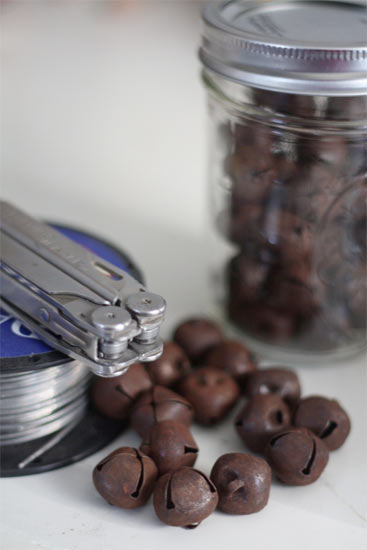
18 jingle bells
25 beads, slightly smaller than the bells
16-gauge wire
Multi tool or needle nose pliers and wire cutters
Craft glue

Things to do:
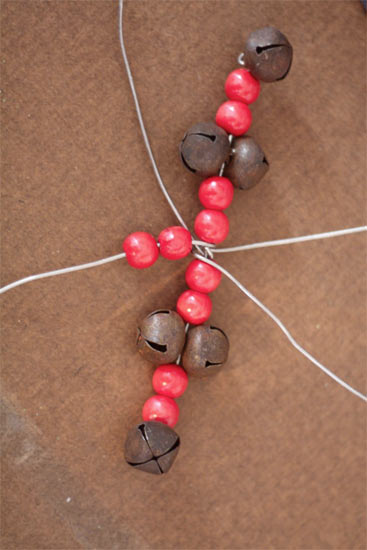
1. Cut 6 8-inch lengths of wire and cross them in the center to form a snowflake shape. Twist to hold them together.
Bell_and_Bead_Snowflake2
2. On one leg of the snowflake bead two beads, two bells (pulled side by side) and two more beads. Finish off with a final bell and, after working everything down toward the center to a tight fit, trim the wire to 1/4 inch and bend it around the shank of the final bell to hold it in place.
Bell_and_Bead_Snowflake3
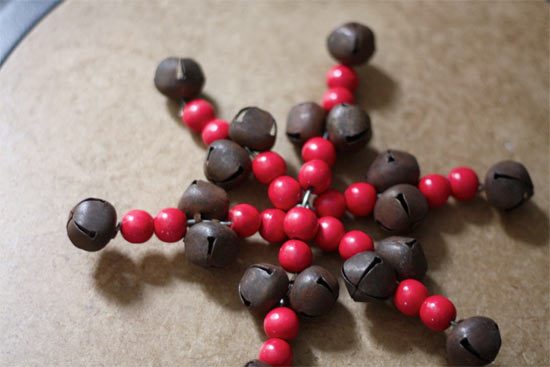
3. Continue with each leg until all are filled with beads and bells. Adjust the wire to make a nice even snowflake.
4. Glue one bead in the very center of the snowflake to cover the join.
Bell_and_Bead_Snowflake4
5. Clip a 2-inch piece of wire and loop through the back of the join or under one of the end jingle bells to make a small hanging loop. Trim off any excess wire and hang!
Continue Reading

Upcycling: Wrapping With Fabric

Wrapping_With_Fabric
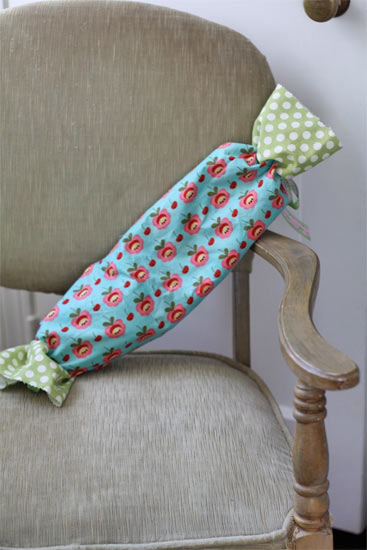
While wrapping paper is available for a few dollars in practically every store during the holiday season, there’s something a little disturbing about that pile of paper that serves it’s purpose for a short while and then ends up in the trash or recycling bin. This year, reduce the amount of wrapping paper that you use by making a few of these reusable fabric wrappers.

***Note: this patterns makes one, 5×17 inch sized wrapper but can be adjusted for larger gifts starting with a piece of fabric the same size as you would need in paper if you were wrapping in the traditional way. You’ll also need to change the “ends” to reflect this new size as well.

Things you need:
1/2 yard each of two colors of quilting cotton
Sewing machine
Pins
Coordinating thread
Coordinating ribbon – 2 yards
Pinking shears

Things to do:
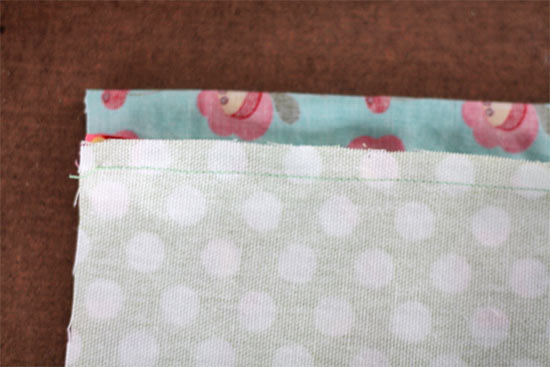
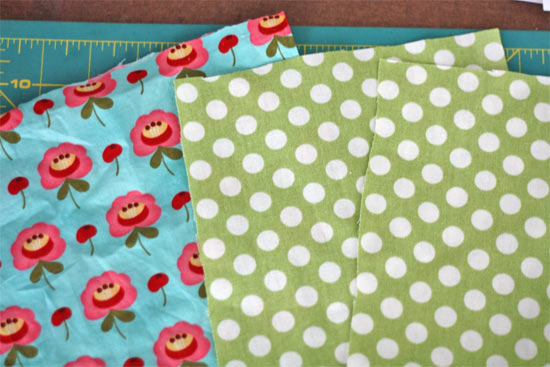
1. Cut the fabric that you want for the main part of the wrap into a 15 x 20 inch rectangle.
Wrapping_With_Fabric2
2. Cut the other fabric into two smaller rectangles, each 7 x 20-in
3. Pin the two smaller rectangles to the ends of the larger one and sew with a 1/4-inch seam allowance, down each seam, creating a longer rectangle.
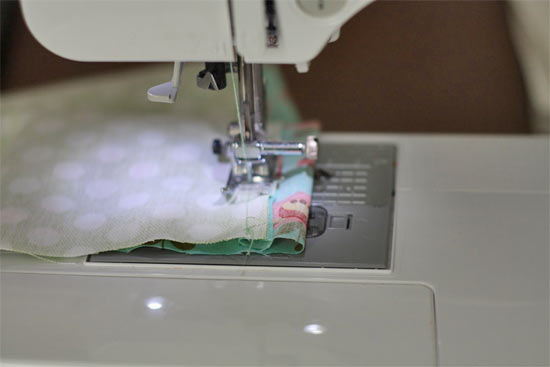
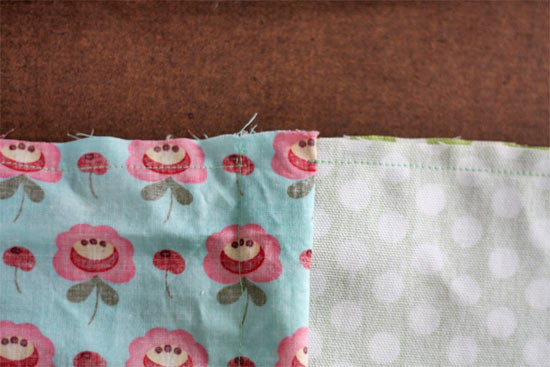
4. At each of these seams, fold a 1/4 inch pleat in the “end” fabric, pin into place and stitch, creating a channel for the ribbon.
Wrapping_With_Fabric3
5. Folding the rectangle in half lengthwise (so the two alternate colored pieces are at the ends) with the right sides together. Sew up this seam to create a tube but leave a 1/4-inch gap where each of the channels hit the seam so that later the ribbon can be fed through.
Wrapping_With_Fabric4
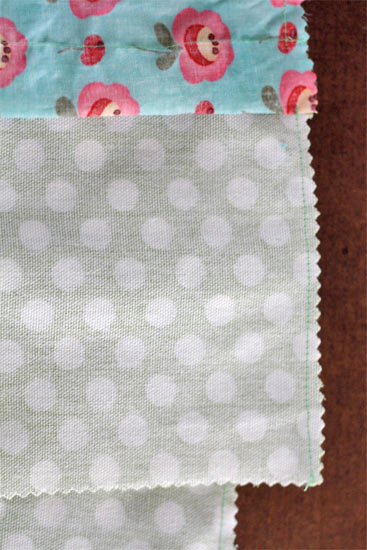
6. Trim all seams with pinking shears to avoid fraying including the raw ends of the tube (you can also sew a hem here but a pinked edge is fun, festive and quick!).
Wrapping_With_Fabric6
Wrapping_With_Fabric7
7. Cut the ribbon in half and feed each piece through the channels (a yarn needle or safety pin tied to the end can make this easier) and pull them through the gap left in the seam.
Wrapping_With_Fabric8
8. Insert your gift and pull the ribbons to draw in the ends. Tie with a bow and add a tag!

Continue Reading
Change Your Country
Please select your country, this will change the site to your country's currency:

Cancel