Skip to search Skip to navigation menu Skip to main content Selecting option will reload page

Category: Seasonal Crafts

Tile Coasters

Tile_Coasters
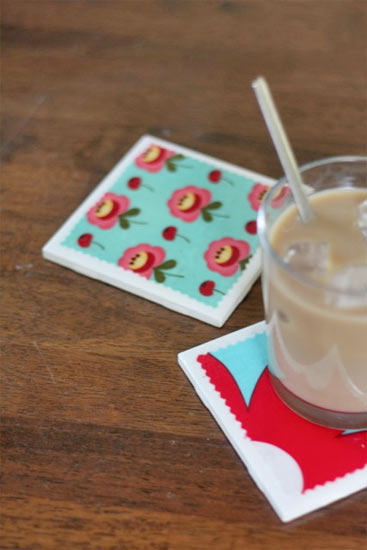
With warm weather approaching, iced tea and coffee are going to quickly become staples in my house, and that also means that little wet rings will soon start appearing all over my tables, including my newly refinished coffee table. And we can’t have that, can we? To help keep the rings away I’m stocking my table with some custom made coasters, cheery and bright, just right for summer!

Things you’ll need:
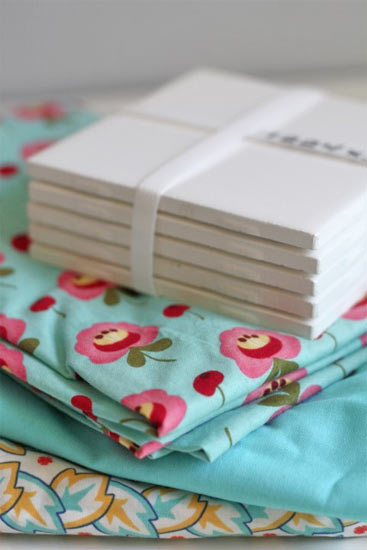
Blank ceramic tiles
Lightweight fabric (quilting cottons are perfect!)
Hard Coat Modge Podge
Foam paintbrush
Clear glaze spray
Pinking shears
Felt
Scissors
Craft glue

Things to do:
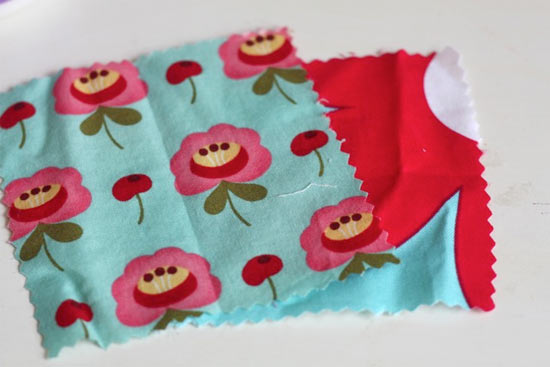
1. Cut squares from your fabric 1/2 inch smaller than your tiles. Trim the edges with pinking shears.
Tile_Coasters2
Tile_Coasters3
2. Apply a thin coat of Modge Podge to the entire top surface of the tile and smooth the fabric square on, centering it so that an even amount of tile is showing all the way around the fabric. Allow the Modge Podge to dry before proceeding.
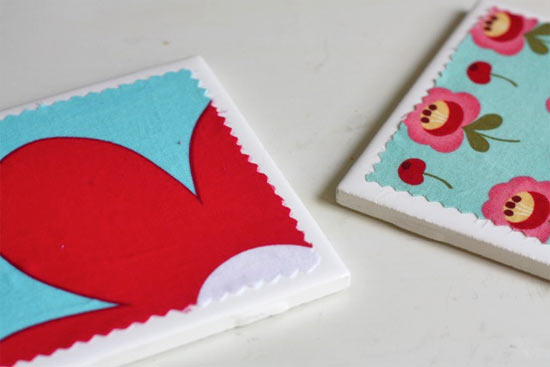
Tile_Coasters4
3. Brush an even, thin coat of Modge Podge over the entire top of the tile and allow it to dry.
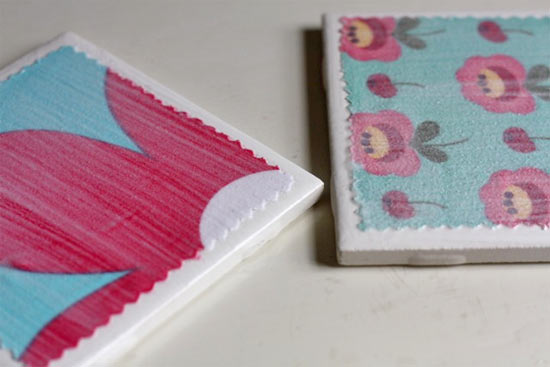
Tile_Coasters5
4. Spray the surface with two thin coats of glazy to seal. Allow the glaze to dry between coats.
5. Cut a square of felt just a tad smaller than the tile and glue them to the bottom of each to protect your tabletops from scratches. Allow the glue to set before using.
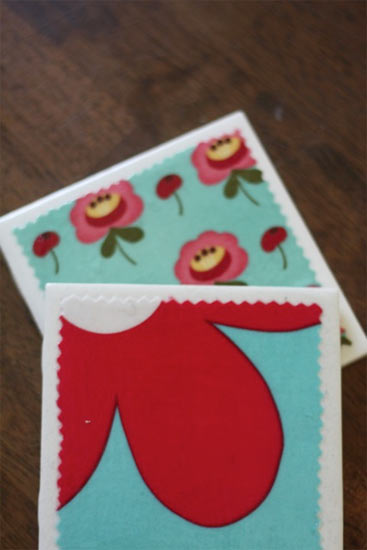
Tile_Coasters6

Continue Reading

Plastic Bag Pot

Plastic_Bag_Pot
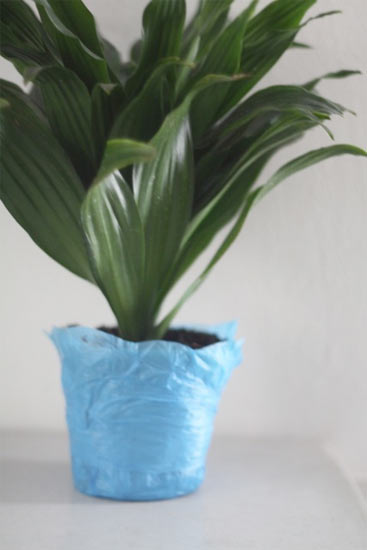
No matter how hard I try to use reusable bags at the grocery store, I still seem to end up with plastic bags filling up my junk drawers. This craft was inspired by all those bags-giving them a new life rather than sending them off to the garbage dump to sit for a zillion years. Because this deals with melting plastic it is not a great craft to do with children and should always be done in a well-ventilated workspace.

Things you’ll need:
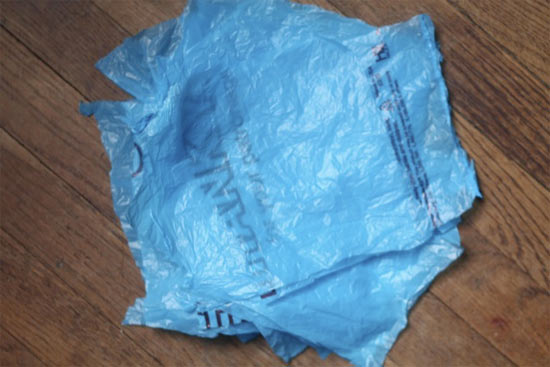
Plastic bags cut into squares
Pot or glass to use as a form
One or two large rubber bands
Hairdryer

Things to do:
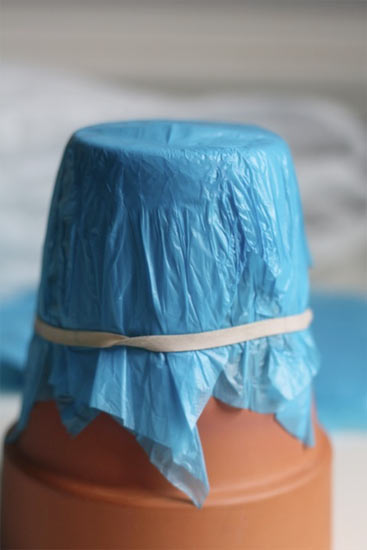
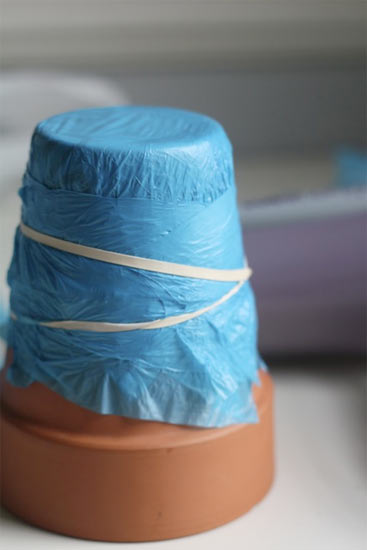
1. Start by wrapping two or three squares of bag over the end of the form and securing them with a rubber band.
Plastic_Bag_Pot2
Plastic_Bag_Pot3
Plastic_Bag_Pot4
2. Turn the hairdryer onto the hottest setting and hold it about 1 inch from the plastic for about 30 seconds. You’ll see the plastic start to melt and bond to itself. Work around the form until the entire surface has started to bond into shape. Remove the rubber band carefully.
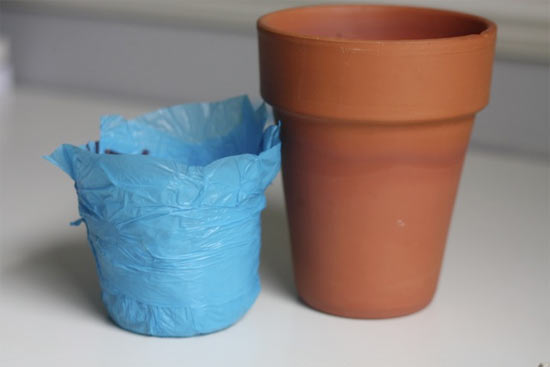
3. Wrap a few more squares of plastic around the form to build up the sides. Repeat the melting process, this time keeping the heat on a little longer to help the layers bond to each other. Remove the rubber band and allow to cool before removing the form. The pot will be water tight and is perfect for seedlings and small plants or as a lightweight catchall.
Plastic_Bag_Pot5

Continue Reading
Change Your Country
Please select your country, this will change the site to your country's currency:

Cancel