Skip to search Skip to navigation menu Skip to main content Selecting option will reload page

Category: Fall Crafts

DIY Umbrella Decals

DIY_Umbrella_Decals11
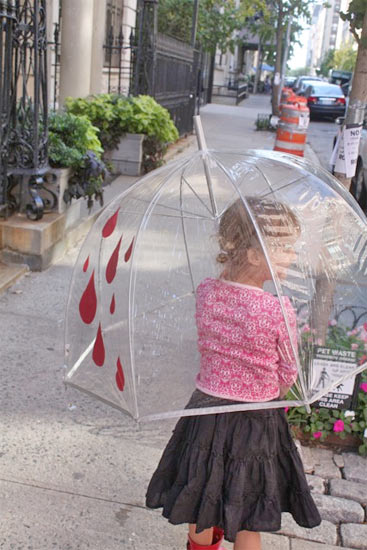
It’s fall, which means that, at least where I live, it’s raining. And raining. And raining. Because I do a lot of walking, I also do a lot of umbrella using during these wet days, and I love my big clear dome umbrella. It’s practical and so much more durable than the little fold up versions that I used to tote around. But it’s also a little bit boring. Enter peel and stick vinyl.

Things you need:
Peel and stick vinyl
Scissors
Clear vinyl umbrella

Things to do:
1. Determine what shapes you want on your umbrella and how much of it you want to decorate. Remember that the best part of a clear umbrella is that you can pull it all the way down over you and still see, so don’t block your view!
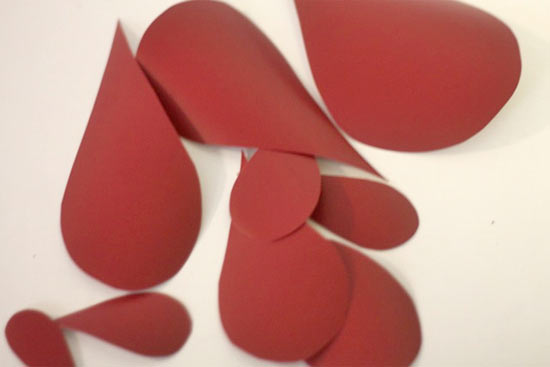
2. Cut your shapes from the vinyl.
DIY_Umbrella_Decals2
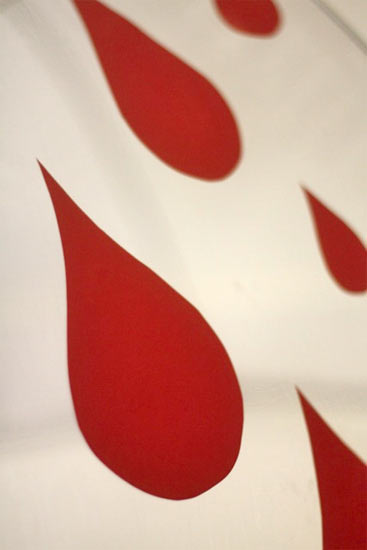
3. Peel off the backing and smooth onto the vinyl of the umbrella, pressing firmly and making sure there are no air bubbles.
DIY_Umbrella_Decals
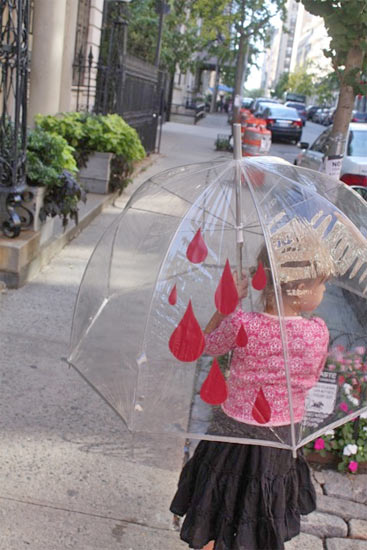
4. Open and close your umbrella a few times to make sure the decals fold well with your umbrella.
DIY_Umbrella_Decals12

Continue Reading

Burlap Fabric Printed Pillows

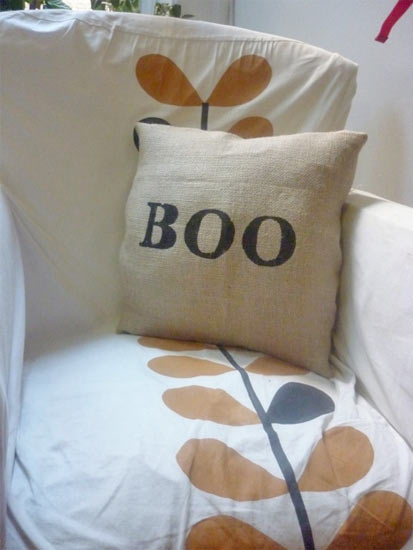
Burlap_Printed_Pillows
Take a little burlap, a dash of paint and some freezer paper and you have what you need to add a bit of fall interest to your living room decor.

Things you’ll need:
Burlap
Black fabric paint
Freezer paper
Iron
Pillow form
Foam brush
Scissors
Sewing machine and notions

Things to do:
1. Cut two squares of burlap the same dimensions as your pillow.
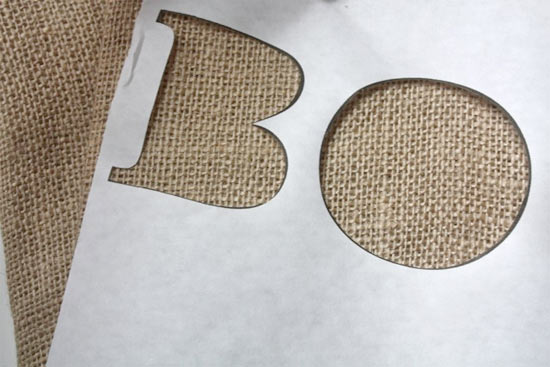
2. Cut one piece of freezer paper the same dimensions of the pillow. Using a stencil or cutting freehand, turn the paper into a stencil of the design of your choice.
3. Laying one of the squares on a covered work surface, iron the paper, shiny side down, onto the burlap using a dry iron.
Burlap_Printed_Pillows2
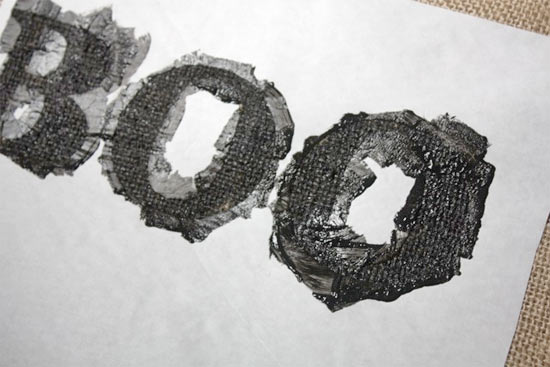
4. Paint the uncovered surfaces of the fabric, working from the outside in to help keep the paint from seeping under the edges.
Burlap_Printed_Pillows3
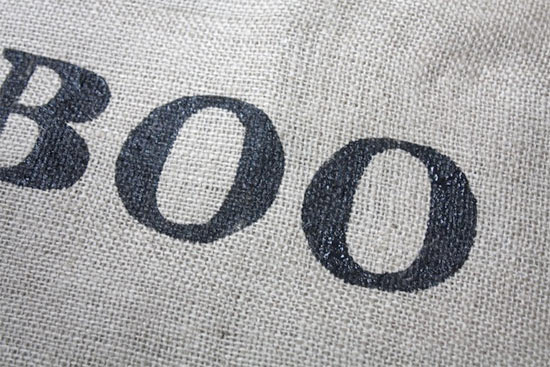
5. Peel away the freezer paper and allow the paint to dry.
Burlap_Printed_Pillows4
6. Layer the two pieces of burlap, right sides together, and stitch almost all the way around, with a 1/2 inch seam allowance leaving a 5 inch space along one side unsewn. *Hint!* Do not leave the opening at a corner! Try to center the opening instead! This will give you sharp, even corners and will make sewing the opening up much easier!
7. Trim the corners almost to the stitch line and turn right side out. Slip your pillow form inside and hand stitch the opening closed.

Continue Reading
Change Your Country
Please select your country, this will change the site to your country's currency:

Cancel