Skip to search Skip to navigation menu Skip to main content Selecting option will reload page

Category: "How to" Videos

Upcycle: DIY Tin Can Luminaries


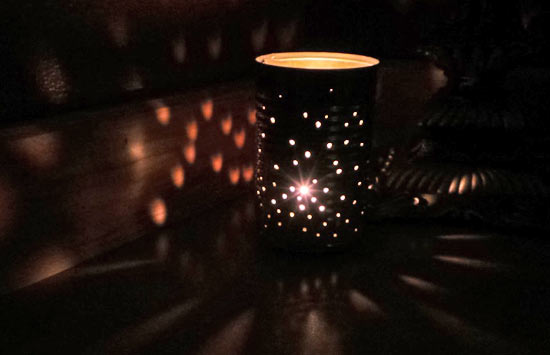
Light up the night with this adorable DIY craft. This tin can luminary mimics candles for sale in luxury home goods stores, making it a must have for your home this summer time. Have fun experimenting with a variety of shapes and patterns until you find a sparkling look that you love.

Difficulty level: Beginner
Age range: 12 and Up
Time to complete: 20 Minutes

Things you’ll need:
Tin Can
Hammer
Nail
Battery operated tealight candle

Things to do:
1. The first step is preparing your tin can. If you are using a can from the grocery store, empty it out and take the label the off of outside.
2. Fill the tin can with water and put it in the freezer over night. This will give you a hard surface to nail against.
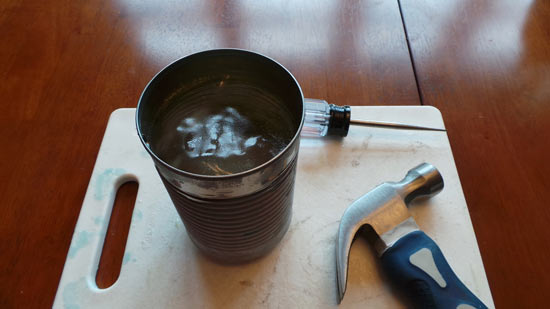
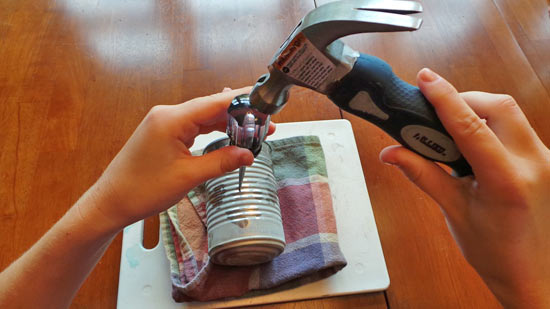
3. Once you’ve frozen water in your can, use a hammer and nail to create a unique design. Pound the nail into the can’s surface, creating a small hole.
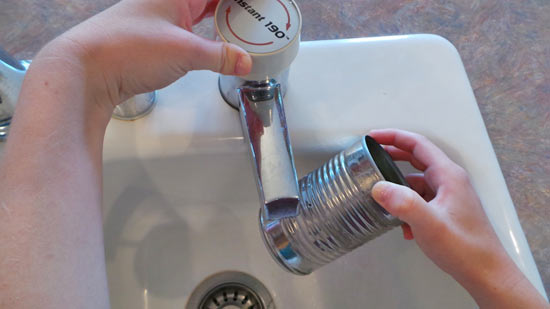
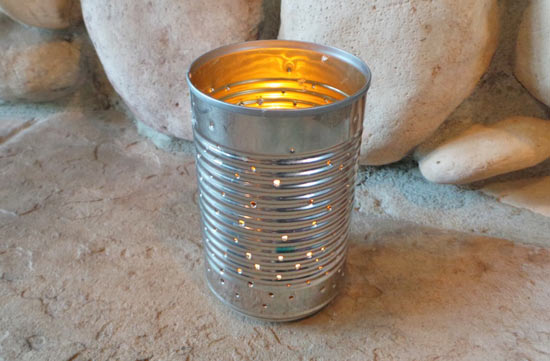
4. Once you’ve finished creating a design, let the ice melt and clean out the can. Place a tea light candle inside the tin can and enjoy your sparkling creation.
Continue Reading

DIY Tissue Paper Flower Pot


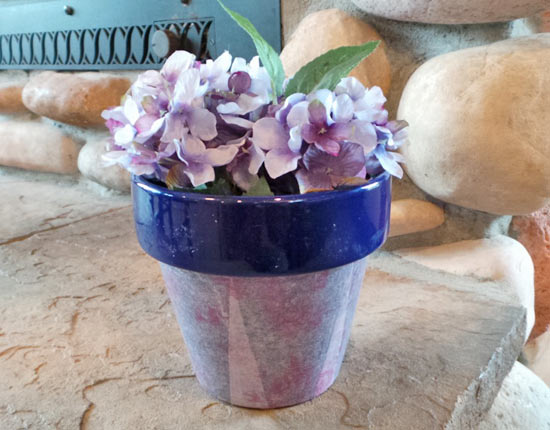
This craft is a wonderful activity for a child’s birthday party. The steps are easy and fun, and the result is a really cute pot that anyone would enjoy having in their home. When you’re finished, plant a seed inside, and watch it bloom into something beautiful.

Difficulty level: Beginner
Age range: 5 and Up
Time to complete: 30 Minutes

Things you’ll need:
Mod Podge
Ceramic Pot
Tissue Paper
Scissors
Foam brush

Things to do:
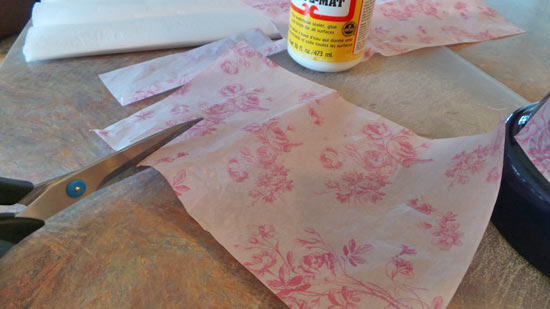
1. Cut several 2″ wide strips of tissue paper. The amount of paper you cut will depend on how large of a pot you are using.

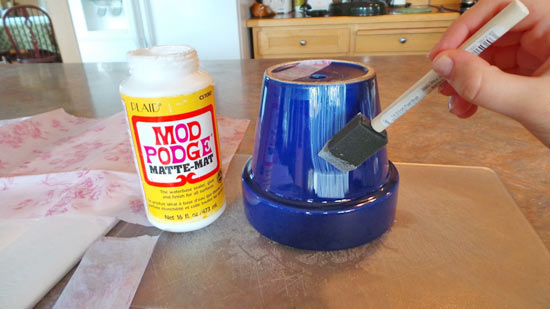
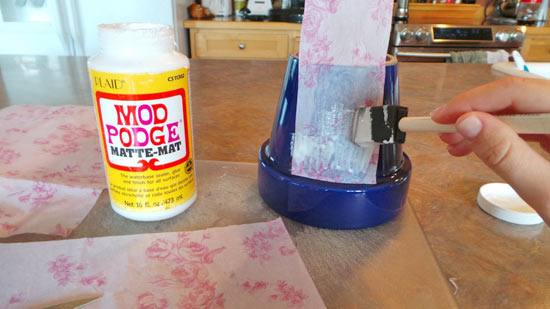
2. Paint a smooth layer of Mod Podge onto the ceramic pot.

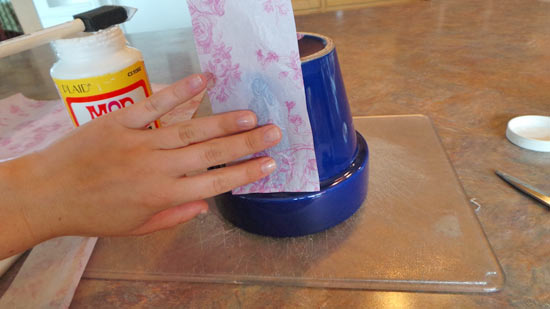
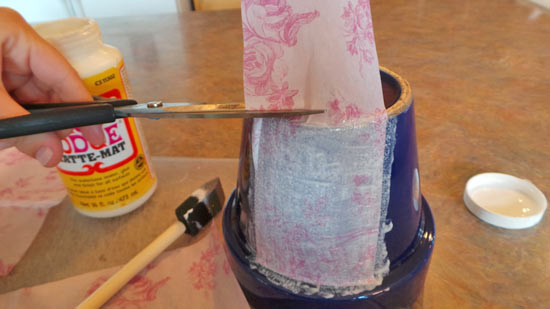
3. Place the strip of tissue paper onto the layer of Mod Podge. Try to get the top of the tissue paper even with the top of the pot.

4. Cut any excess tissue paper from the bottom of the pot, leaving a half inch extra.

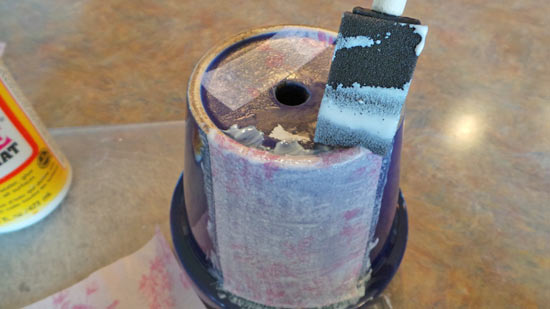
5. Secure the excess tissue paper inside the bottom rim with Mod Podge.

6. Apply a topcoat to the tissue paper.

7. Continue this process until the entire pot is covered, slightly overlapping the pieces of tissue paper as you go.
8. Apply a second layer of tissue paper until you reach your desired look.
9. Let the pot dry completely before use.

Continue Reading
Change Your Country
Please select your country, this will change the site to your country's currency:

Cancel