Skip to search Skip to navigation menu Skip to main content Selecting option will reload page

Category: "How to" Videos

How to Make Clothespin Thumb Tacks


Spruce up your bulletin board with some cute clothespin thumb tacks. These decorative pushpins give you more creativity to display things your way, showcasing your personal style. Experiment with different decorations and create a custom set that you love.

Difficulty level: Beginner
Time to complete: 20 Minutes
Age range: 10 and Up

Things you’ll need:
Clothespins
Tacks
Hot glue gun and glue sticks
Ribbon
Ribbon roses
Craft glue
Pencil
Cardstock
Scissors

Things to do:

Cardstock Clothespin
1. The first step is cutting out the decorations for your clothespins. Start by placing your clothespin on a piece of cardstock and tracing around the outside edge. Cut out the shape.
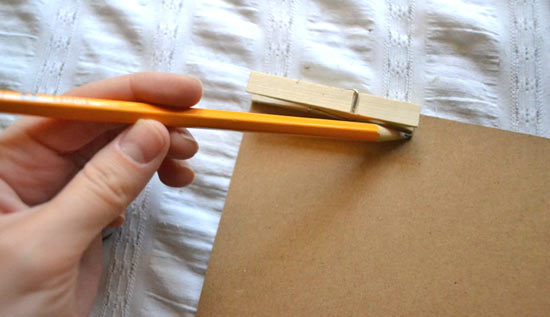
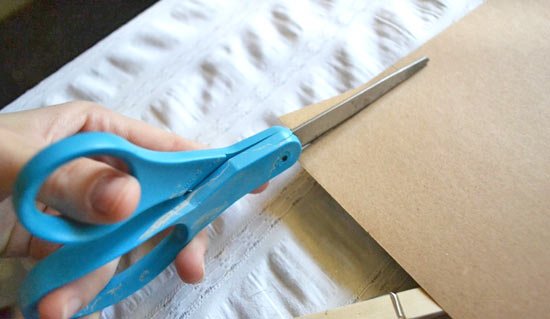
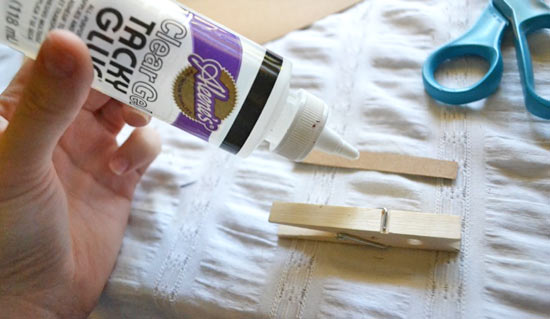
2. Use craft glue to secure the paper to the top of the clothespin.
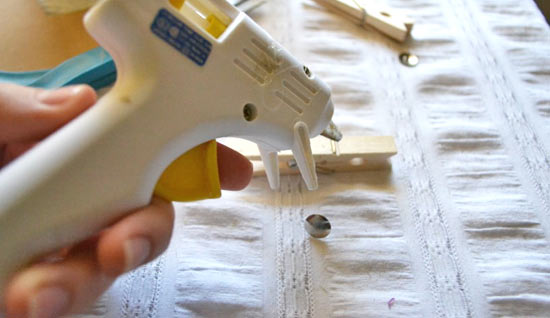
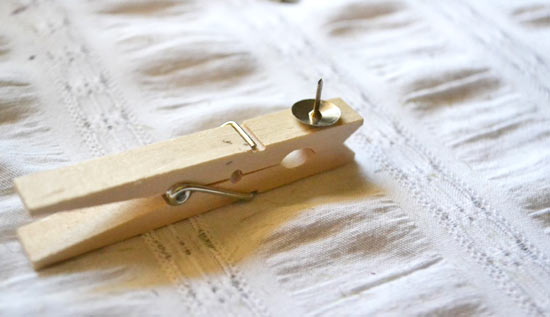
3. Apply a drop of hot glue to the back of the clothespin and attach the tack. Hold it in place until it dries completely.
Ribbon Clothespin
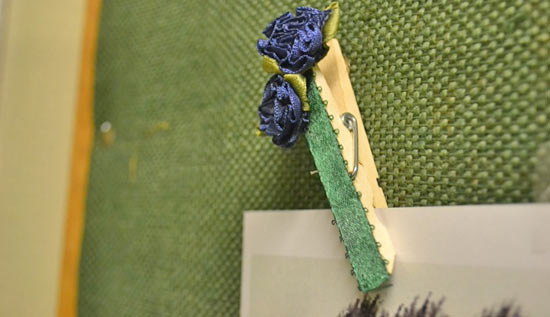
1. Cut a piece of ribbon to match the length of the clothespin.
2. Attach it to the clothespin using craft glue.
3. Use craft glue to add ribbon roses to the top corner.
4. Apply a drop of hot glue to the back of the clothespin and attach the tack. Hold it in place until it dries completely.

Continue Reading

DIY Rustic No-Sew Burlap Pennant Banner


This no-sew banner makes it easy to adorn your space with homemade decor. Grab your hot glue gun and get creative with different fabrics to create the perfect look for your home or event.

Difficulty level: Beginner
Time to complete: 30 Minutes
Age range: 12 and Up

Things you’ll need:
Burlap fabric
Jute
Scissors
Hot glue gun and glue sticks
Paper
Sharpie
Ruler

Things to do:
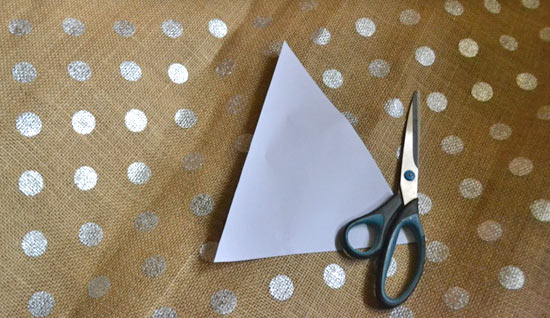
1. First, you’re going to need to cut a pattern for your triangles. The base of my triangle measures 8-inches.

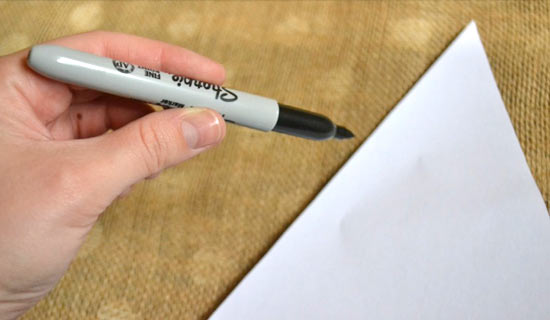
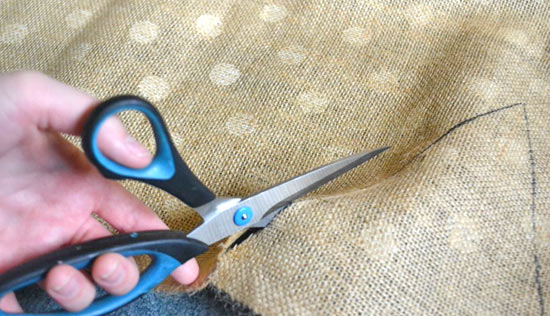
2. Trace the pattern onto your burlap and cut out the shapes. The number of triangles you cut out will depend on how long you want your banner to be.


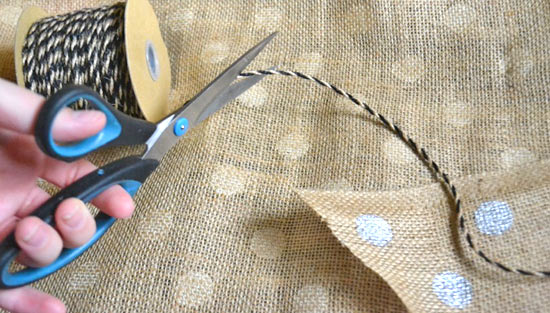
3. Measure a length of jute and cut it.

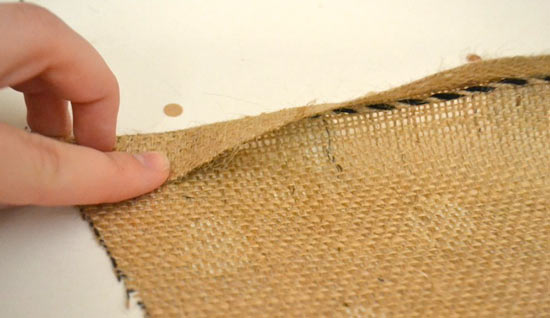
4. Lay your jute 1/2-inch from the top of your triangle and fold the top over, creating a crease.
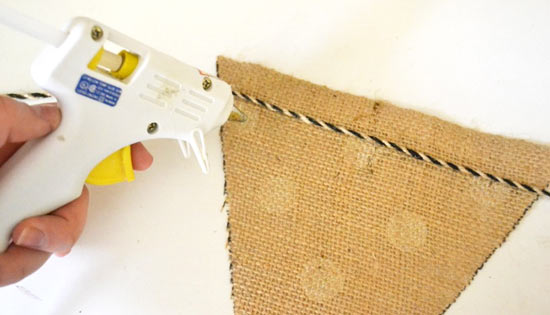
5. Run a line of hot glue down the crease, fold it over, and hold it in place until it has dried completely.


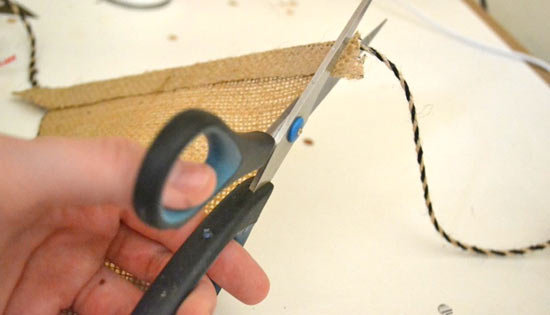
6. Trim any excess fabric on the sides of the triangle.

7. Repeat until the entire length of jute is covered.

Continue Reading
Change Your Country
Please select your country, this will change the site to your country's currency:

Cancel