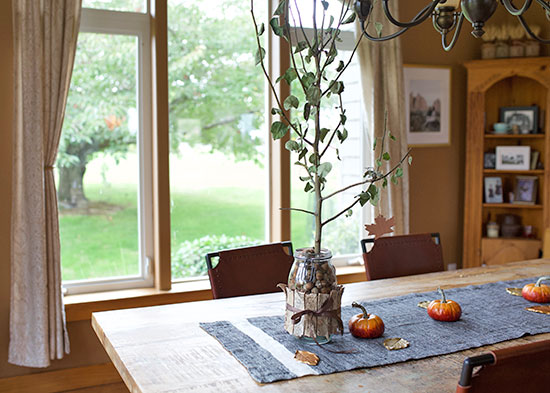
Looking for the perfect centerpiece for your Thanksgiving dinner? This thanksgiving tree celebrates the spirit of the season and serves as a reminder of all the things you have to be thankful for.
Difficulty level: Beginner
Time to complete: 30 minutes
Age range: 8 and up
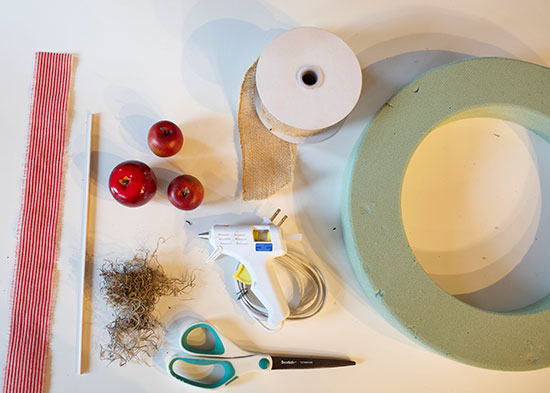
Things you’ll need:
Wooden leaf ornament
Large branch
Acrylic paints (yellow, orange, red, and green)
Floral foam block
Paint brushes
Large mason jar
Bark ribbon
Black chalk paint
White chalk pen
Scissors
Knife
Stones, walnuts or acorns
Brown ribbon
Things to do:
- Paint the front and back of your wood leaves in a variety of fall colors. Let the paint dry completely.


- Paint black chalk paint on one side of the leaves, leaving a thin, colored edge.

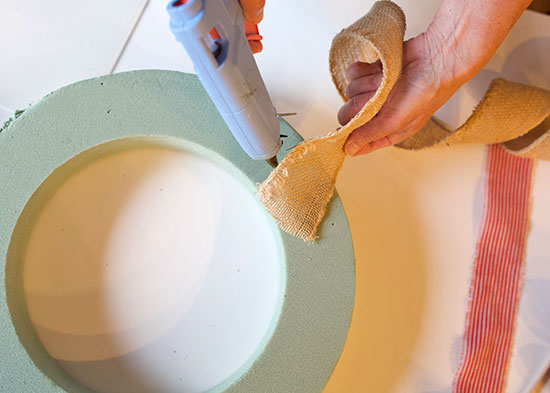
- Wrap a piece of bark ribbon around the jar and secure it by tying a piece of brown ribbon around the center.
- Cut a piece of floral foam to fit inside your jar and place it inside.

- Slide the large branch into the center of the foam.

- Fill the jar with stones, walnuts or acorns.


- Hand your leaves from the branches and have a chalk pen nearby so guests can write what they’re thankful for on the leaves.

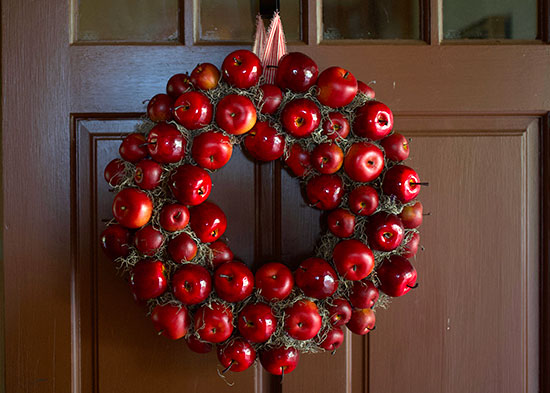
 2. Cut an 8″ piece of decorative ribbon and use hot glue to secure it around the wreath form, creating a loop to hang your wreath from.
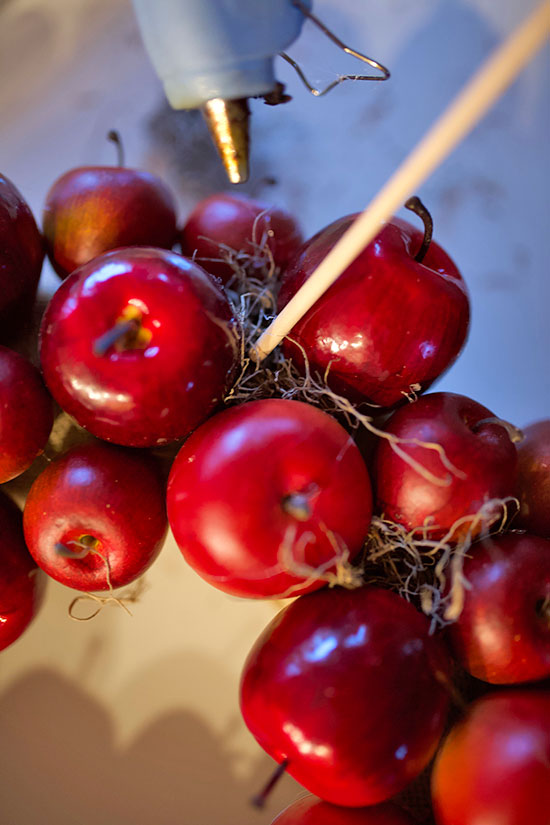
 3. Use hot glue to attach apples to the surface of your wreath. Try to vary them as much as possible.
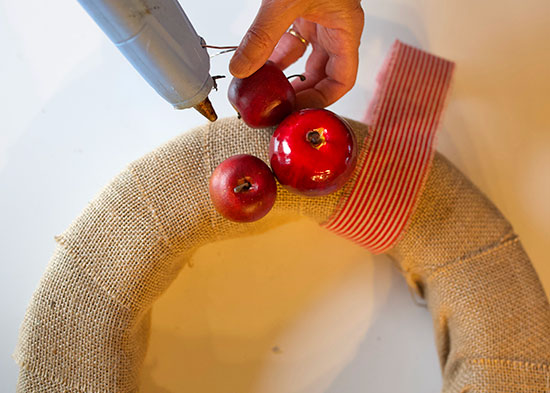 4. When you’ve covered the wreath with apples, use hot glue to add moss to any empty spaces to add fullness.