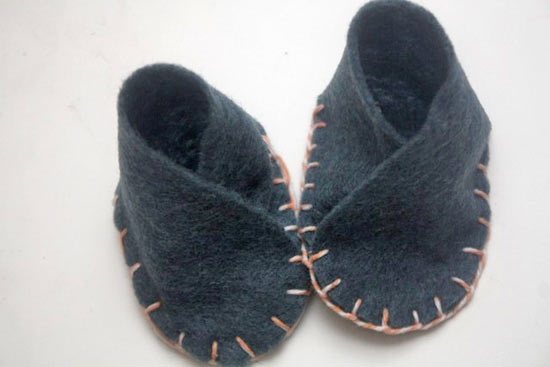
I have a little girl who has a little doll that she loves in that special lovey love kind of way. And since I love that little girl, I also love to make her dolly special things, like these felt slippers. So simple you’ll want to make them by the dozen, they can easily be made to almost any size (even real babies can have a pair).
Things you’ll need:
Felt
Baker’s twine or embroidery thread
Embroidery needle
Scissors
Cloth measuring tape
Pencil and paper
Things to do:
1. Measure the length, width and height of your dolls foot.
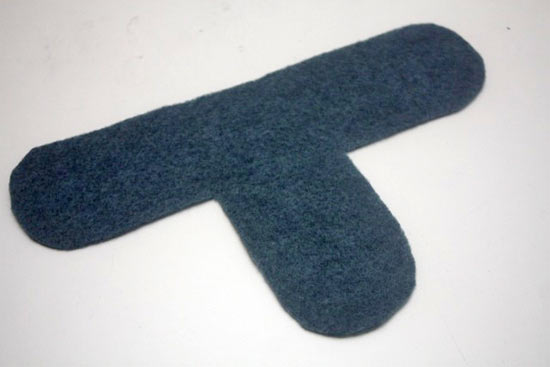
2. Draw a T shape onto the paper. Vertical of the T should be the length plus the height long and the width of the foot wide and the sides of the T should be long and wide enough so that when folded over onto the center, meeting evenly.
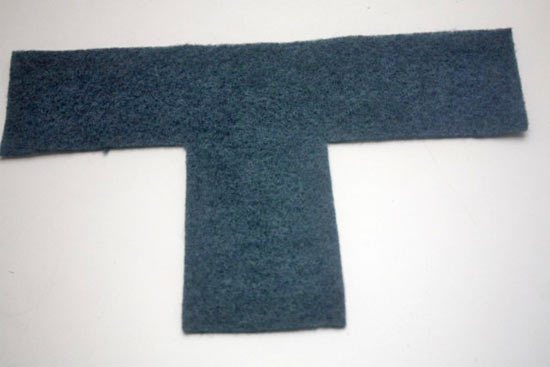
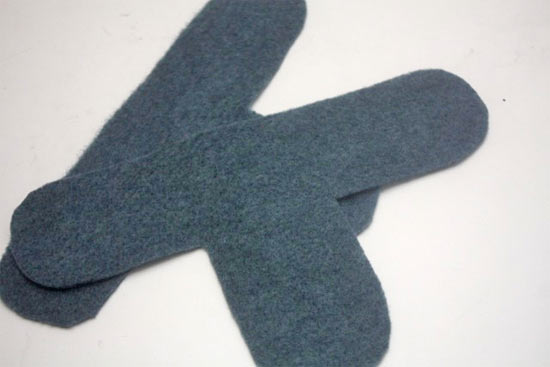
3. Using this pattern, cut two T’s out of felt.
4. Fold the sides of the T down onto the center and round the edges. (You can also leave them square for a different look)
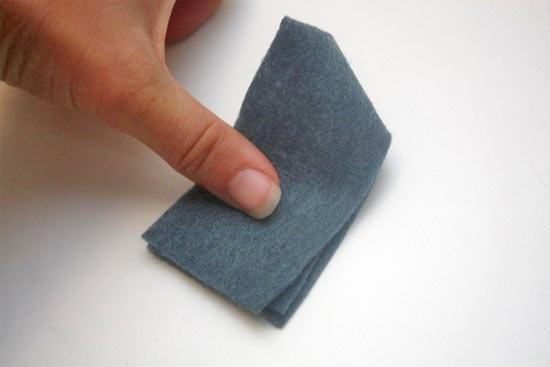
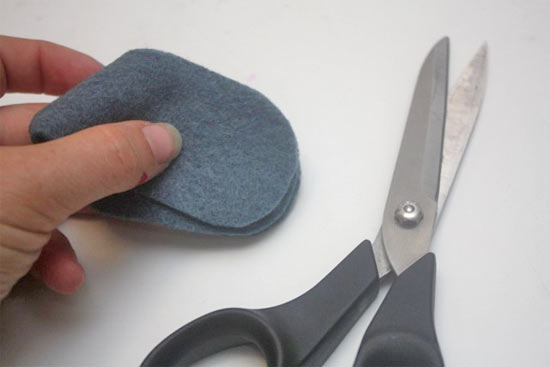
5. Fold one edge over and, starting at the corner, use a blanket stitch to sew the edges together. Once you are about 1/3 the way around the toe, fold the other side down and continue stitching until you have reached the other end. Tie off and trim ends. Repeat with the other shoe.
