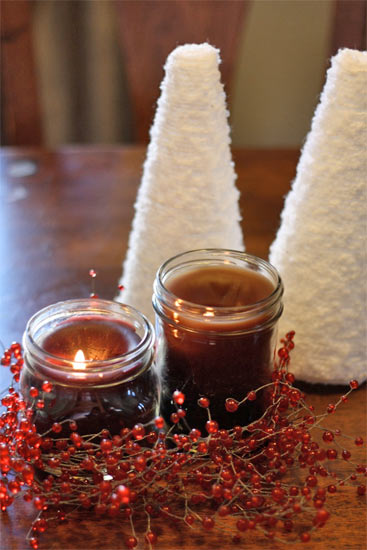
If you’ve taken a stab at container candles and are ready for something a little more exciting layered candles are an excellent next step. Layered candles can be made in gradients of a single color or a combination of different colors, which ever you prefer. They can also contain different scents in each layer with makes them perfect if you tire of a smell easily. Before you start, decide if you want to stick with different shades of one color and scent or separate colors and scents and buy your supplies accordingly.
Things you need:
Candle wax
Heat-proof, clear glass containers
Candle dye
Candle scent
Candle Wicks
Double Boiler
Glue Dots
Skewers or disposable wooden spoon with long handle
Hair Dryer
Things to do:
1. Break your wax up into small chunks and put one third into the double boiler over medium high heat.
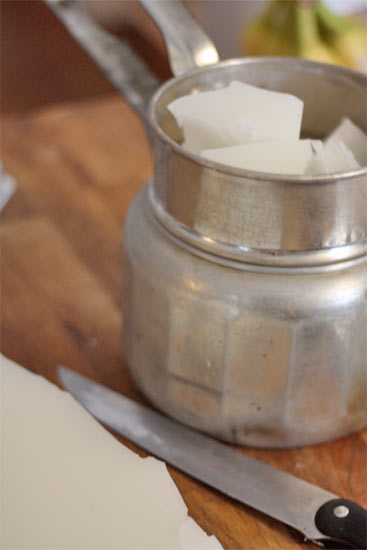
2. Set your oven to Keep Warm” and place your jars on the middle rack to pre-warm them.
3. Once the wax is melted, add color in small amounts until you have achieved the shade you want for the bottom layer of your candle. Add scent just before pouring.
4. Dot the bottom of your wick with a glue dot and center at the bottom of your jar. Pour your first layer of wax, filling the jar a third of the way full. Set aside and allow the wax to cool till it is firm but still warm.
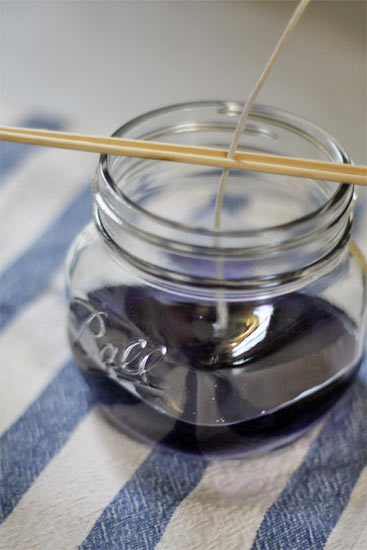
5. Meanwhile, clean out your pot and melt the next third of wax, this time to a slightly hotter temperature, add your colorant and then scent just before pouring. Heat the outside of the jar slightly with the hairdryer and pour the next layer of wax. The slightly hotter temperature and the heating of the jar will help bind the two layers together well.
6. Repeat with the third layer (and fourth if you choose more layers) Allowing the layers to cool between each but heating the jar before pouring the next layer. Reserve some of your last layer of wax.
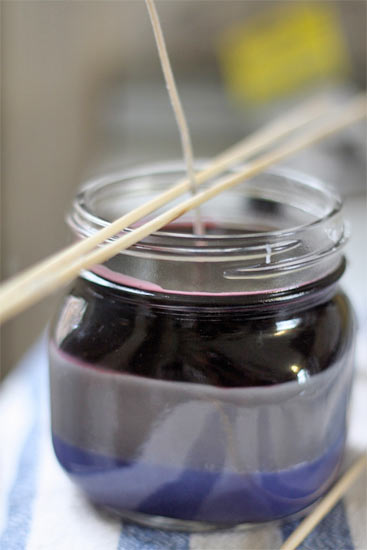
7. Keep the wick centered using skewers to hold it in place.
8. Once the wax has cooled completely, heat the remaining wax up slightly warmer than the last layer and top off the candle to create a smooth surface. Re-center the wick and allow the wax to cool again before trimming the wick.
