Skip to search Skip to navigation menu Skip to main content Selecting option will reload page

Category: For the Home

Easy DIY Lego Magnets


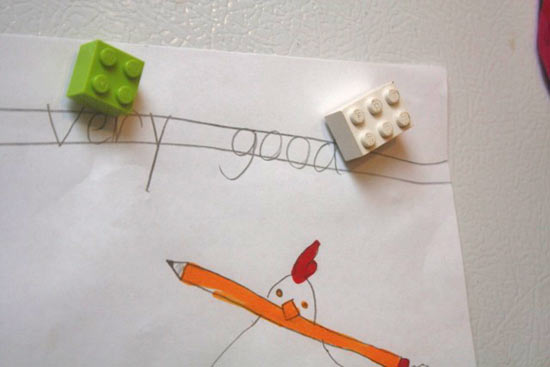
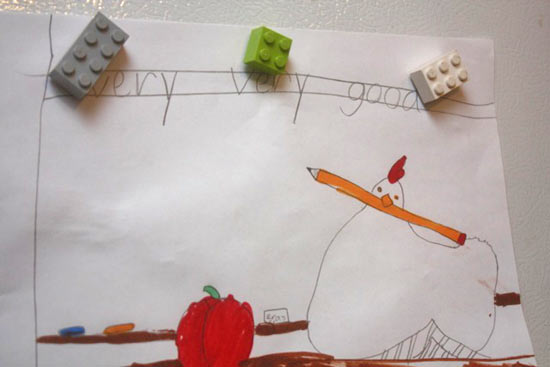
I have two Lego maniacs in my house. They aren’t just fans, no, they love Legos like nothing else. So anything with Legos on it becomes a huge hit around here. And since we’re also always on the lookout for fun ways to display the piles of art that the kids produce, these Lego magnets are a perfect fit for our house! Look for very strong, but thin magnets for the best finished result.

Difficulty level: Easy
Time required: 5 minutes plus dry time

Things you’ll need:
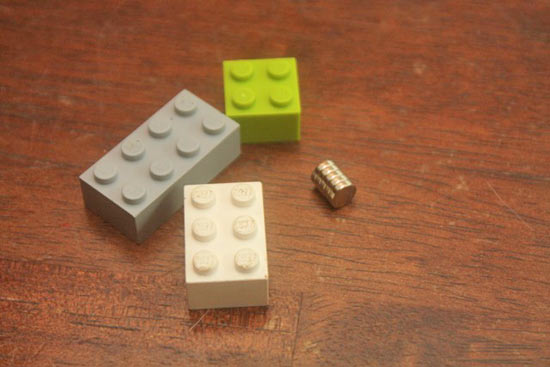
Strong magnets
Lego bricks
Craft glue

Things to do:
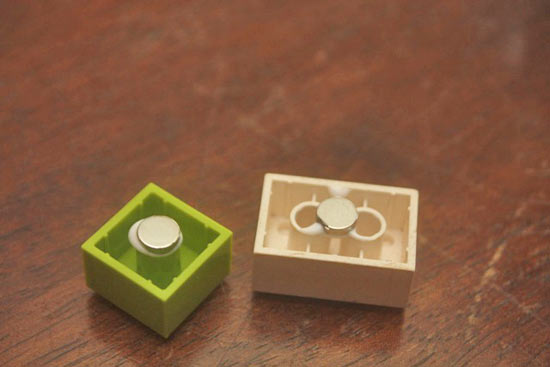
1. Look for the center point on the underside of the Legos and add a generous dollop of glue. Longer bricks may require two magnets.
2. Place the magnets in the glue and allow the glue to dry completely before using.
Continue Reading

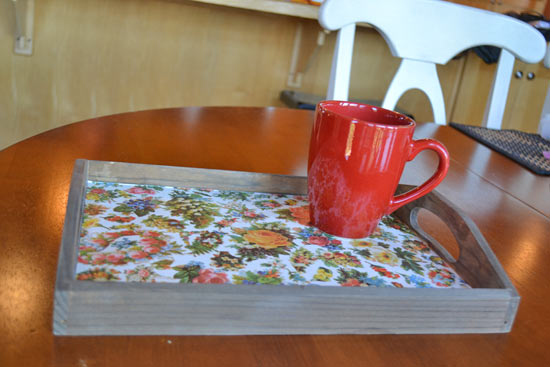
Revamp an Old Serving Tray with Mod Podge


This awesome DIY will teach you how to repurpose an old tray that you have around the house. This unique staining method will greatly improve the look of the wood, resulting in a beautiful piece that you will be proud to display. Enjoy mixing and matching a variety of patterned papers to create a serving tray that is one of a kind and totally adorable.

Difficulty level: Beginner
Time to complete: 30 minutes
Age range: 10 and up *Some assistance may be required for younger ages.

Things you’ll need:
Wooden tray
Cardstock or heavy wrapping paper
Paint Brush
Hard Coat Mod Podge
Ruler
Pencil
Gloves
400 Very Fine Sandpaper
Old Mason Jar
Steel Wool
Used Coffee Grounds
Vinegar

Things to do:
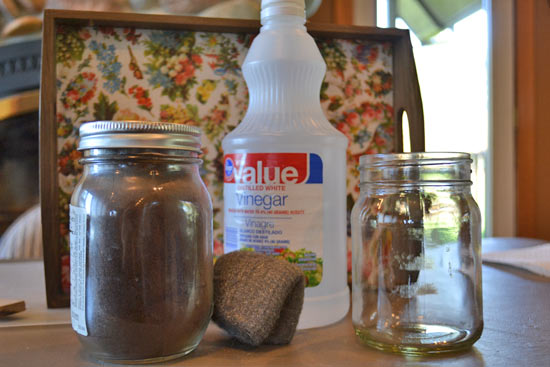
1. The first step is preparing your homemade stain. Pour 1/4 cup old coffee grounds into a pint jar. Fill the remainder of the jar with vinegar and let a piece of steel wool set inside the mixture. Allow stain to sit overnight.

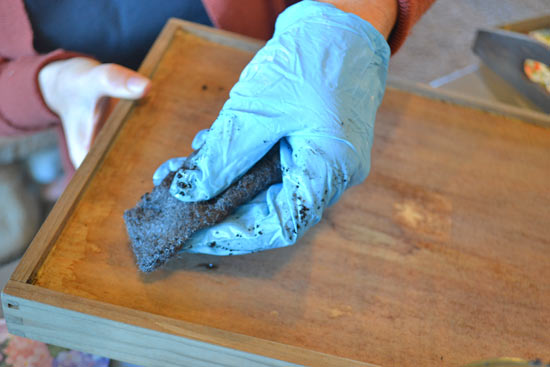
2. Use a steel wool to apply stain to your tray. Apply several coats, until desired shade is achieved. Color will darken as it dries.

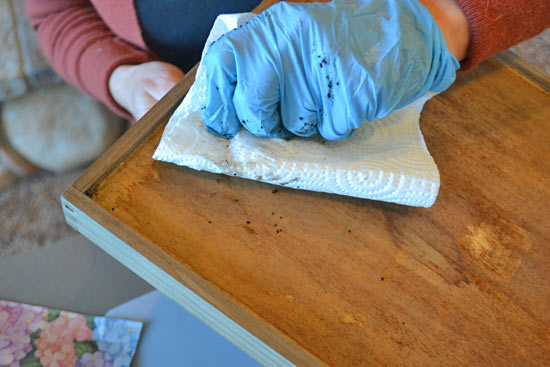
3. Once the stained tray is dry, use a paper towel or cloth to wipe off the excess coffee grounds.

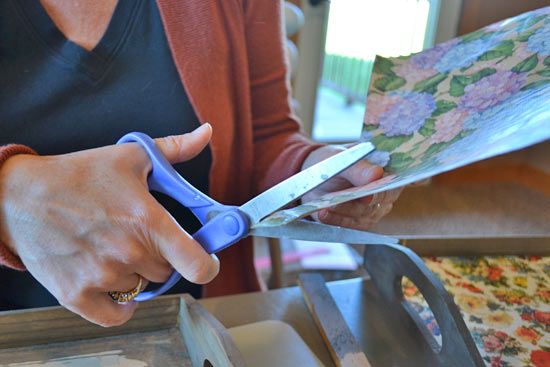
4. Measure the inside dimensions of your tray, and cut your paper to fit the designated area.

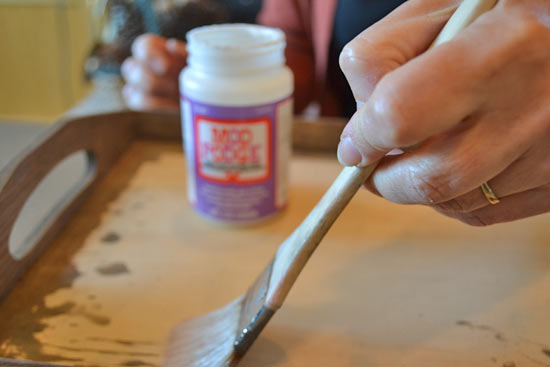
5. Apply a layer of mod podge to the inside of the tray, and place your paper on top of the mod podge.

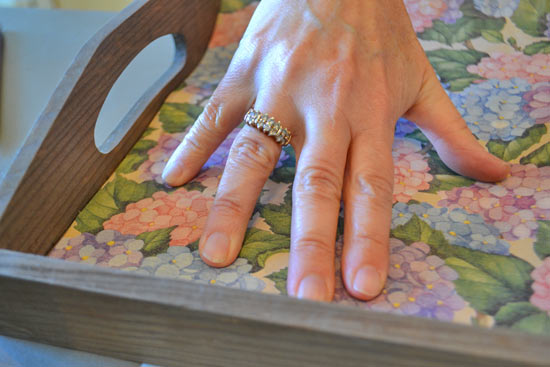
6. Use a pencil and role along the top of the paper, ensuring it sticks securely. This will prevent any bubbling.

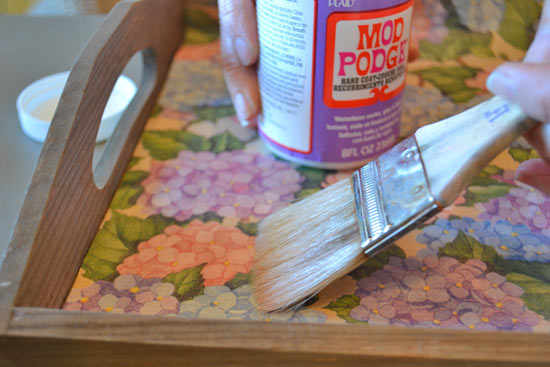
7. Apply a layer of mod podge over the paper and allow it to sit for 20 minutes, or until mod podge is dry.

Continue Reading
Change Your Country
Please select your country, this will change the site to your country's currency:

Cancel