Skip to search Skip to navigation menu Skip to main content Selecting option will reload page

DIY Doily Heart Tote Tutorial

Difficulty level: Intermediate
Time required: 1 hour
Age range: 12 and up

Things you’ll need:
Iron and ironing board
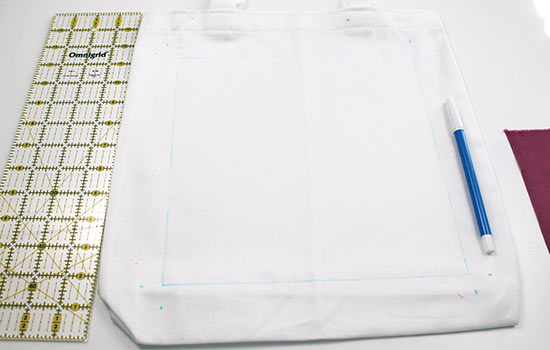
Grid ruler
White canvas tote
Red heart crochet doily
Embroidery needle
Red embroidery thread
Scrap fabric
Marking tool such as disappearing ink marker
Scissors
Sewing pins

Things to do:
1. Using the iron, iron the tote and the scrap fabric to remove any wrinkles.

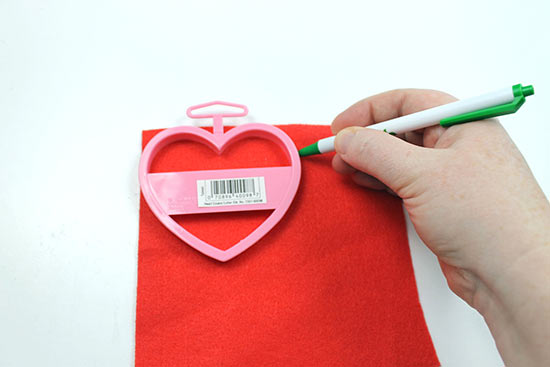
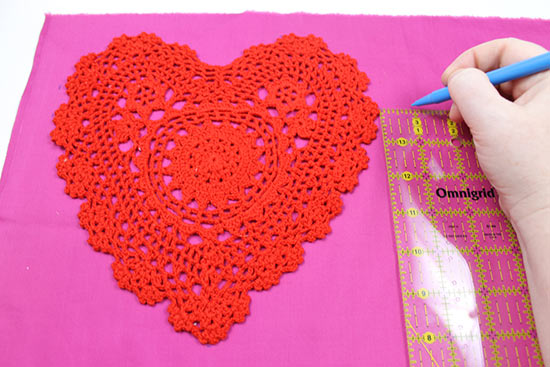
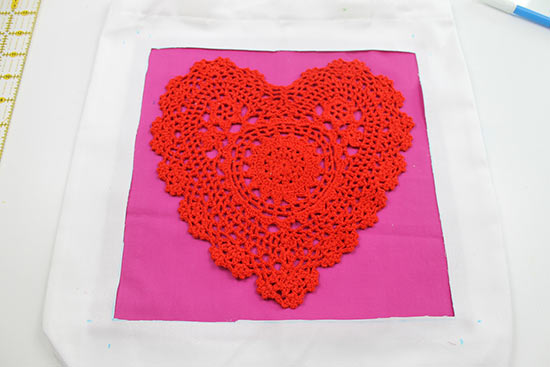
2. Next we’ll center the doily on the scrap fabric, marking a seam allowance as follows: Using the marking tool, mark 1″ from the edge of the scrap fabric. Place the doily on the scrap fabric, lining up the edge of the doily with the mark on the fabric. Mark where the widest edges of the doily are, then mark where the topmost edges and bottom of the doily are. Mark 1″ from these marks.

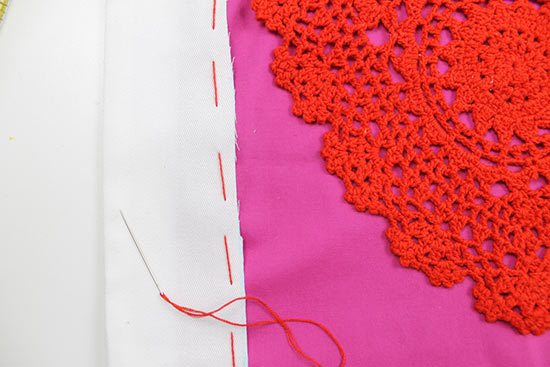
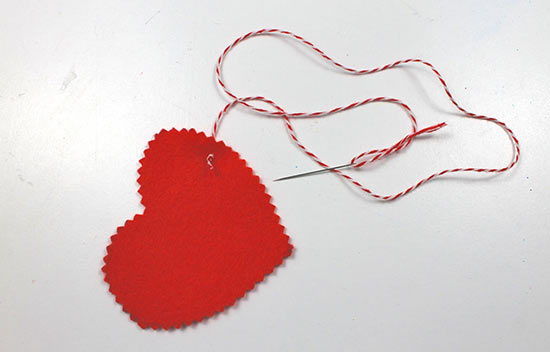
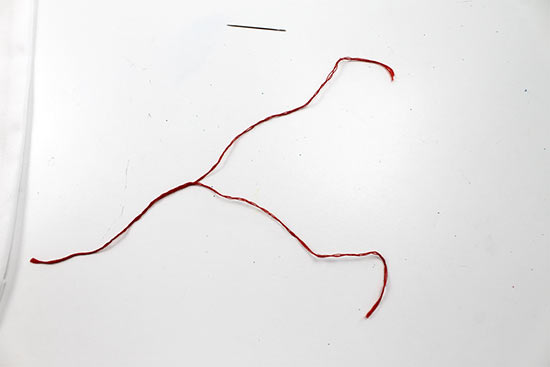
3. Cut a long length of embroidery floss, then split in in half so that you have two separate strands. Thread one of the strands through the embroidery needle.

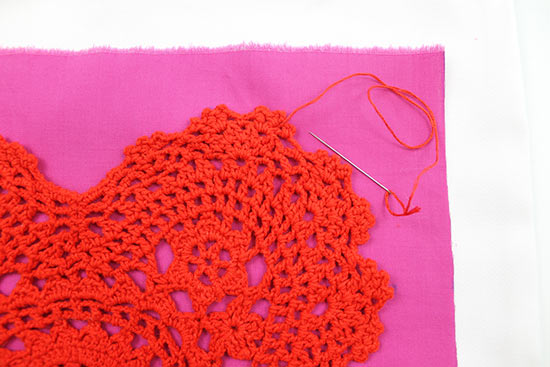
4. Tie a knot at the end of the embroidery floss, then tack the edges of the heart in several spots to secure it to the fabric. We suggest tacking the heart in 5-7 places.

5. Mark a square on the tote that’s 1/2 ” smaller than the scrap of fabric.

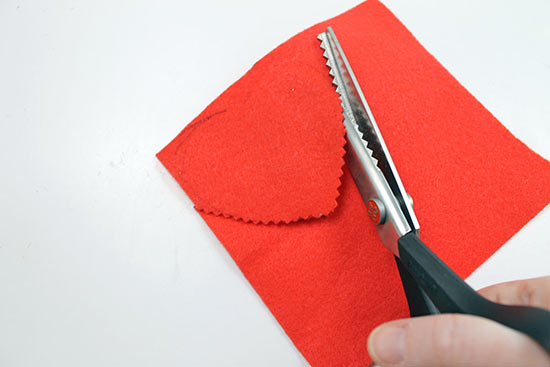
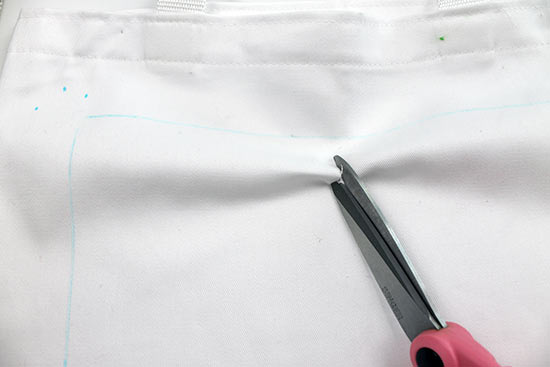
6. Cut out the marked square from the center. Be sure you’re only cutting one side of the tote. To start the cut, fold the fabric in the center and snip it with your scissors.

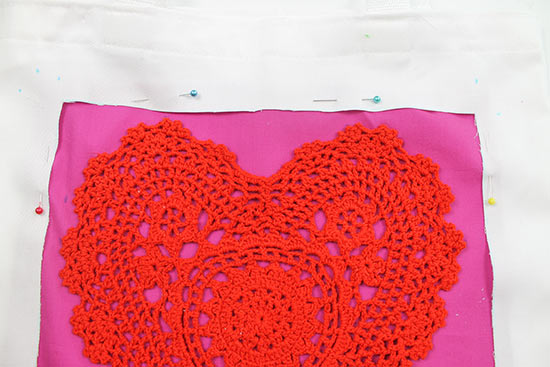
7. Slide the doily fabric square inside the tote.

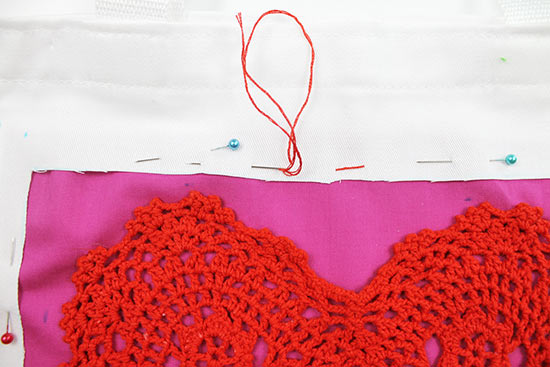
8. Using sewing pins, pin the square in place, making sure the square is centered. If you’re not sure, you can use a ruler to measure the seam allowance all the way around the edge; it should be 1/2 “.

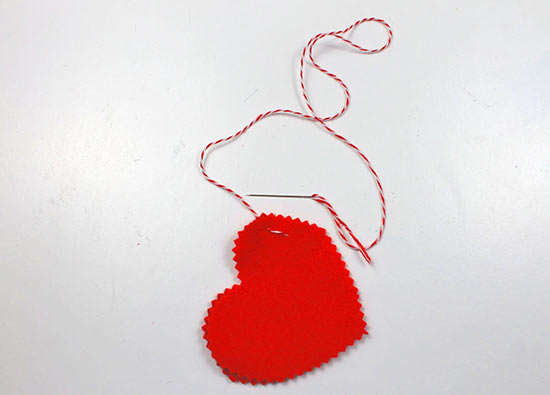
9. Thread another length of embroidery thread, then knot the tail. Begin stitching around the square, making your stitches as even and as evenly spaced as possible. It doesn’t have to be perfect!

10. Continue stitching until you have stitched around the entire square. Cut the floss and knot it on the inside of the tote.

Continue Reading

Make a Felt Heart Wall Hanging Tutorial

Difficulty level: Beginner
Time required: 1 hour
Age range: 12 and up

Things you’ll need:
Heart cookie cutter
Tracing tool
Assorted felt colors
Bakers twine
Scissors
Sewing needle
Pinking shears (optional)
Toy stuffing
12″-long dowel

Things to do:
1. Place the cookie cutter on a sheet of felt. Using a marking tool, trace around the outside of the cookie cutter.

2. Using pinking shears, cut out the heart. (You can also just use scissors here for a straight-edged heart.)

3. Repeat steps 1-2 until you have a total of eight hearts.

4. Thread your sewing needle with a length of baker’s twine that’s about 23″ long. Tie a knot in the end, then thread the needle through one of the felt hearts.

5. Layer another heart on top, then begin sewing around the edge of the heart. Try to maintain the same distance from the stitches to the heart edge. Tip: If you are having problems getting the twine to go through the layers, you can split the twine in half to make it thinner.

6. Continue sewing around the heart until you reach about 2″ before the first stitch you made.

7. Using the toy stuffing, stuff the heart until it is full.

8. Press the edges of the heart together, then stitch the heart closed. Knot the twine on the inside of the heart to secure it, then trim the twine.

9. Cut another length of twine, then thread it through the center of the heart, knotting the end to secure it.

10. Repeat steps 4-9 for each heart. You should have a total of four hearts.
11. Tie each heart to the dowel, tying them at different lengths so that they don’t get tangled when you hang them.

12. Cut another 23″-long piece of twine, then tie the twine around each end of the dowel.

Continue Reading
Change Your Country
Please select your country, this will change the site to your country's currency:

Cancel