Skip to search Skip to navigation menu Skip to main content Selecting option will reload page

Upcycling: T-Shirt Super Cape

TShirt_Super_Cape
Every child deserves a superhero cape at some point in their life. Admit it, you want one for yourself if you are honest. Because we all like to feel like hero’s now and then. This superhero cape is the fastest, softest, cutest little cape you could ever make. Make it fancy with embroidery, make it simple with nothing at all. Use a cool t shirt with a great emblem or add your own with heat transfer material. They sky is the limit. Or not. Because you never know, that cape might just make you fly!

Things you’ll need:
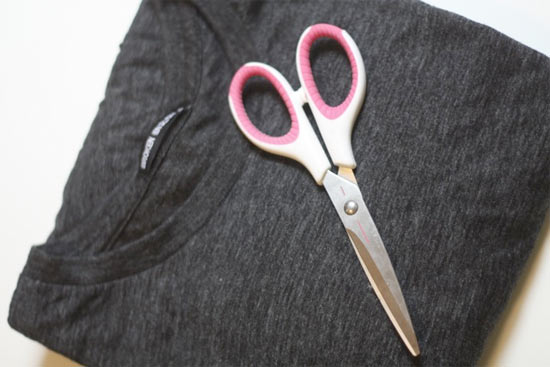
1 XL men’s t-shirt
Scissors
Ribbon or Velcro
Hot Glue Gun

Things to do:
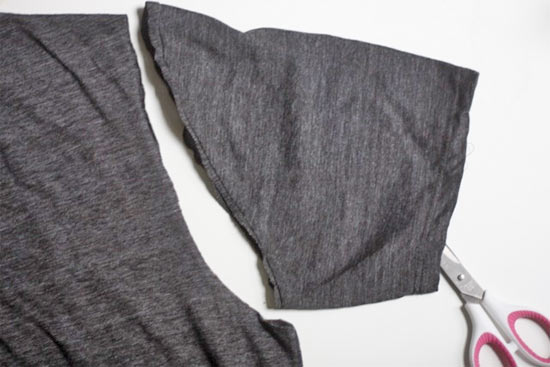
1. Lay the Shirt out on a flat surface and begin by cutting off both sleeves.
TShirt_Super_Cape2
TShirt_Super_Cape3
2. If the shirt is seamed up the sides, turn it inside out and cut out the seams along both sides. Otherwise simply cut open the sides from the bottom hem to the armpit.
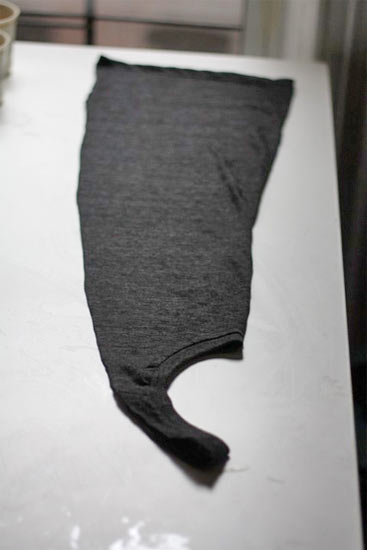
3. Open the shirt up and fold it in half, lengthwise.
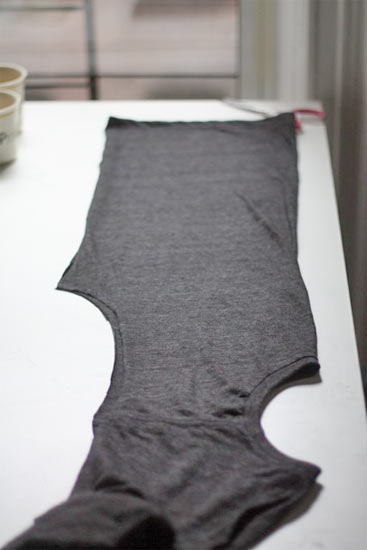
TShirt_Super_Cape4
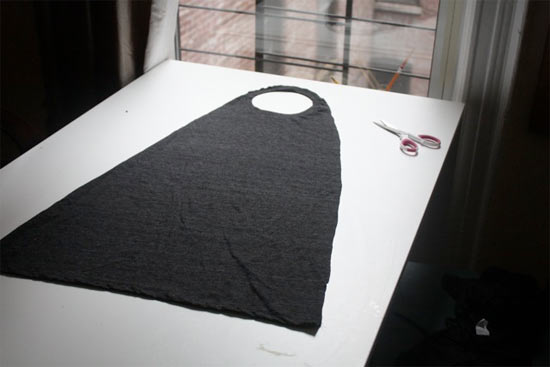
4. Starting at the bottom hem, cut at an angle toward the neck, making sure you don’t go narrower than the neckband. When you reach the neck, cut all the way around it so that only the ribbing remains.
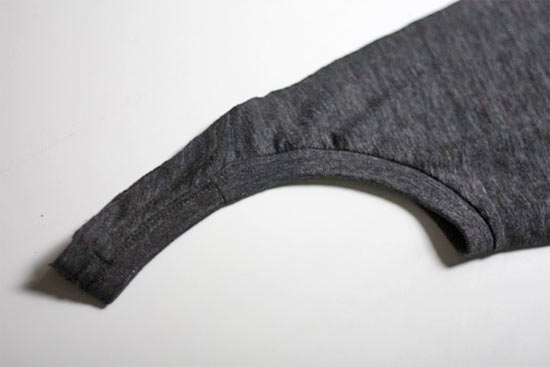
TShirt_Super_Cape5
TShirt_Super_Cape6
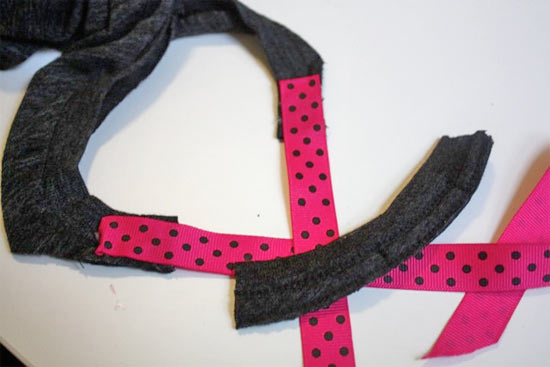
5. Trim a section out of the neck (you can leave it as is but it will probably be too big around your child’s little neck) and add either Velcro or ribbon with the glue gun to create a new closure.
TShirt_Super_Cape7
TShirt_Super_Cape8
6. Embellish in any way you like. Here we used heat transfer to add a unicorn to the back of the cape. Try freezer paper stencils, patches or fabric markers!

TShirt_Super_Cape9

Continue Reading

Upcycling: Pillared Jar Storage

Pillared_Jar_Storage
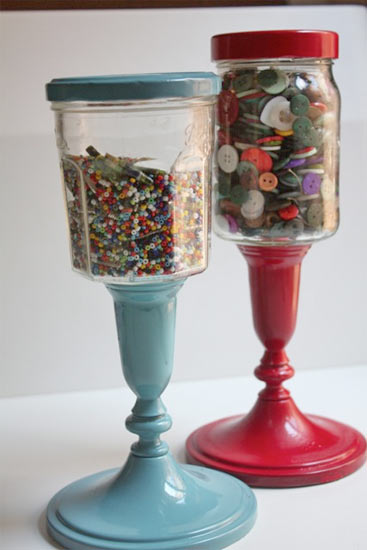
I have lots of craft supplies floating around my workroom and, because I like things to look nice as well as do their job, I try to be thoughtful in what kind of storage I use for these supplies. I’m a sucker for a pretty box, jar or bin, so these pillared jars are right up my alley and are just the thing for small storage such as beads and buttons.

Things you’ll need:
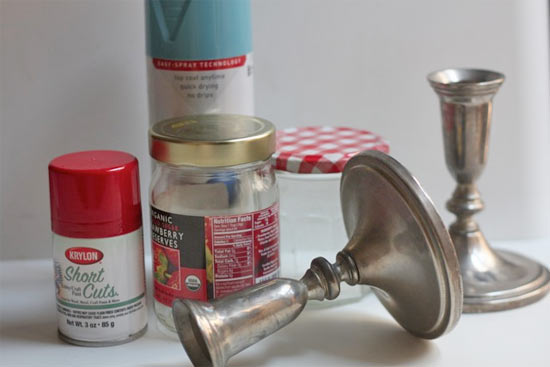
Glass jars with metal lids
Old candlesticks
Spray paint
E6000 glue

Things to do:
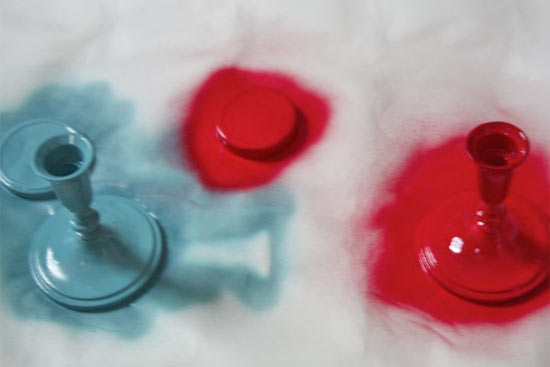
1. Cover your work surface with newspaper and make sure the area is well ventilated.
Pillared_Jar_Storage2
2. Remove all labels from the jars and set the lids and the candlesticks on the paper.
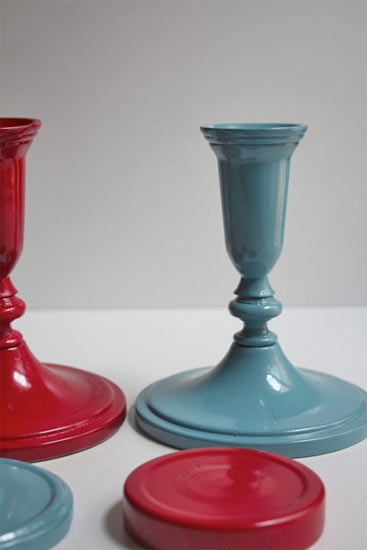
3. Coat each piece in several thin, even layers of paint. You’ll need several coats to achieve a good coverage.
Pillared_Jar_Storage3
4. Once dry, run a thick bead of glue around the top of the candlestick and center the bottom of the jar over the glue. Press them together firmly until the glue has set.
Pillared_Jar_Storage4
5. Fill each jar and add the matching lid.

Continue Reading
Change Your Country
Please select your country, this will change the site to your country's currency:

Cancel